Posted: May 12, 2025
As the name suggests, the French Link stitch originated in France. It was developed around the 16th century and is often used in conjunction with the Coptic stitch [See Coptic Stitch Tutorial]. It is a more decorative stitch, presumably modelled after the embroidery of the time, and can be identified by the X pattern stretching across the signatures. This is also the stitch I use most when case-binding my books. It is an exposed stitch best used for multi-signature books. Here’s what you’ll need:
Fold your paper into signatures first. A signature is a collection of papers folded in half. You’ll need multiple signatures for this book, so divide your sheets into equal stacks, then fold and sort them together. Typically, a signature is 4 to 8 sheets (depending on the thickness of the paper). Thicker French link stitch books are possible, but the recommended maximum is 15 sheets of plain copy (20 lb) paper. Otherwise, it’s too thick and the spine won’t lay nicely flat. My preference is 6 to 10 sheets of 24 lb writing paper.
When folding, I like using a bone folder for a nice crisp crease, but they aren’t necessary. A butter knife will do in a pinch, or even just your thumb nail. I used to fold each page individually, but that often results in a gap between the pages of the spine. If you’re feeling confident, you can fold the entire signature at once for a more uniform fold.
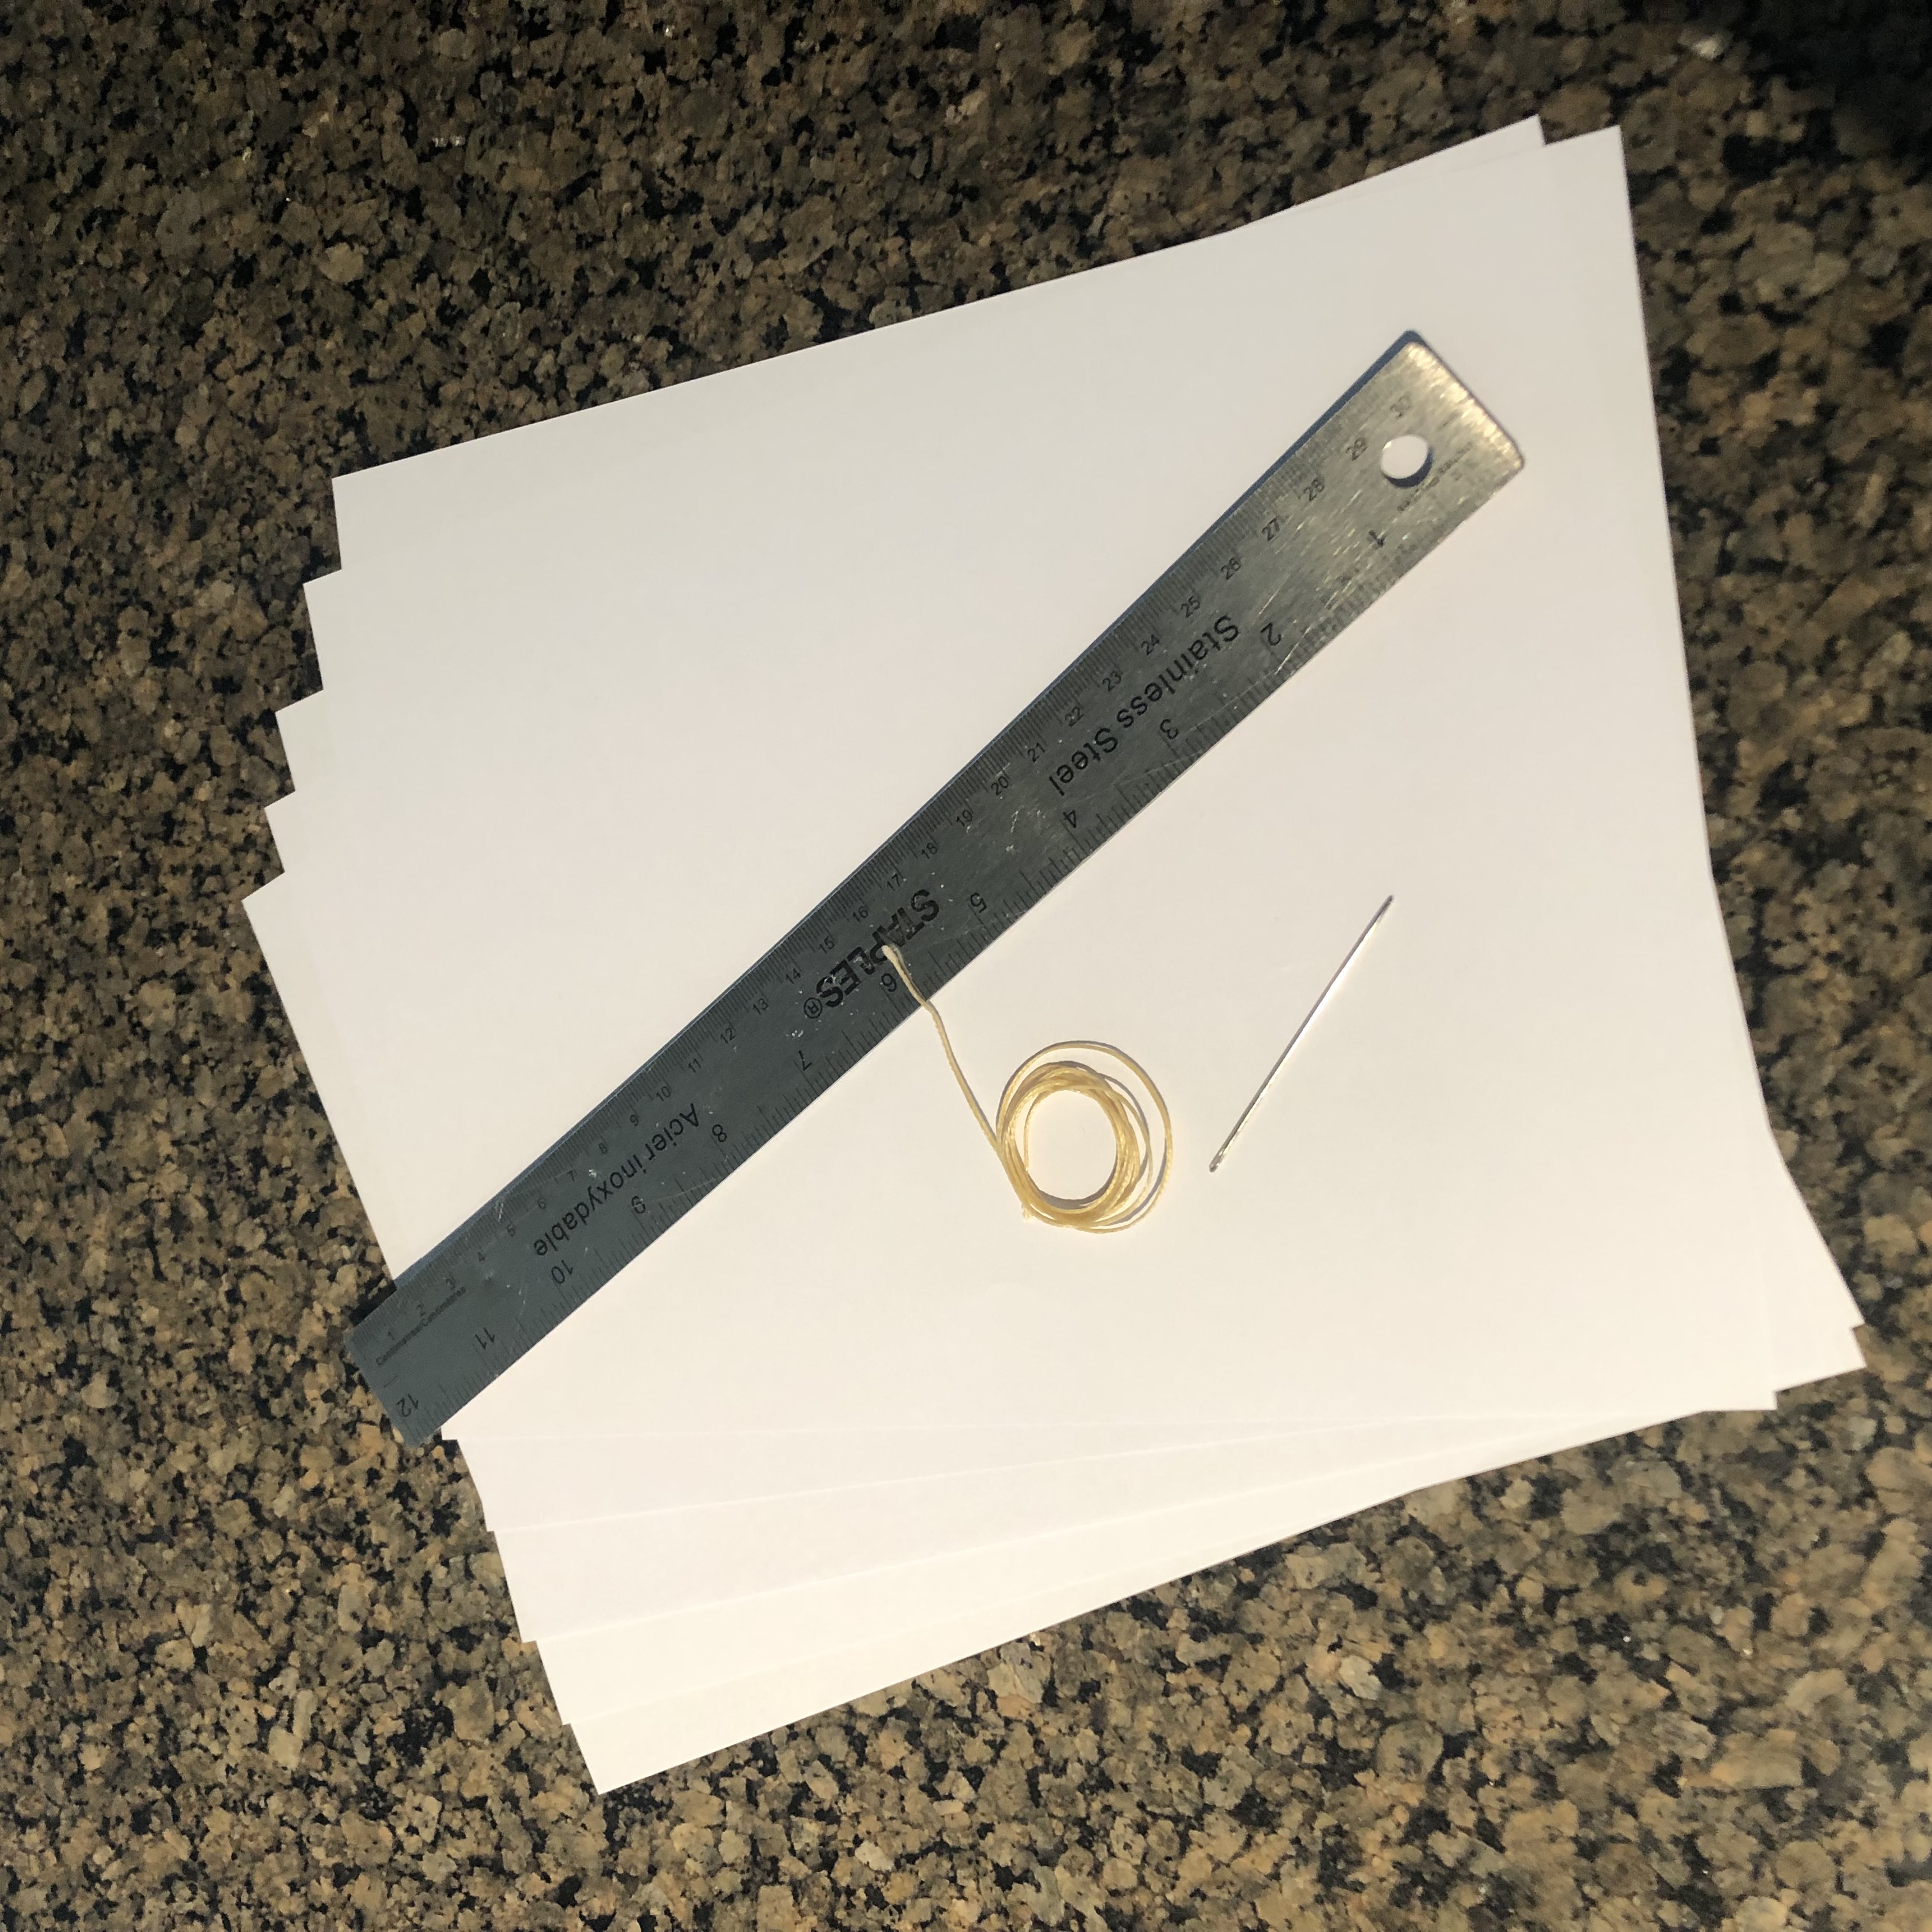
Materials
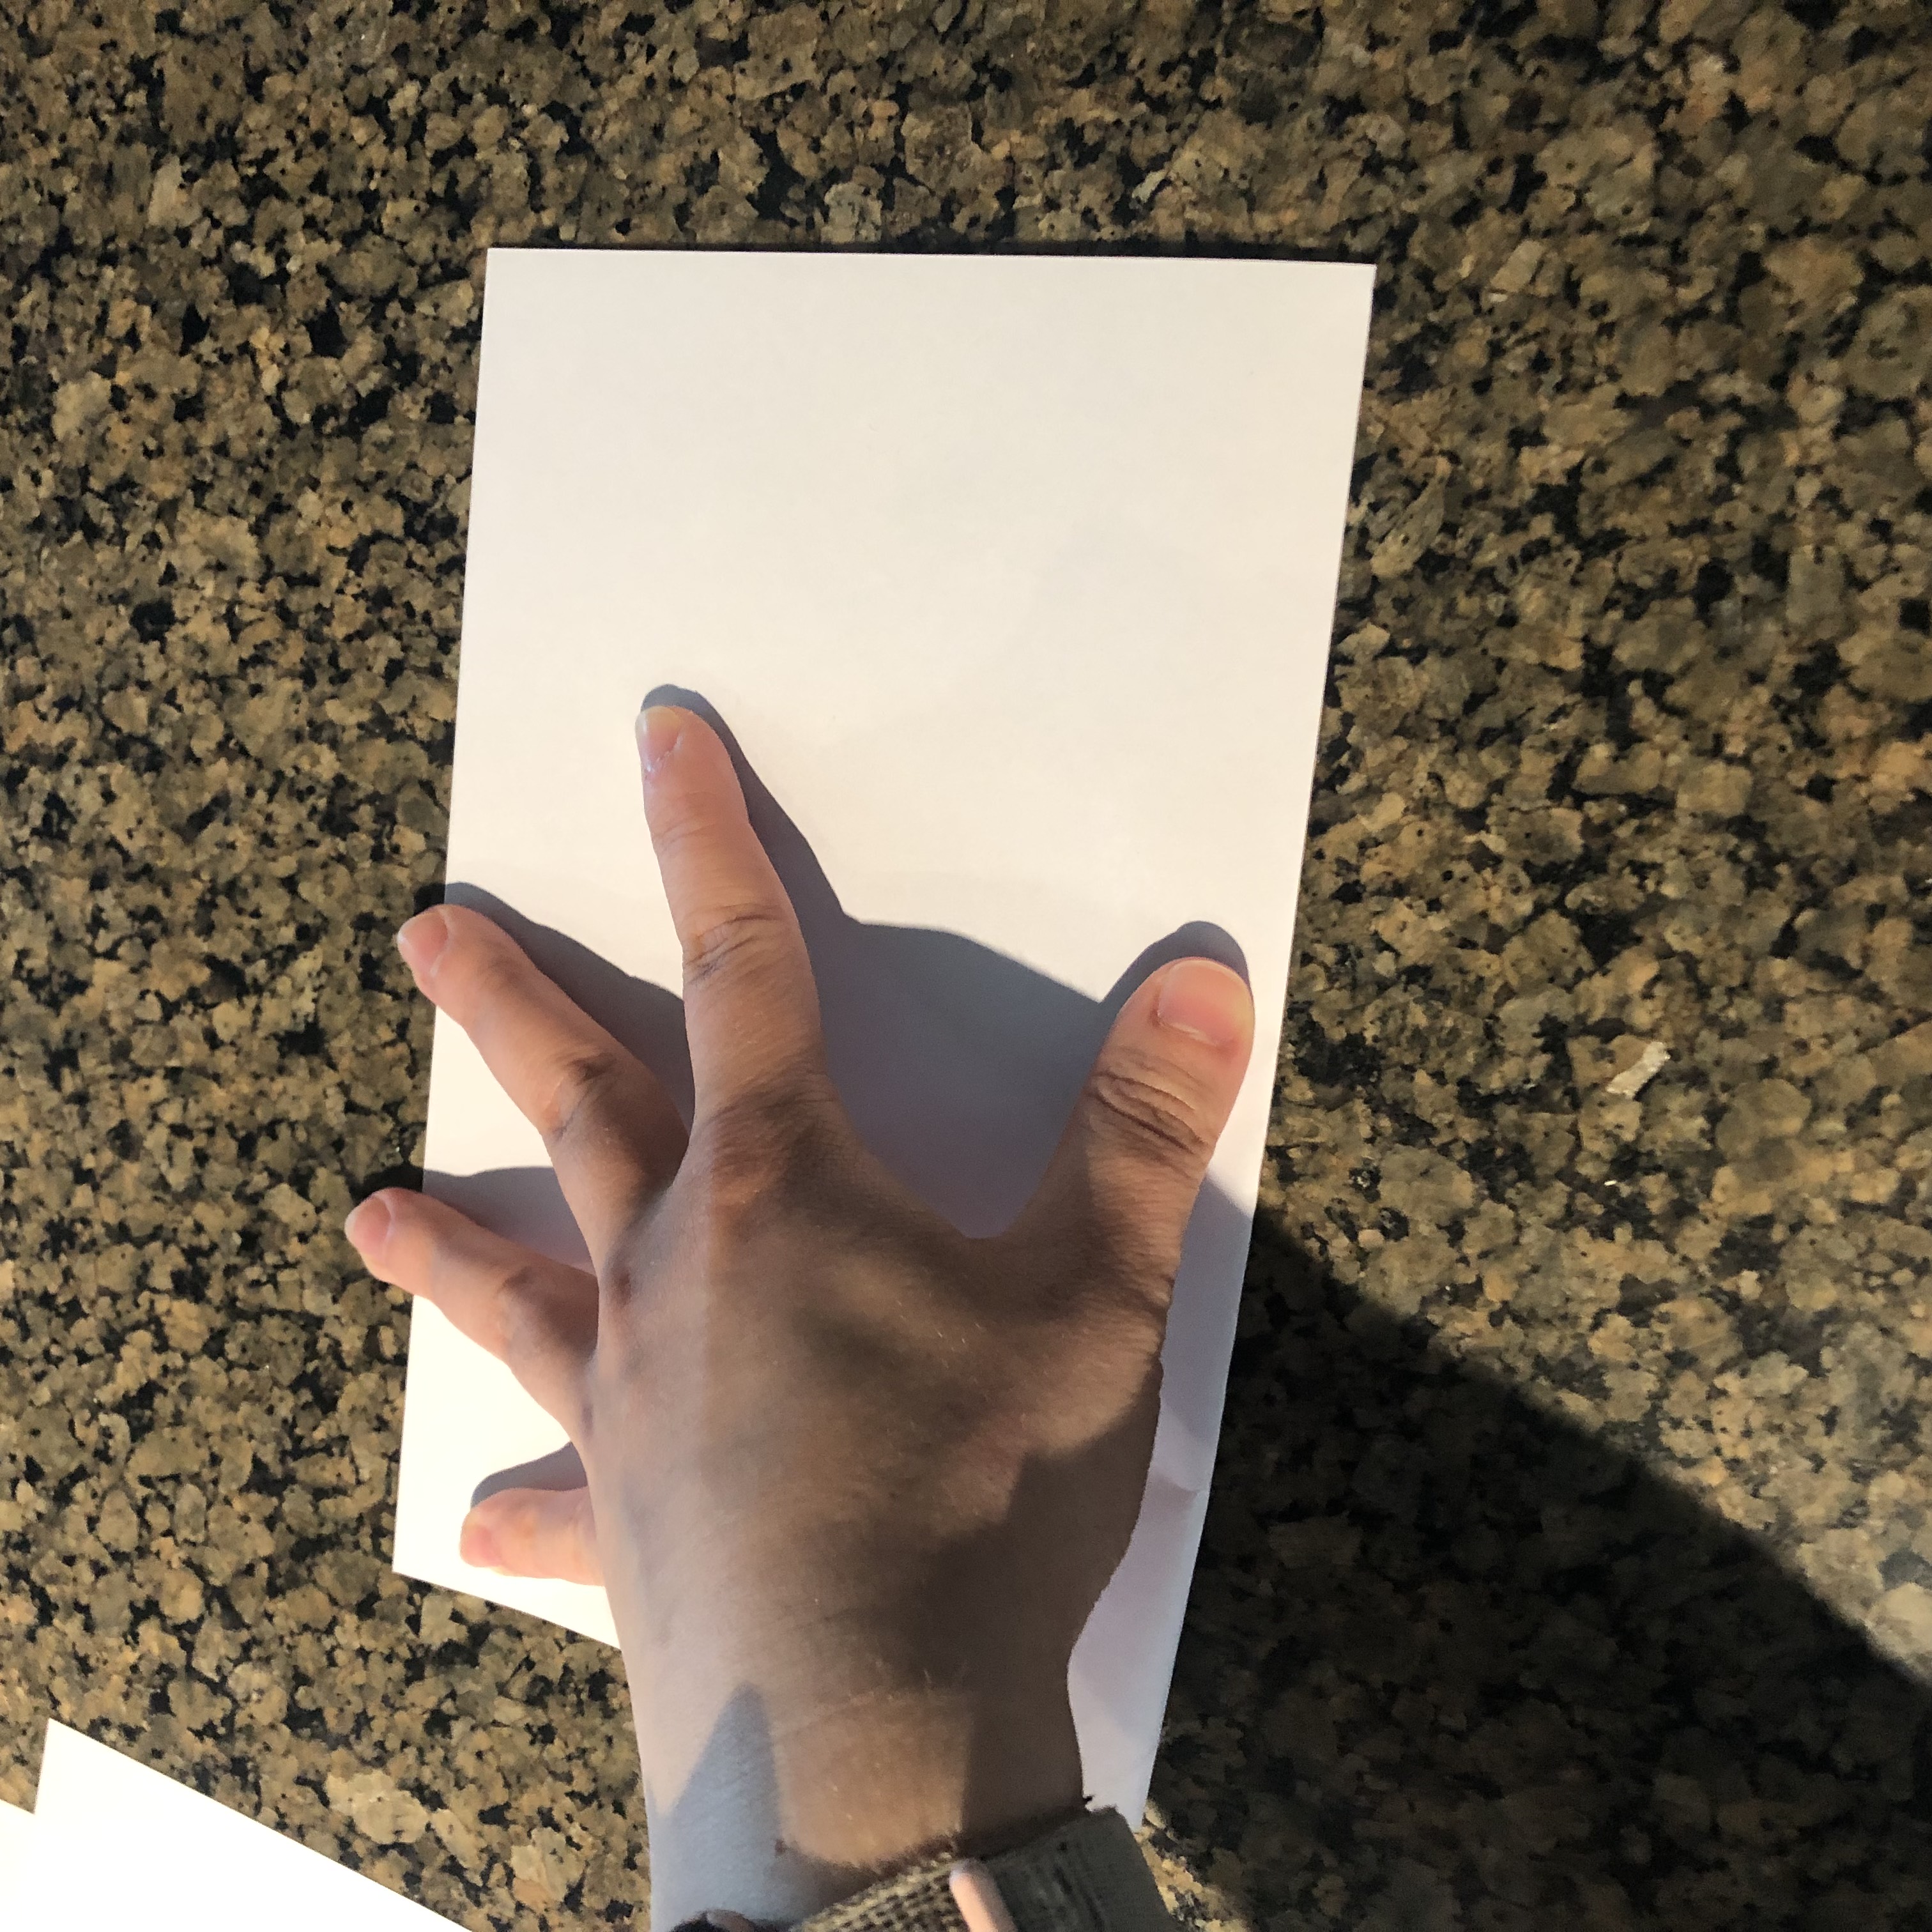
Fold the paper
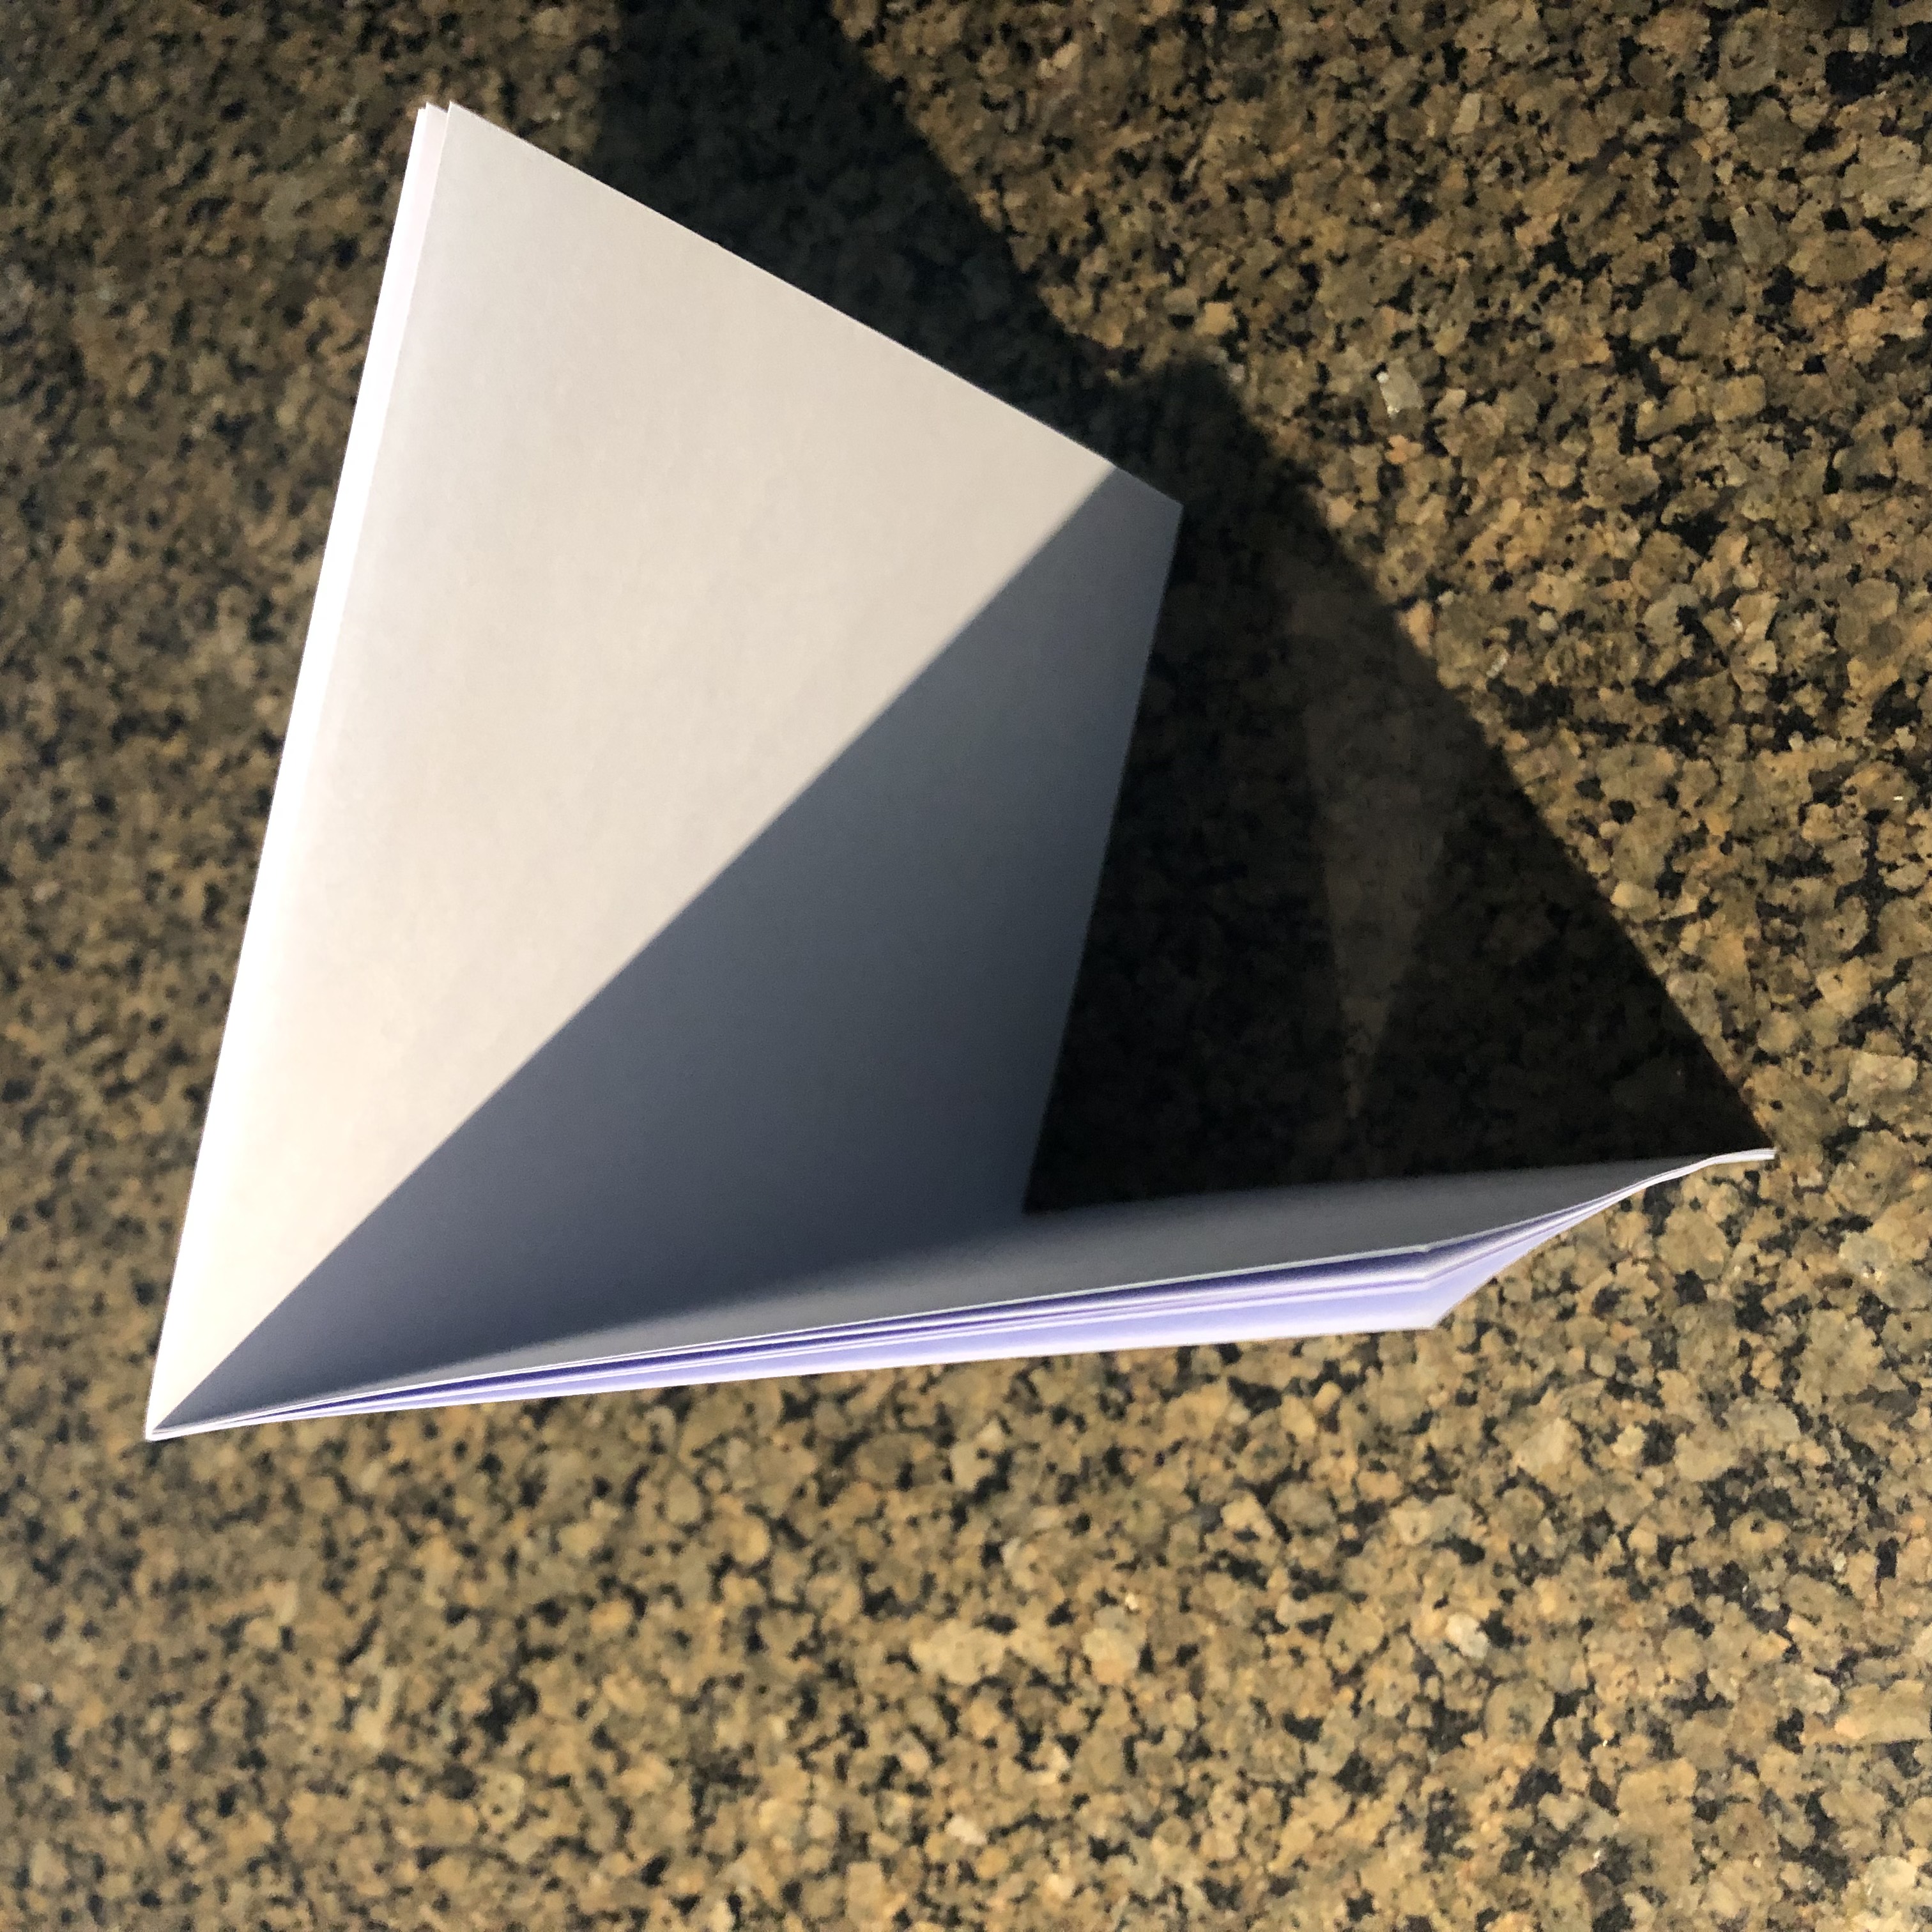
Signature
The next thing you need to do is trim the signatures (if you want to trim them at all). This is because it is quite difficult to trim after stitching. Premeasure and mark in light pencil where you want to cut. Ensure it’s correct. (Measure twice, cut once!) When trimming, line your ruler up along the edge of your paper (at measurements) and use a sharp X-acto knife to cut. Repeat on all sides you wish to trim. I recommend trimming both top and bottom if you need to take off height (rather than only top or only bottom), as the X-acto blade leaves a clean edge and you’ll likely want them to match.
Alternatively, you can make a deckle edge along your paper by tearing along a straight surface. Like with trimming, line your ruler up at the measurements. Gently tear, peeling the strip of paper away to leave a soft edge. You can do this on all three edges of the paper, or just the outside edge.
French link stitched books are most often sewn directly to the cover. This is, however, unnecessary when using this stitching method for casebound books, not use a cover at all, or to attach the cover some other way (such as by gluing).
The main difference is that your cover can be done in the Coptic binding style or the Long stitch binding style[See Long Stitch Tutorial]. Whether you make your cover with a spine or simply use a board for the front and back covers is up to you. (The Coptic style works a lot better with a bunch of signatures: I recommend at least 7.)
Coptic style method: Creating a cover for your book requires a dense cardboard called book board (chipboard also works). You will need two sheets of this to make the front and back cover (equal width and height, though you can give it a bit of overhang if you’d like). For example, a book whose signatures are 5.5 x 8.5 will have two covers measuring 5.5 x 8.5 inches. There is no cover material over the spine for this book, as it will simply be the signatures and exposed stitch.
Measure out your fabric, paper, or material of choice, giving each cover about half an inch to one inch of border (depending on the thickness and stiffness of your material).
Glue your chosen fabric, paper, or other material to the book board using a PH neutral glue like PVA (regular white glue will work in a pinch). Make sure to spread an even layer, not too light but also not too thin. Make the covers in two separate pieces.
Cut the corners at a 45 degree angle, then glue the two shorter sides, fold in the corners, then glue the two longer sides.
The last step is to cover the interior with a patterned cardstock or paper.
Long stitch style method: Like with the other method, you will need two sheets of dense board for the front and back cover (equal width, height plus 0.25 inches for overhang), as well as a strip for the spine (same height as covers, width of the stacked signatures plus approx. 0.25 inches). For example, a book whose signatures are 5.5 x 8.5 and spine is 0.5 will have two covers measuring 5.5 x 8.75 inches and a spine that is 0.75 x 8.75 inch. This extra room on the spine also allows you to poke the holes with a bit of space in between.
Measure out your fabric, paper, or material of choice, giving each cover about half an inch to one inch of border (depending on the thickness and stiffness of your material). You can get creative with this, either using a single piece to span the whole cover, or covering the front and back covers, then attaching them via the spine material.
Method 1: If using all one piece, add together the width of your book plus at least half an inch on each side and about an eighth to a quarter inch between each of the hinges (hinge spacing depends on the thickness of your material). For example, our book mentioned above measuring 5.5 x 8.75 by 0.75 (with a quarter inch hinge) will have a single piece of material measuring 13 by 9.75 inches.
Method 2:If you want to make the cover in multiple pieces, measure the front and back cover materials with half an inch border around (i.e. 5.5 x 8.75 becomes 6.5 x 9.75). For the spine, add about 1 to 1.5 inches on either side for the hinge connection (i.e. 0.75 x 8.75 becomes 3.75 x 9.75).
Glue your chosen fabric, paper, or other material to the book board using a PH neutral glue like PVA (regular white glue will work in a pinch). Make sure to spread an even layer, not too light but also not too thin. Make the covers in two separate pieces.
Method 1: It’s easier if you use a pencil or fabric marker to draw lines where you need to fit the pieces. I like to start with the front (lefthand) cover, then use a spacer to place the spine, and another spacer to place the back (righthand) cover. Press down, then flip over and smooth out so there aren’t any bubbles for each piece (don’t let the glue dry in between!).
Cut the corners at a 45 degree angle, then glue the two shorter sides, fold in the corners, then glue the two longer sides.
Method 2: For the individual pieces, it’s similar, but not quite the same. Once again line up and glue the covers to your fabric, making sure to centre them. Glue down each piece separately.
Like with Method 1, cut the corners of the front and back covers at a 45 degree angle (not the spine!). Glue in the sides, leaving the top and bottom flaps unglued for now. *These will be used to secure the spine to the front and back.
Glue the top and bottom flaps of the spine, using a bone folder or your fingernail to press down the potential creases. *This means that the folded flap won’t line up against the outside edge of the connecting flap; this is normal.
Laying the spine fabric side up, apply glue to one of the flaps, leaving about a quarter inch of space right next to the board for the hinge. Place your spacer crisply along the spine board, then line up and press down one of the covers. Once secure, you can flip it over to the inside and smooth down the material against the boards. Repeat with the second side. From there, glue the top and bottom flaps down.
Both:The last step is to cover the interior with a patterned cardstock or paper. Cover all the way across, as the inside of the spine will be visible. You can use a single piece of paper all the way across, or multiple overlapping pieces.
Once trimmed or torn, you will poke the holes into the spine of your signature and the cover of your book (if you have one). You can poke any number of holes for a French link stitch as long as it’s even, but I’ve found that they are most effective at about 1-inch apart. You can also vary the space between the holes, just ensure that the holes at the top and bottom of the signature are evenly spaced away from the edge, between half an inch and 1 inch.
Since you will be punching holes in multiple signatures, I find it preferable to make a template. You can punch the holes in a few different ways, from individually using the template, to collecting all the signatures together and marking at once, to sawing the signatures from the outside. The simplest method for those who don’t have these tools is to poke them using a template.
*To make a template, fold a spare bit of paper in half and trim it to about an inch wide (I align my ruler overtop and cut so that it’s the width of my ruler). The height should be the same as the height of your signatures. Using the ruler, make your measurements.
Use this template for your cover as well. Measure a quarter of an inch to an inch in from the edge, and mark where the hole should be punched in light pencil. I like to measure and punch my holes through one of the covers first, then line up the cover and just punch through the same holes so that I know they’ll both line up.

Poke interior holes
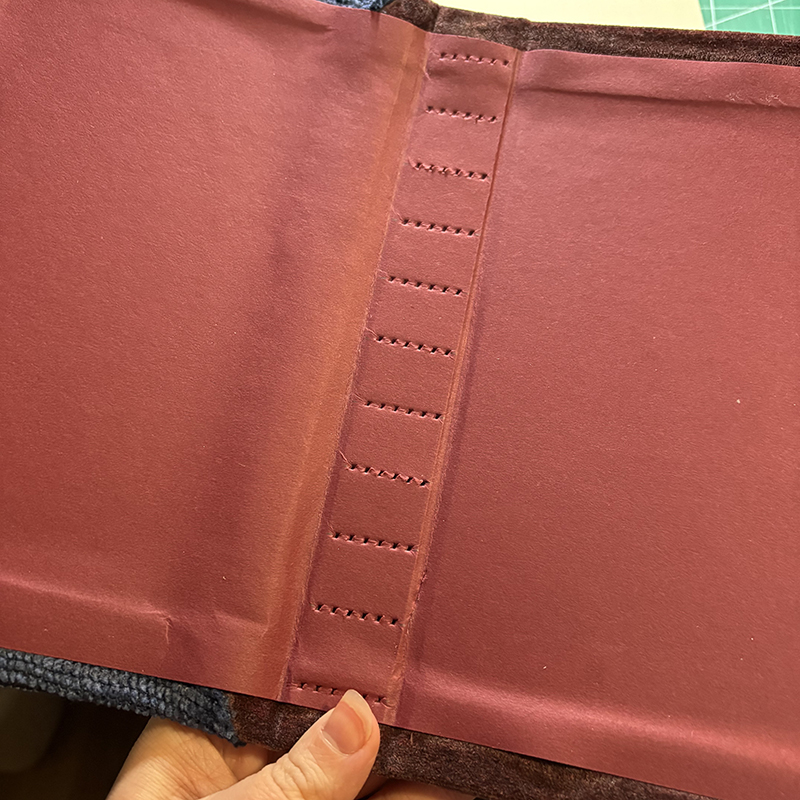
Poke cover holes
The signatures
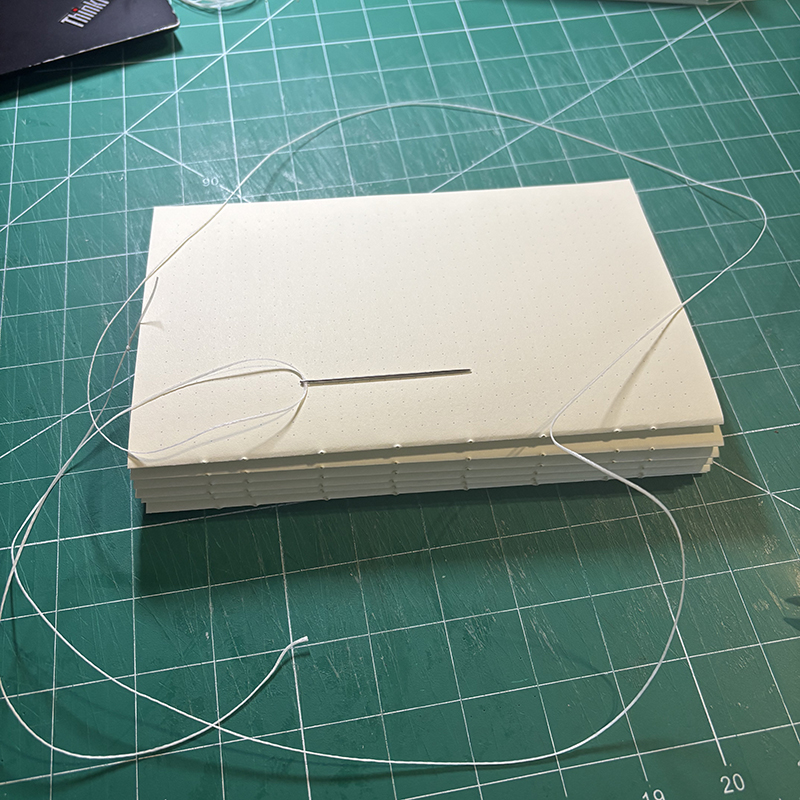
Once the holes are punched, you’re ready to stitch. For this stitching method, you will stitch all the signatures with the same piece of thread. Measure out the height of your book for each signature, plus one extra (i.e. 5 signatures for an 8 inch book means 48 inches of thread).
Tie a knot at one end, leaving about half to three-quarters of an inch of length at the end. Thread your needle.
Stack your front cover, signatures, and back cover in the order you wish to stitch them in. Start with the back cover and your first signature.
From here, the stitching paths differ depending on which cover you’ve made. The only difference is how they’re attached to the cover. Using the Coptic style, you will use that method to attach the cover to the first signature, and again to attach the cover to the last signature. The middle signatures will use the French link method.
Coptic “cast on”: From the inside of the first signature, pull your thread through the top hole, then pull it tight.
Thread the needle through the corresponding hole on the cover (from outside to inside), pull tight so that the signature and cover are lined up. Loop the needle around the connecting thread, then go back inside the book through the same hole. Be careful that you don’t accidentally send the needle through your thread. (If this happens, find where it’s stuck and carefully extract.)
From the inside, thread the needle out through the next hole down. Repeat the step above: from outside, thread through the corresponding cover hole, pull tight, loop around, then go back into the signature hole.
Repeat this process until you reach the final hole on this signature. Instead of going back into the first signature after looping, grab your second signature and thread your needle in through the first hole. Pull tight so that the cover, first signature, and second signature are moveable but not too loose.
French Link method, sans “cast on”: From this point, you will be using the French link stitching method. Start here if you have a cover with a spine.
(If beginning here, thread out through the first hole of your signature, then through the spine, and back in through the same hole, making a small loop. Ensure that the loop isn’t pulled through by securing it with a toothpick or something similar.)
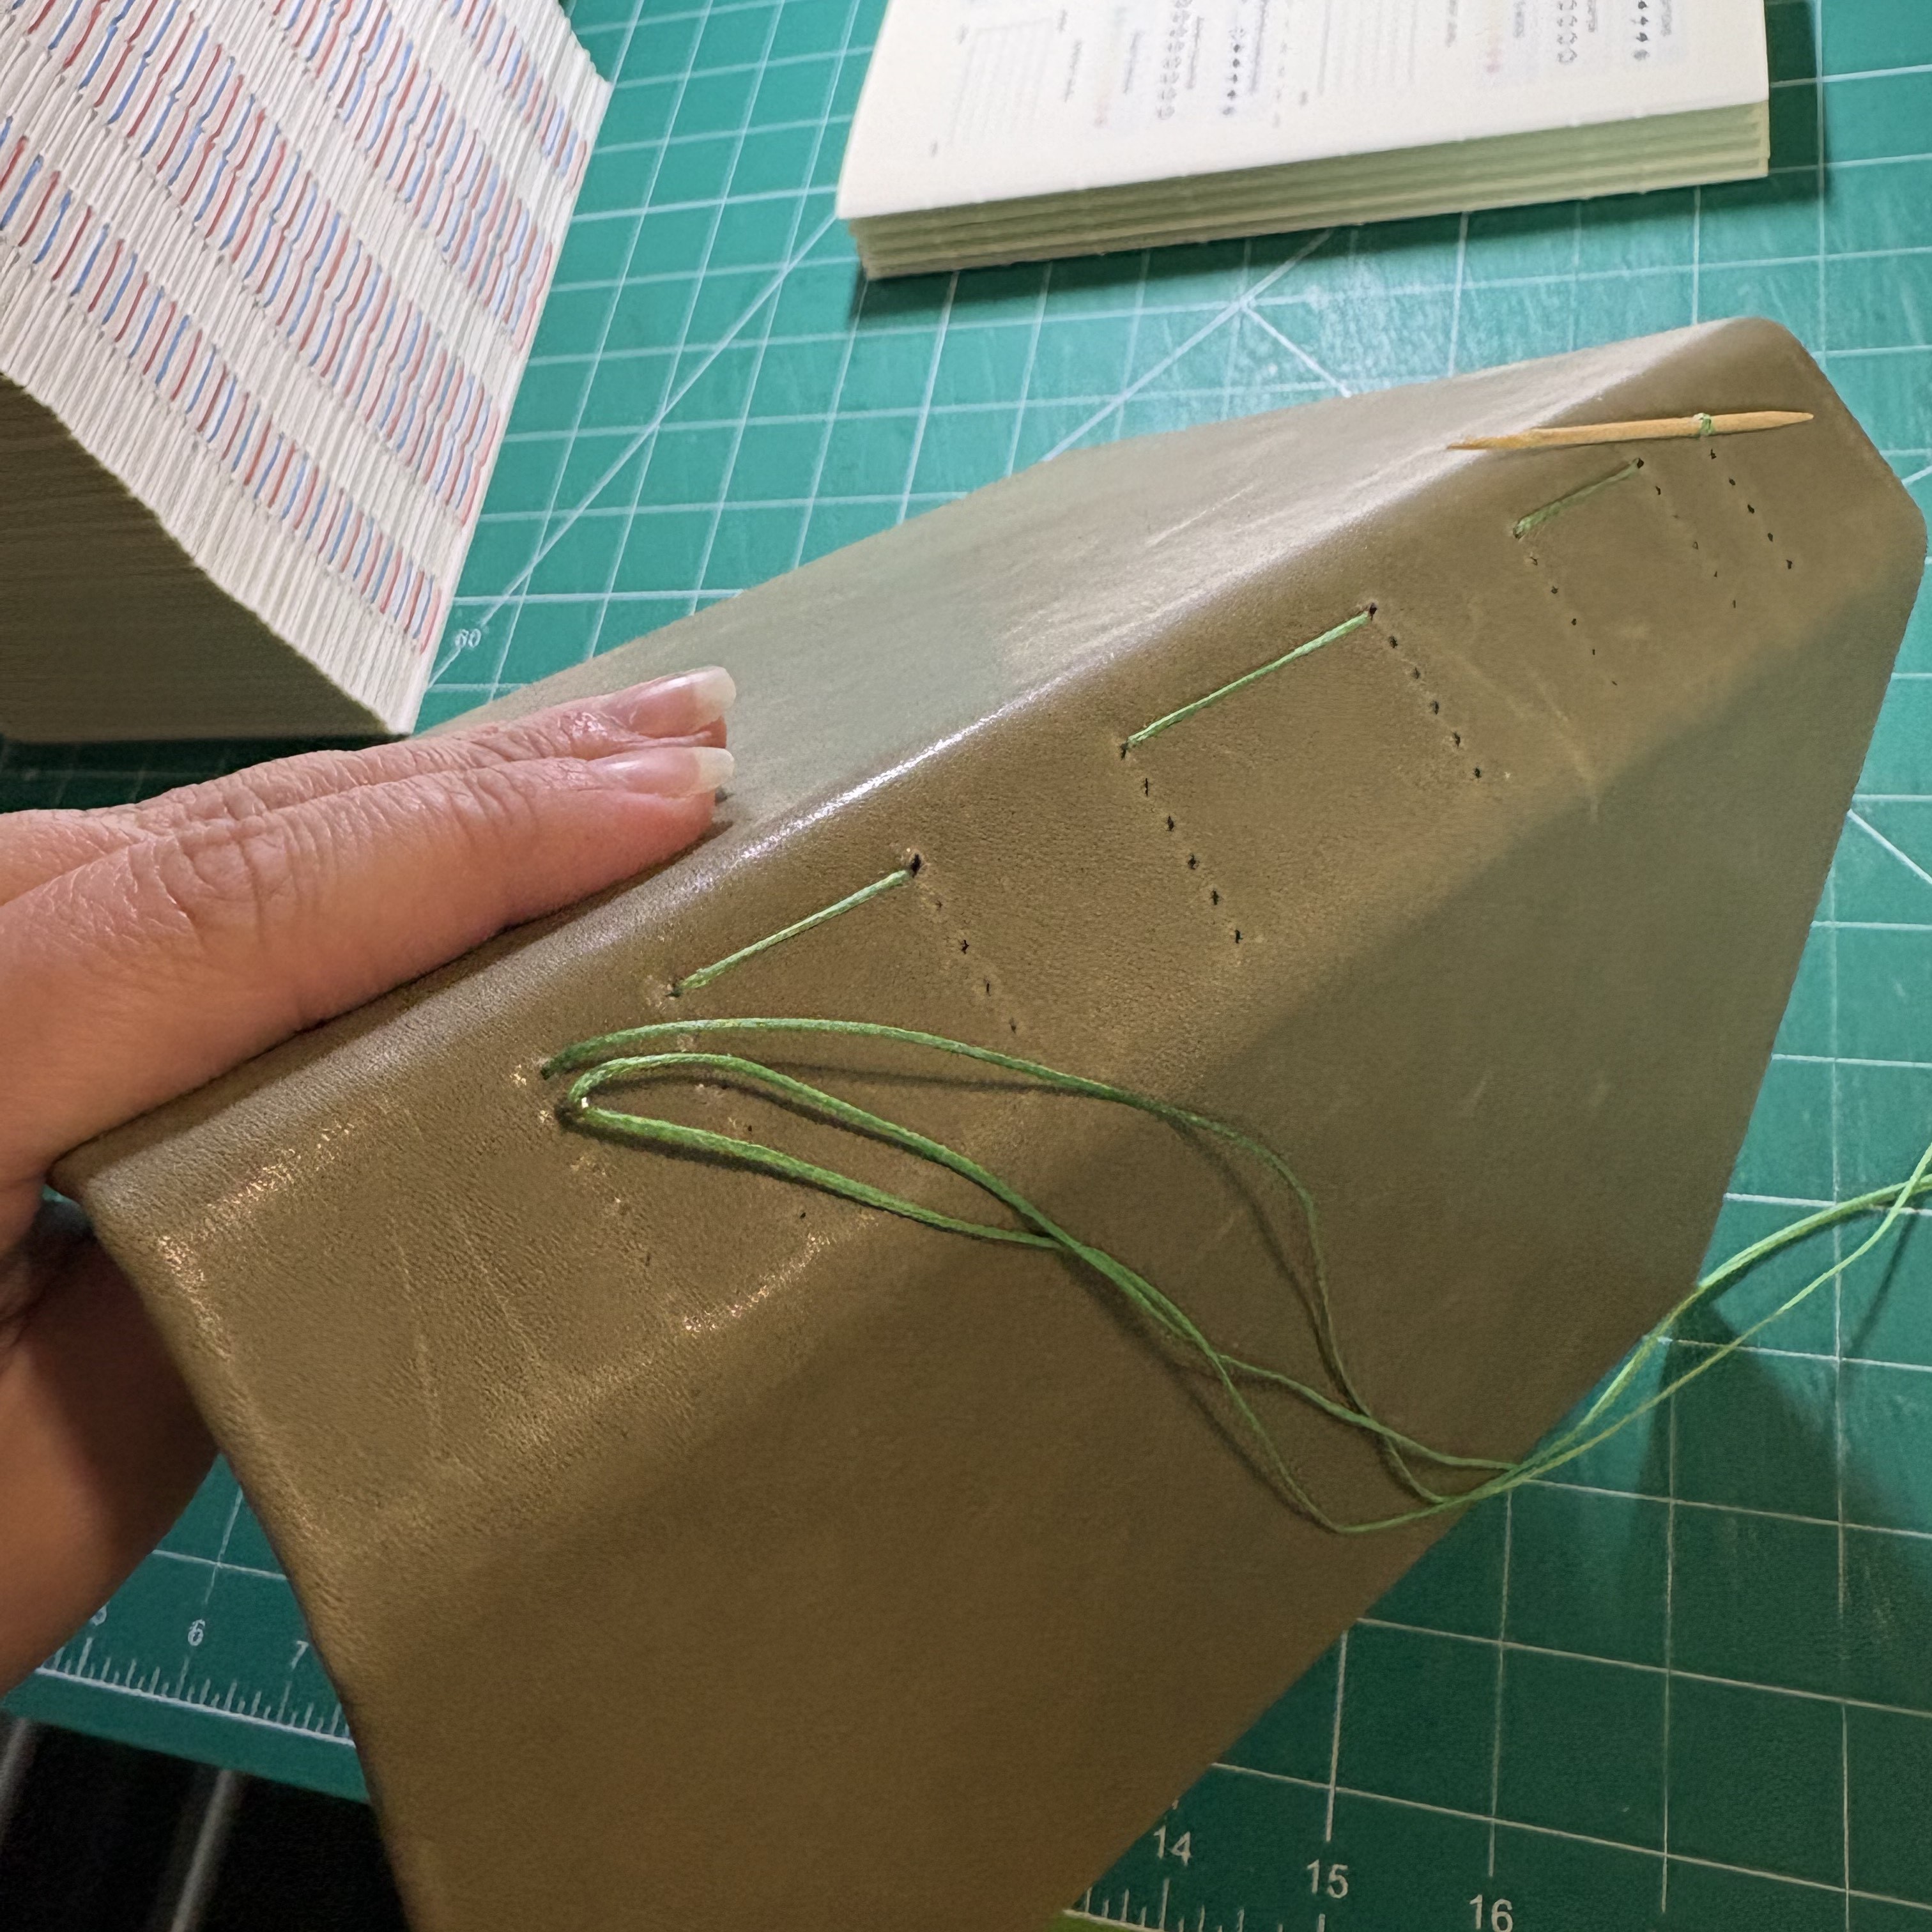
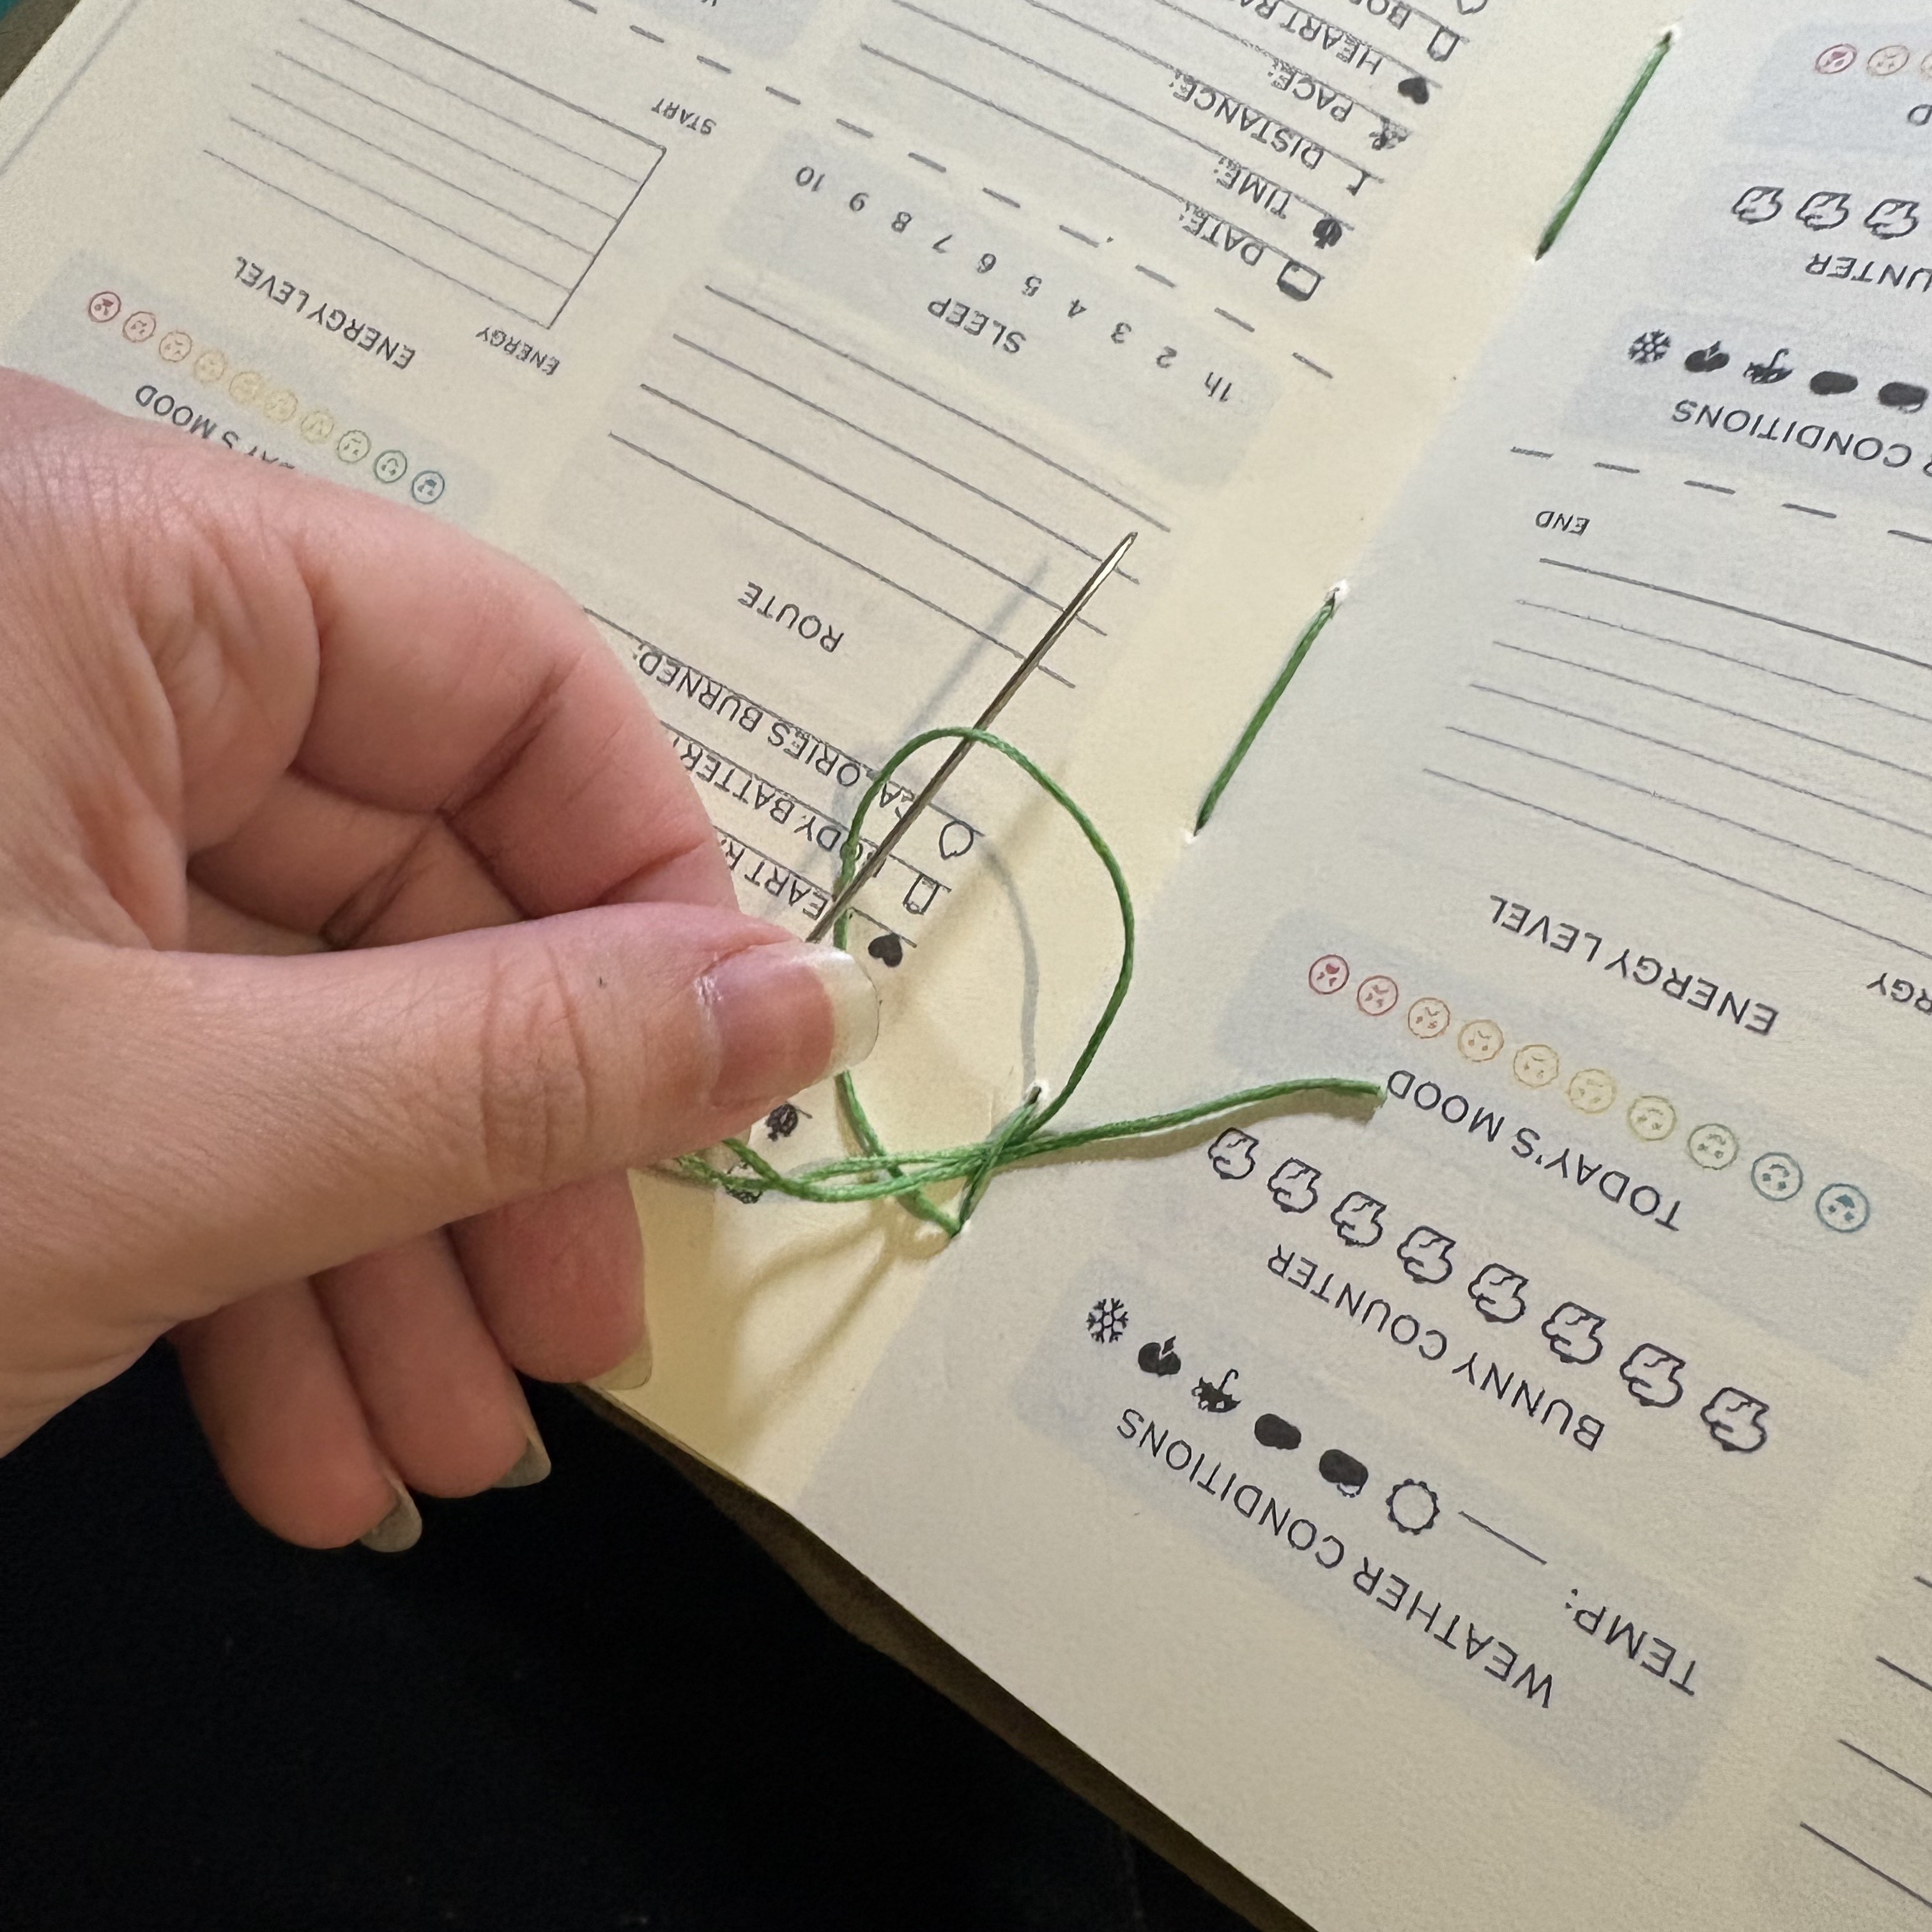
Next, thread your needle out through the second hole in your signature. Thread back in through the third hole, then out, and back in with subsequent holes. Repeat this step until the last hole in the signature.
At the final hole, thread into the top hole of the next signature. (If using the Coptic style, loop around the above signature in the Coptic stitch method, then thread your needle in through the next [third] signature.)
To begin the link pattern, repeat the above step for the French link stitch, but loop your thread around the previous signature’s stitch. Repeat this step with the remaining signatures, alternating the loop between the top and bottom of the stitch.
When you get to your last signature using the regular French link stitch method, there is no special step. Simply finish the final stitch and tie it off. If Using the Coptic style, you will repeat the steps of the first signature in reverse to attach the final signature and back cover at the same time. This is a bit tricky, but the result is worth it.
Coptic “cast off”: For the first hole, go through the cover first (outside to inside). Pull tight so that it, the unsewn signature, and the rest of the book are lined up. Loop around the previous signature, then thread the needle in through the first hole of the final signature.
Thread out through the second hole and loop around the previous signature stitch. Then sew through the cover (outside to inside), loop around that connecting thread, then back in through the final signature hole. Repeat this process for the remaining holes.
When you reach the final hole, follow the same method: loop the previous stitch, attach the cover, loop around cover & final signature stitch, then back in through the hole to the inside of the signature. Loop around the thread on the inside to make a knot, then trim off the excess.

First hole stitching
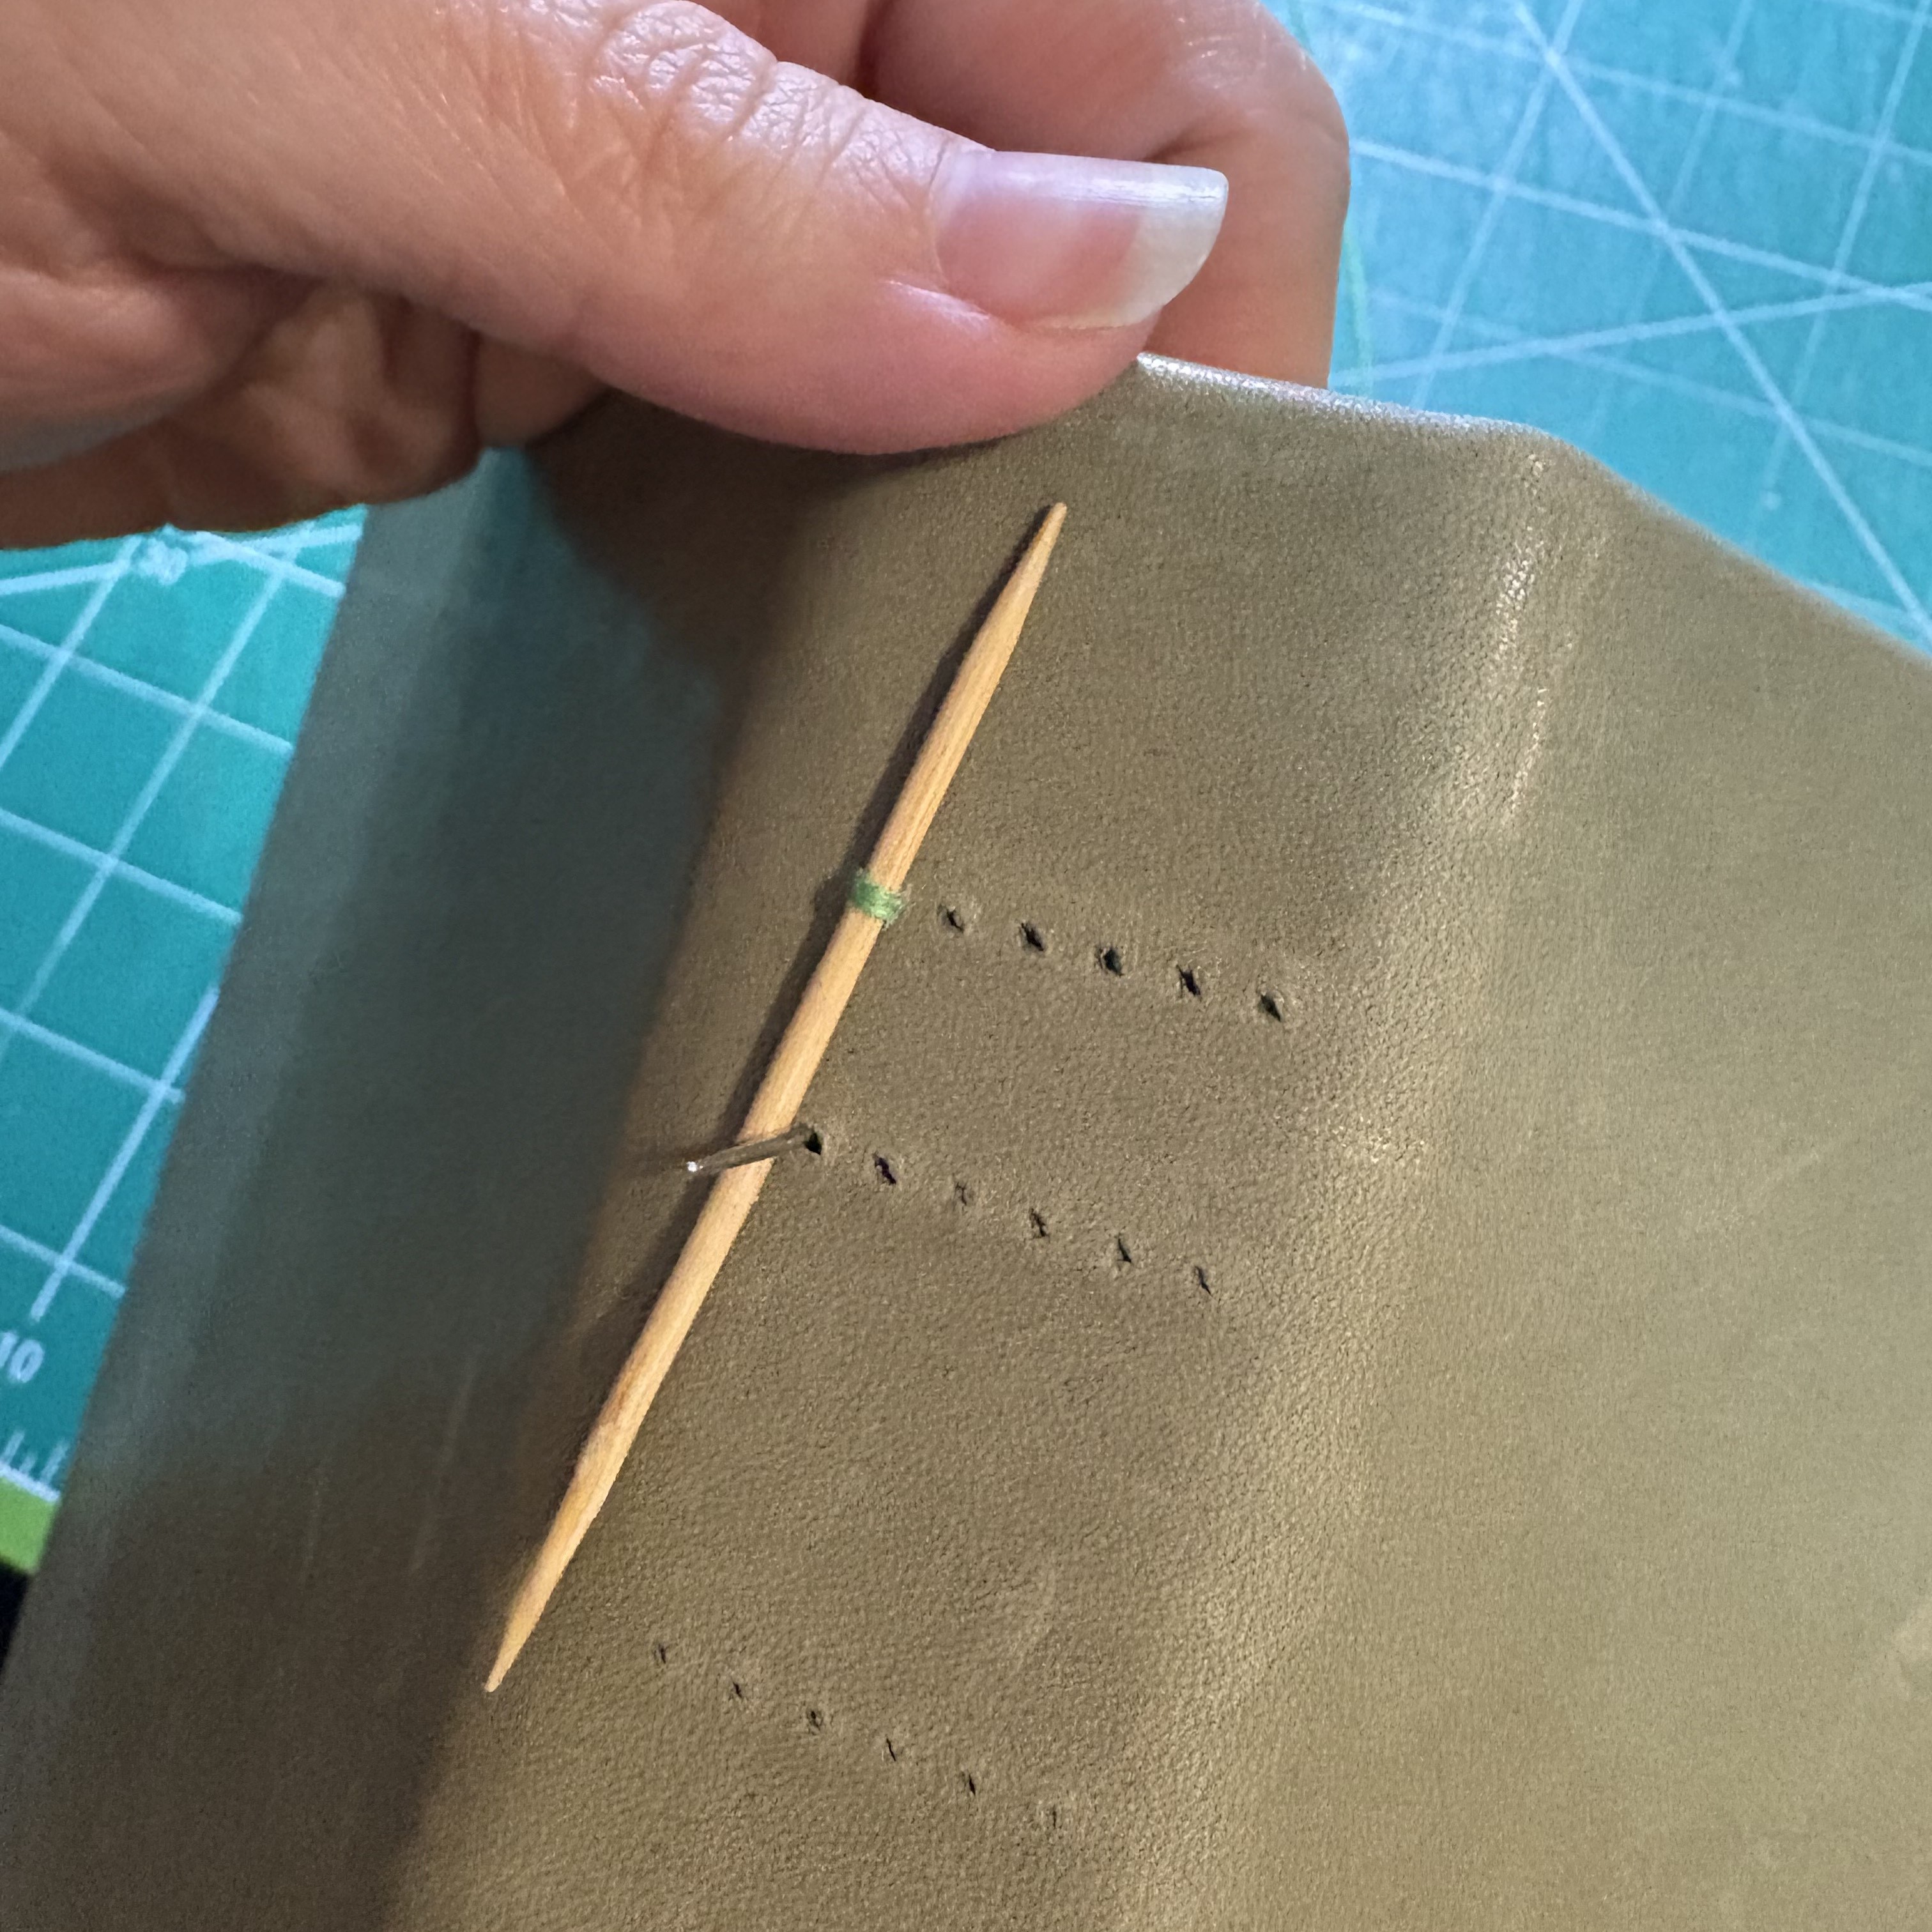
First hole loop
Entire first signature

Second signature loop with first
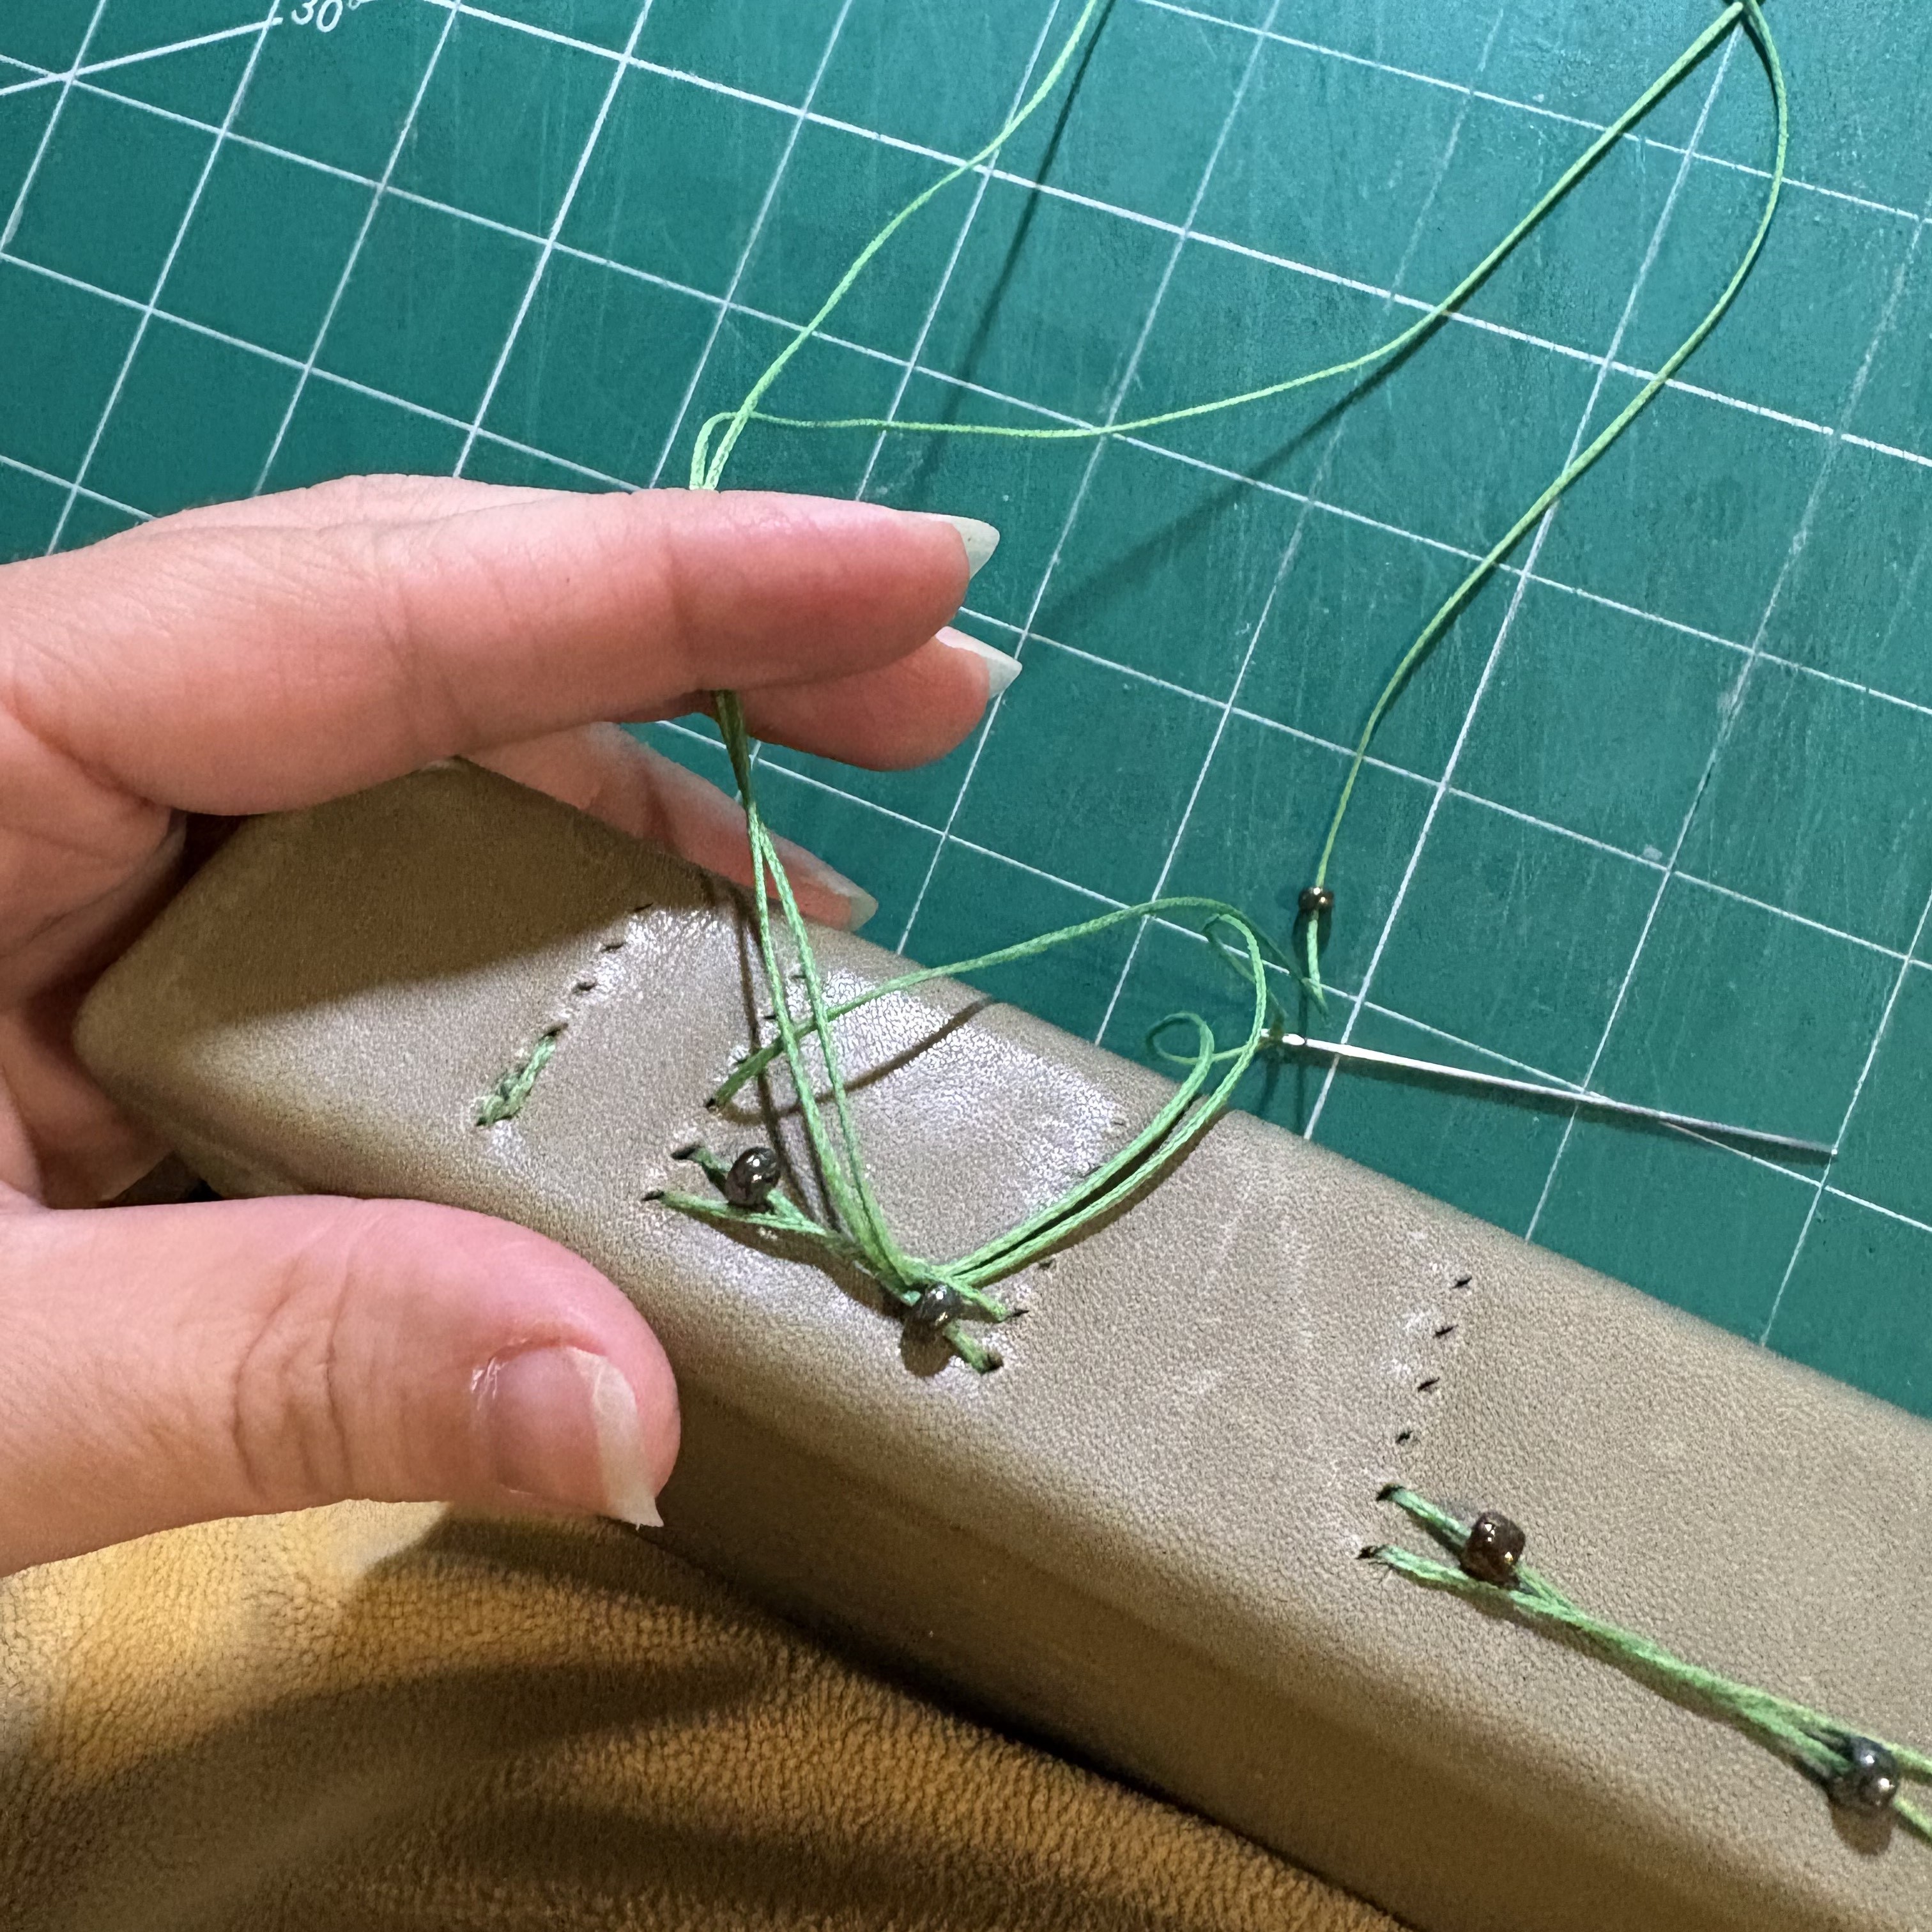
Mid-thread links example 1

Mid-thread links example 2
Once a book has been fully stitched, I like to shift it back and forth to even out the stitches so they aren’t too loose or too tight. Then I place it under something heavy (or in a book press) for a day or two to let it be pressed flat.
If you stitched the book without any covers at all, it’s now called a text block. You can glue on some end pages which are then used to secure the block into a spine for a casebound book. Tutorial coming soon!
Congrats! You’ve just completed your first French Link stitch book!
Tie off thread

Finished French link
Buttonhole Stitch Tutorial
Case Binding Tutorial
Chain Stitch Tutorial
Coptic Stitch Tutorial
Cross Stitch Tutorial
Dash Stitch Tutorial
French Link Stitch Tutorial
Japanese Stab Binding Tutorial
Long Stitch Tutorial
Leather Binding Tutorial
Saddle Stitch Tutorial
Tigerpetal Press is a small book press dedicated to publishing local authors and poets.