
Posted: August 13, 2024
Saddle stitch is one of the simplest methods of binding a book, and it is the most beginner friendly. Here’s what you’ll need:
The first step is to make your sheets of paper into a signature. A signature, put simply, is a collection of papers folded in half. Typically, a signature is 4 to 8 sheets (depending on the thickness of the paper). Thicker saddle stitch books are possible, but the recommended maximum is 15 sheets of plain copy (20 lb) paper. Otherwise, it’s too thick and the spine won’t lay nicely flat.
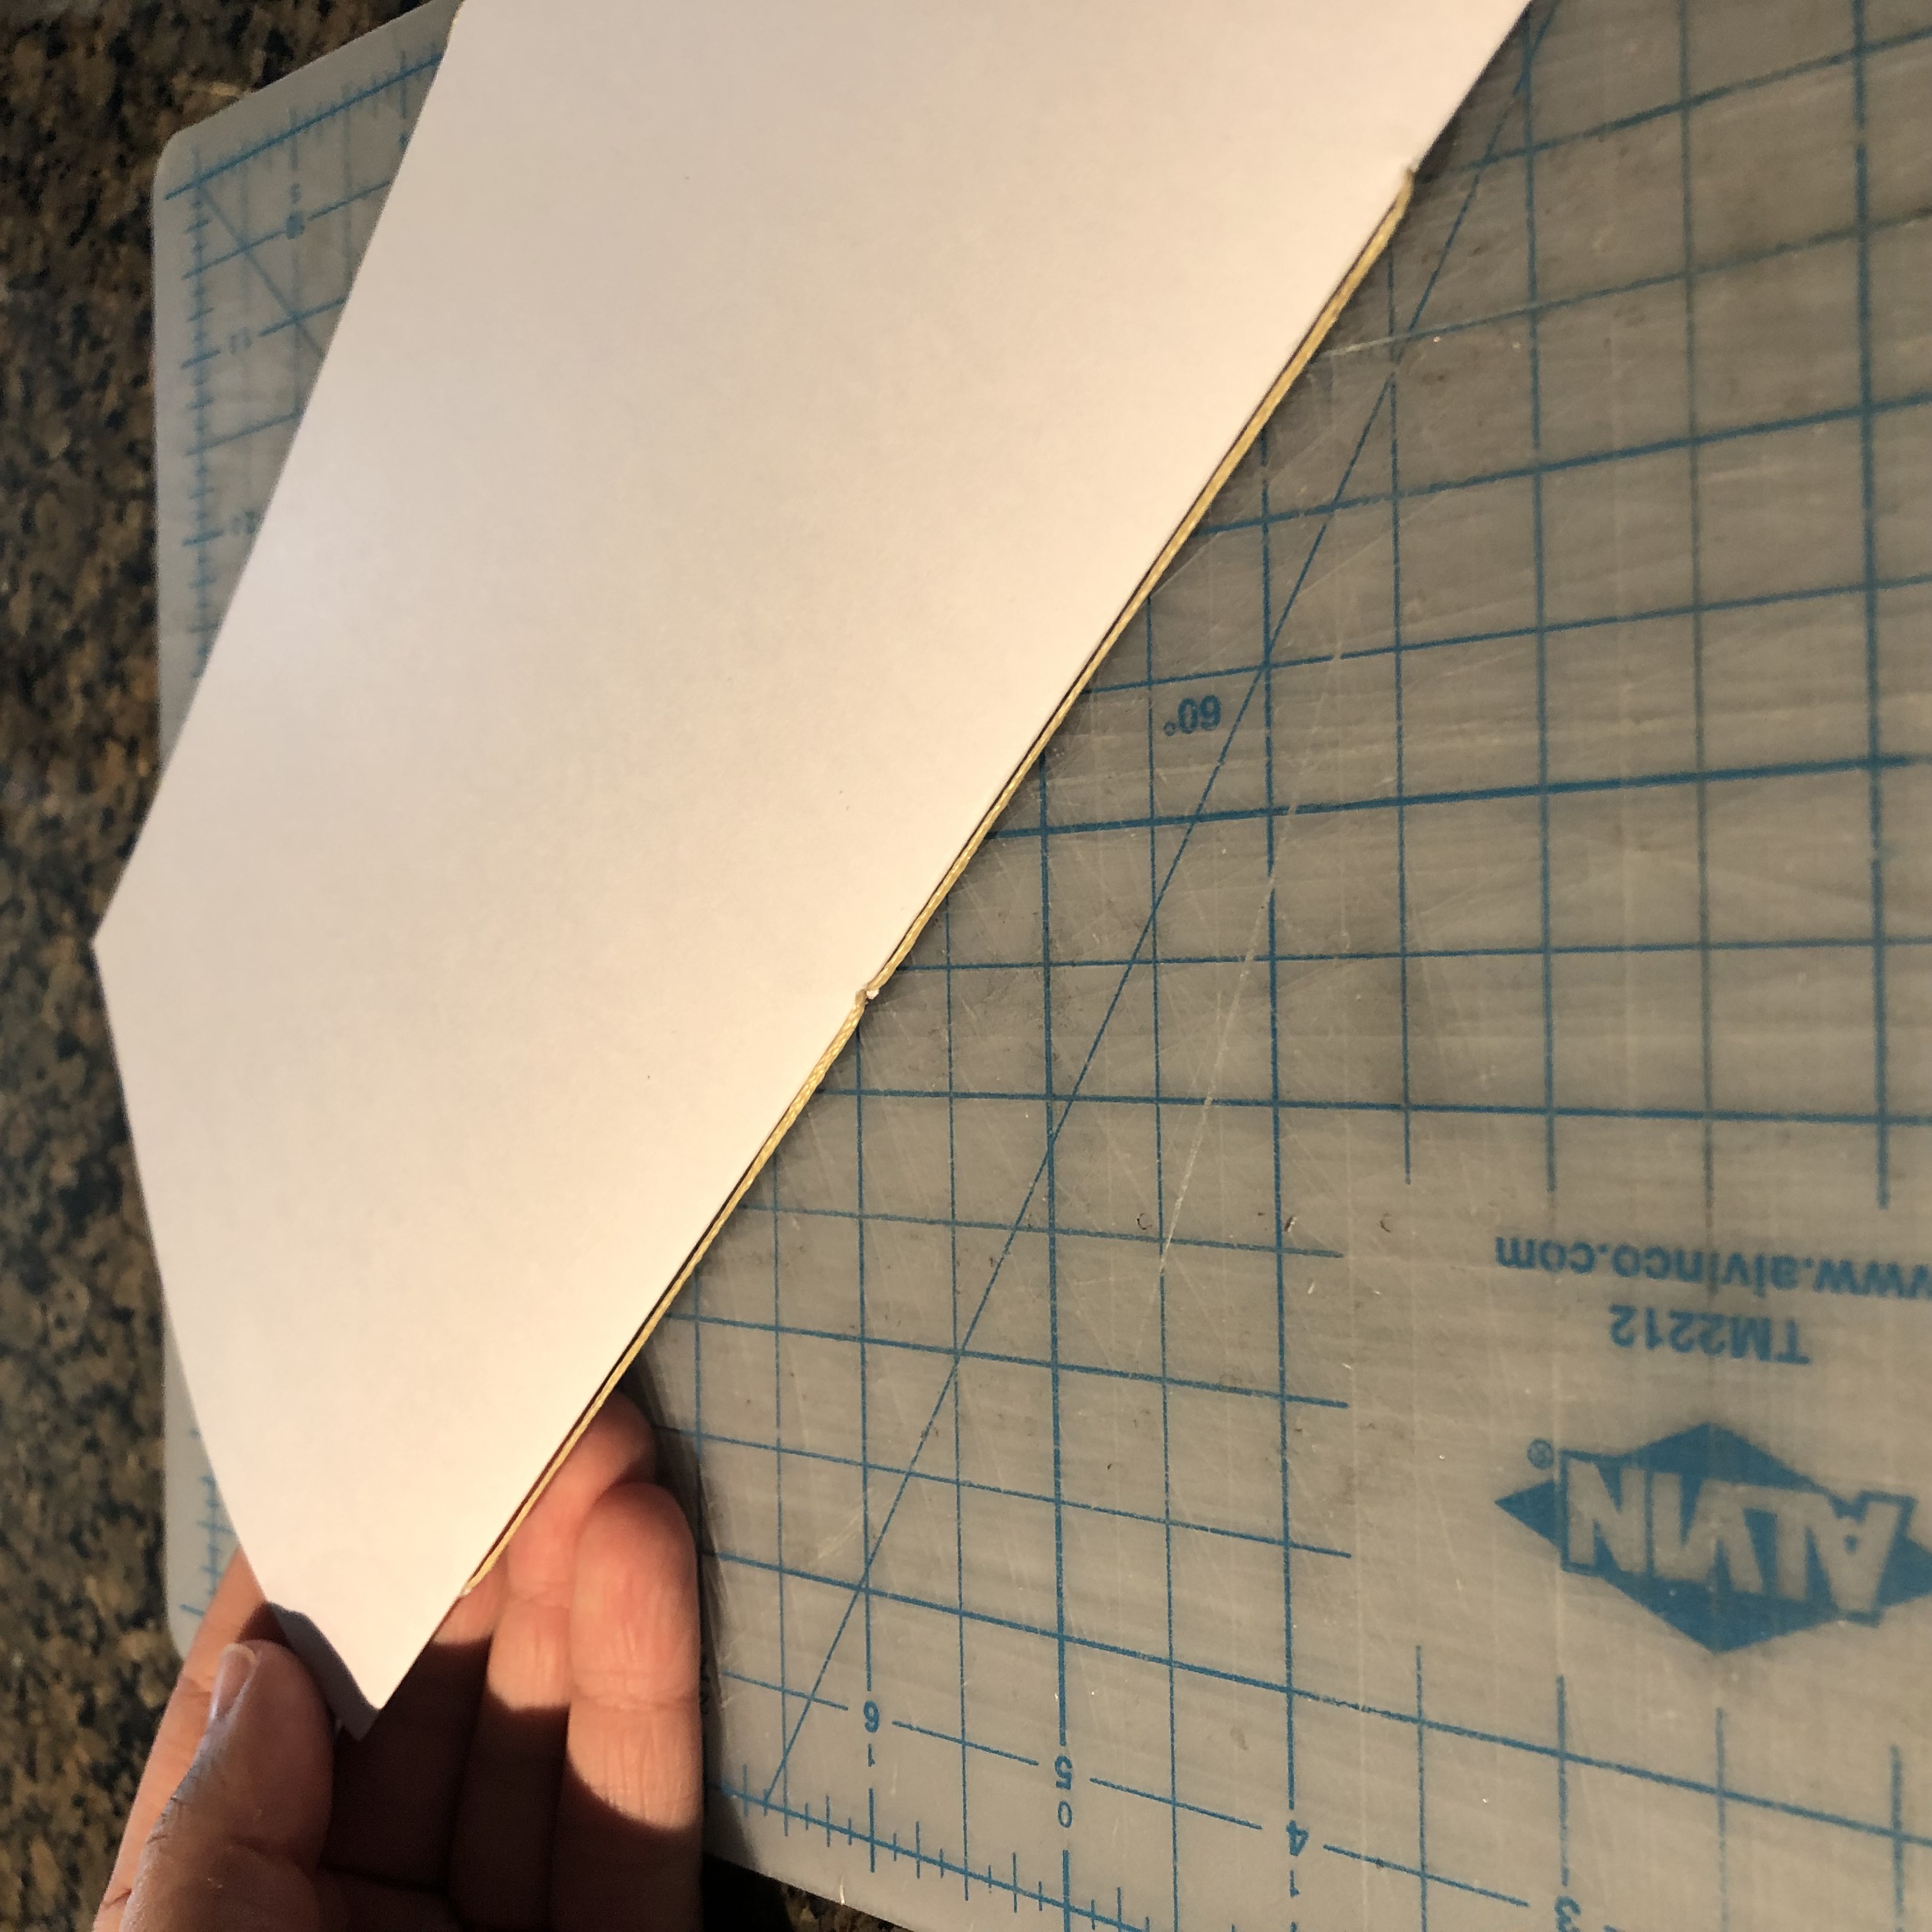
When folding, I like using a bone folder for a nice crisp crease, but they aren’t necessary. A butter knife will do in a pinch, or even just your thumb nail. I used to fold each page individually, but that often results in a gap between the pages of the spine. If you’re feeling confident, you can fold the entire signature at once for a more uniform fold.
Due to the nature of the saddle stitch method, it only works for single signatures of paper. Other methods exist to link multiple signatures together, which will be covered in future articles.
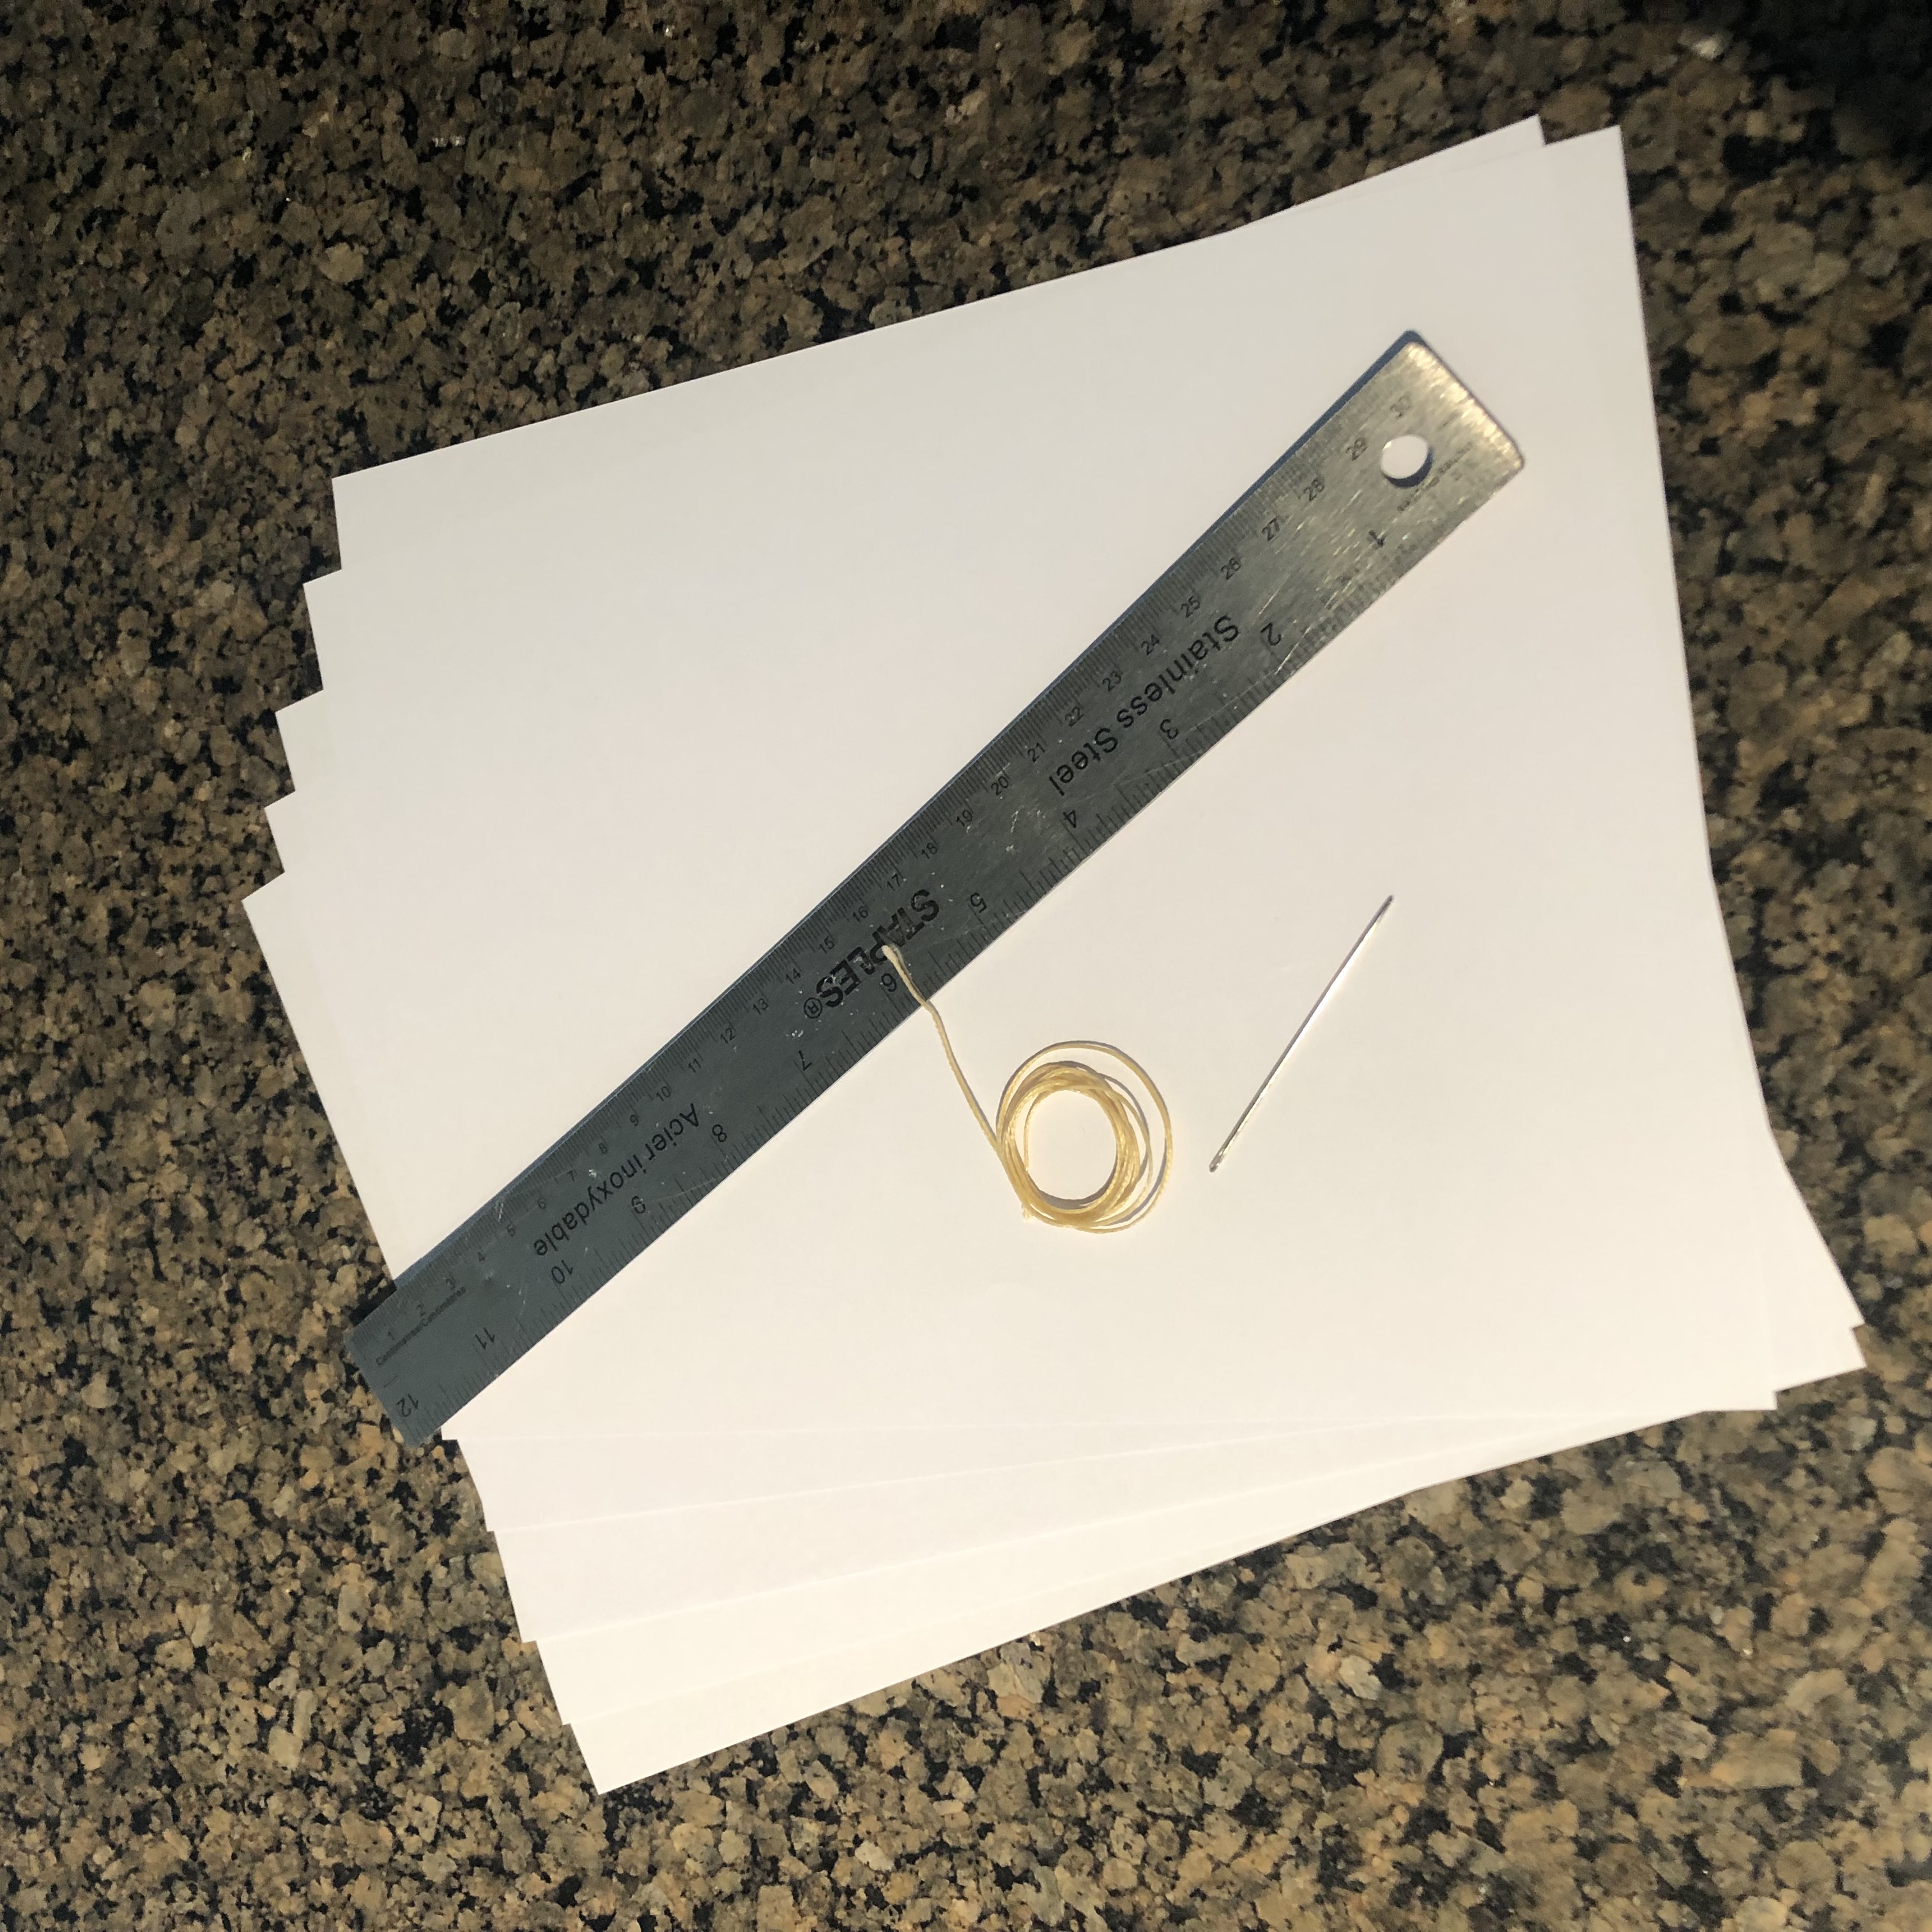
Materials
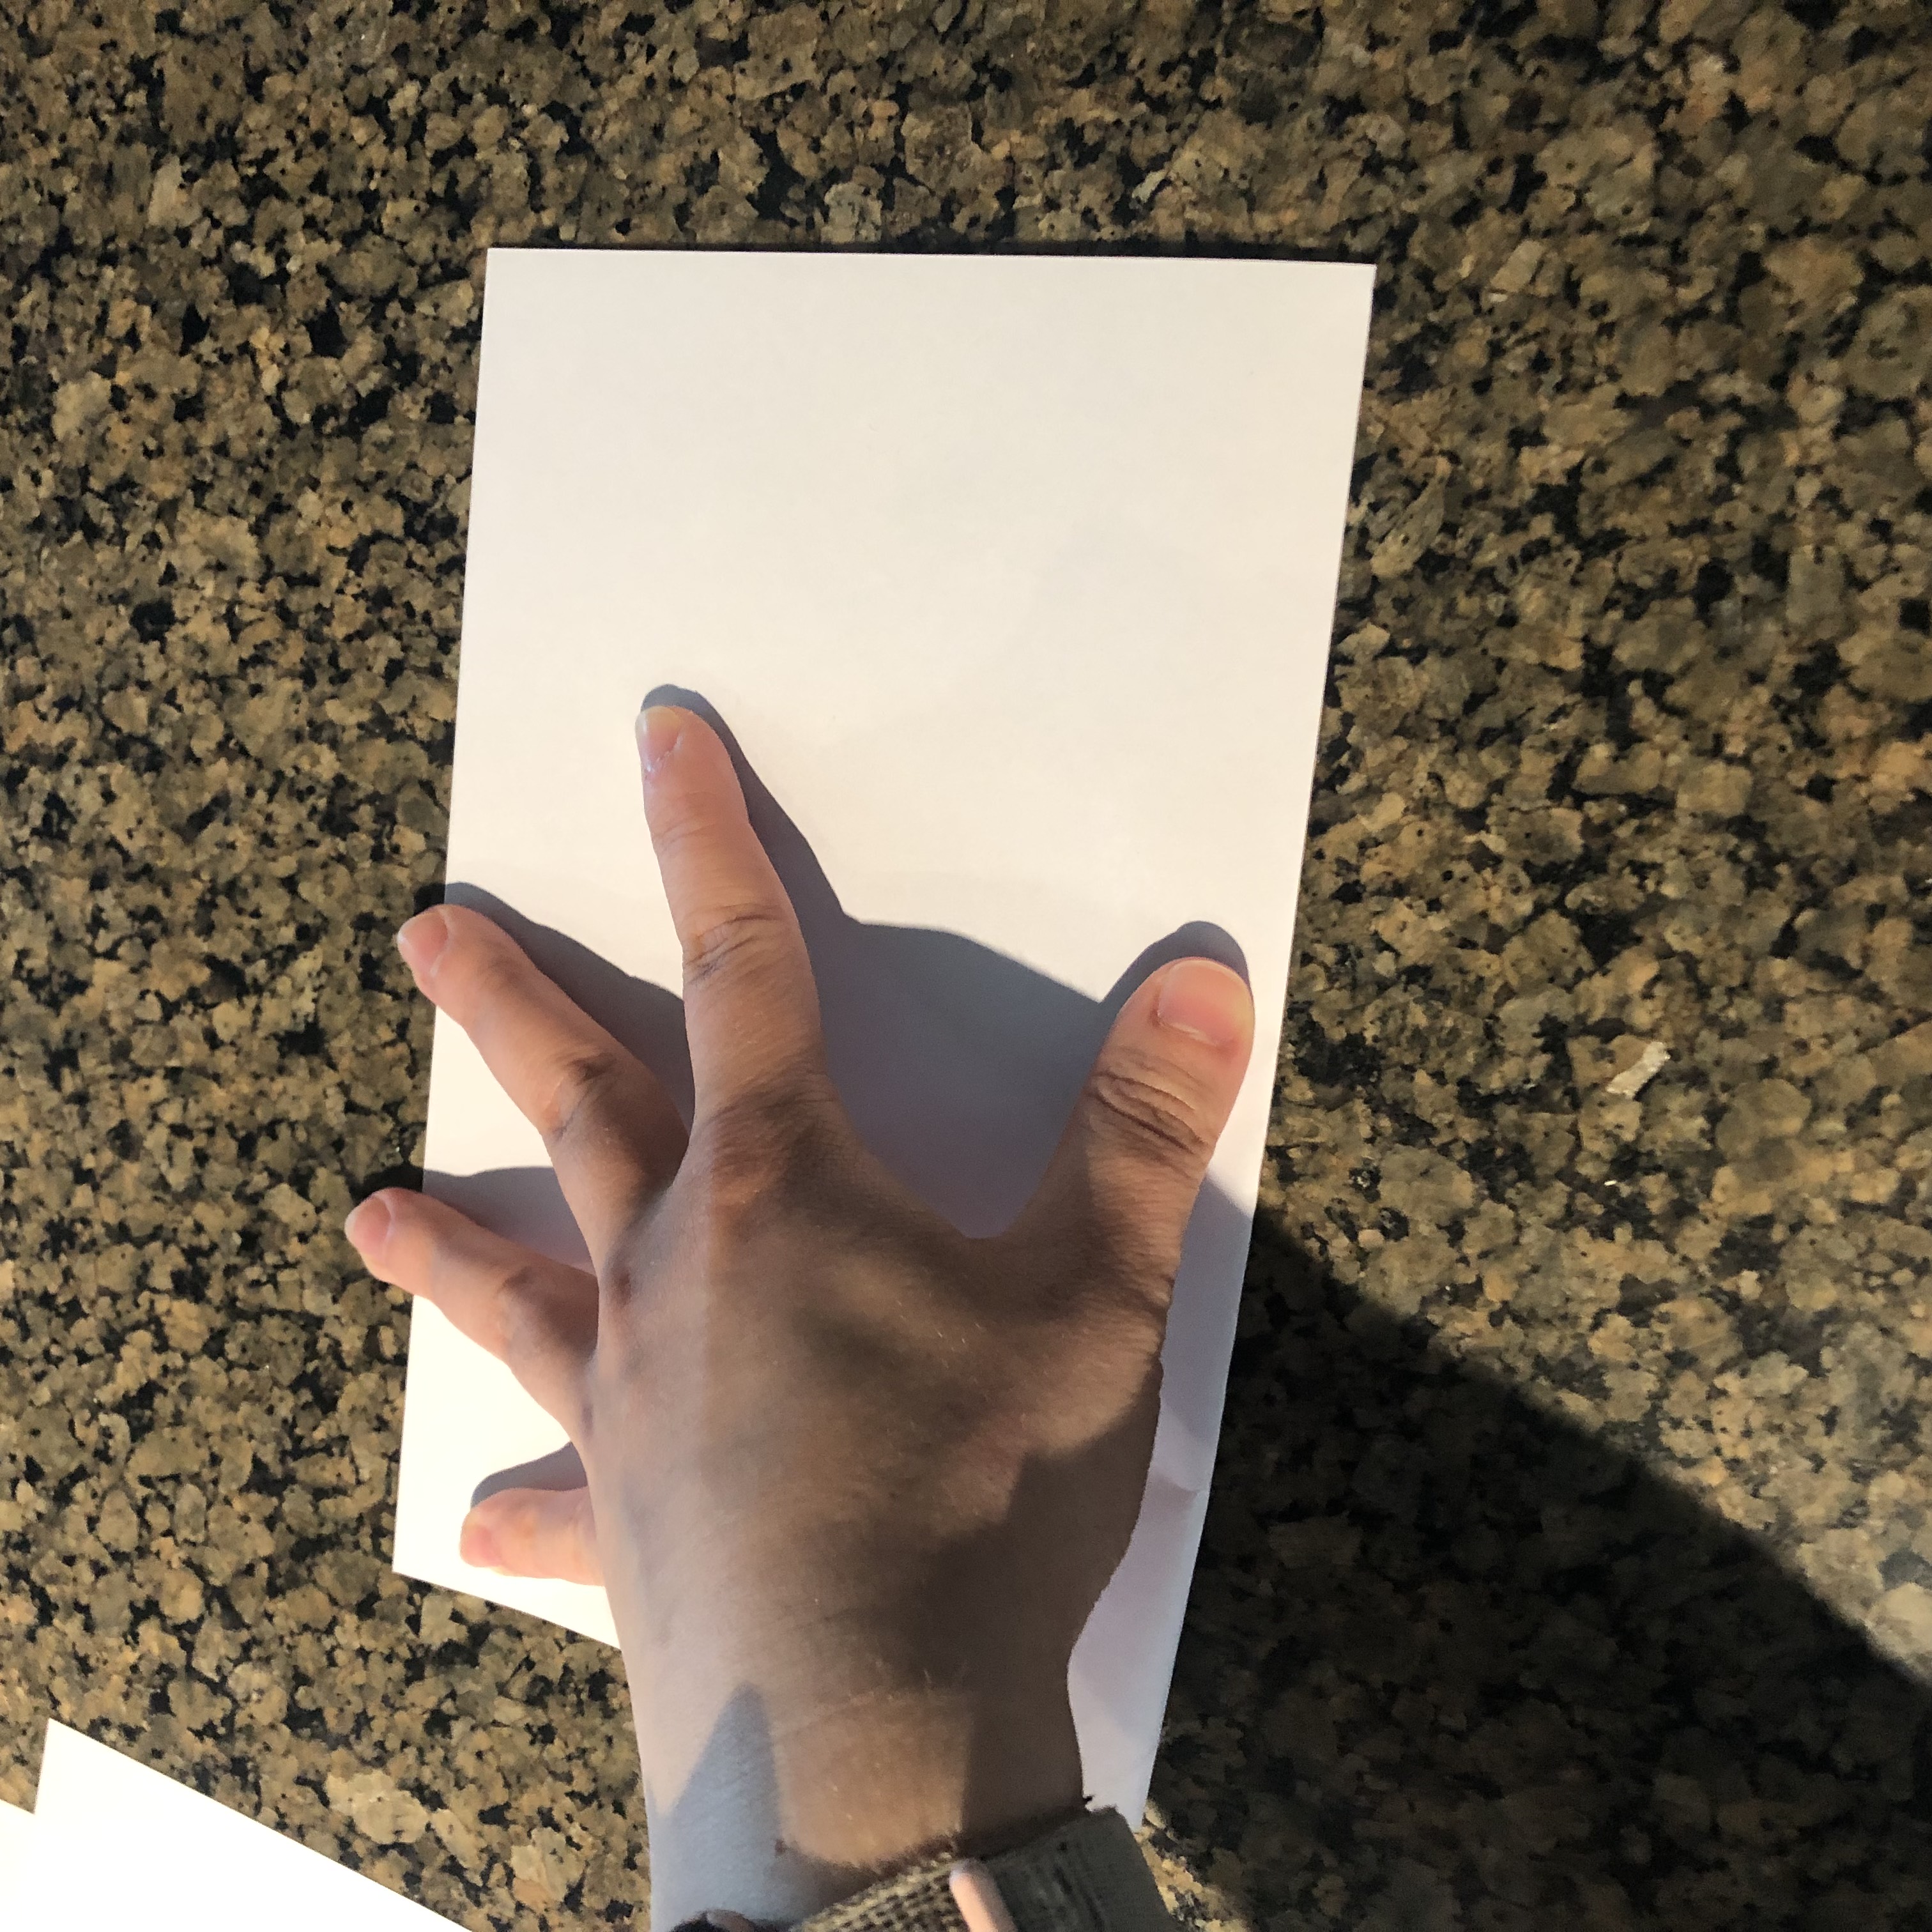
Fold the paper
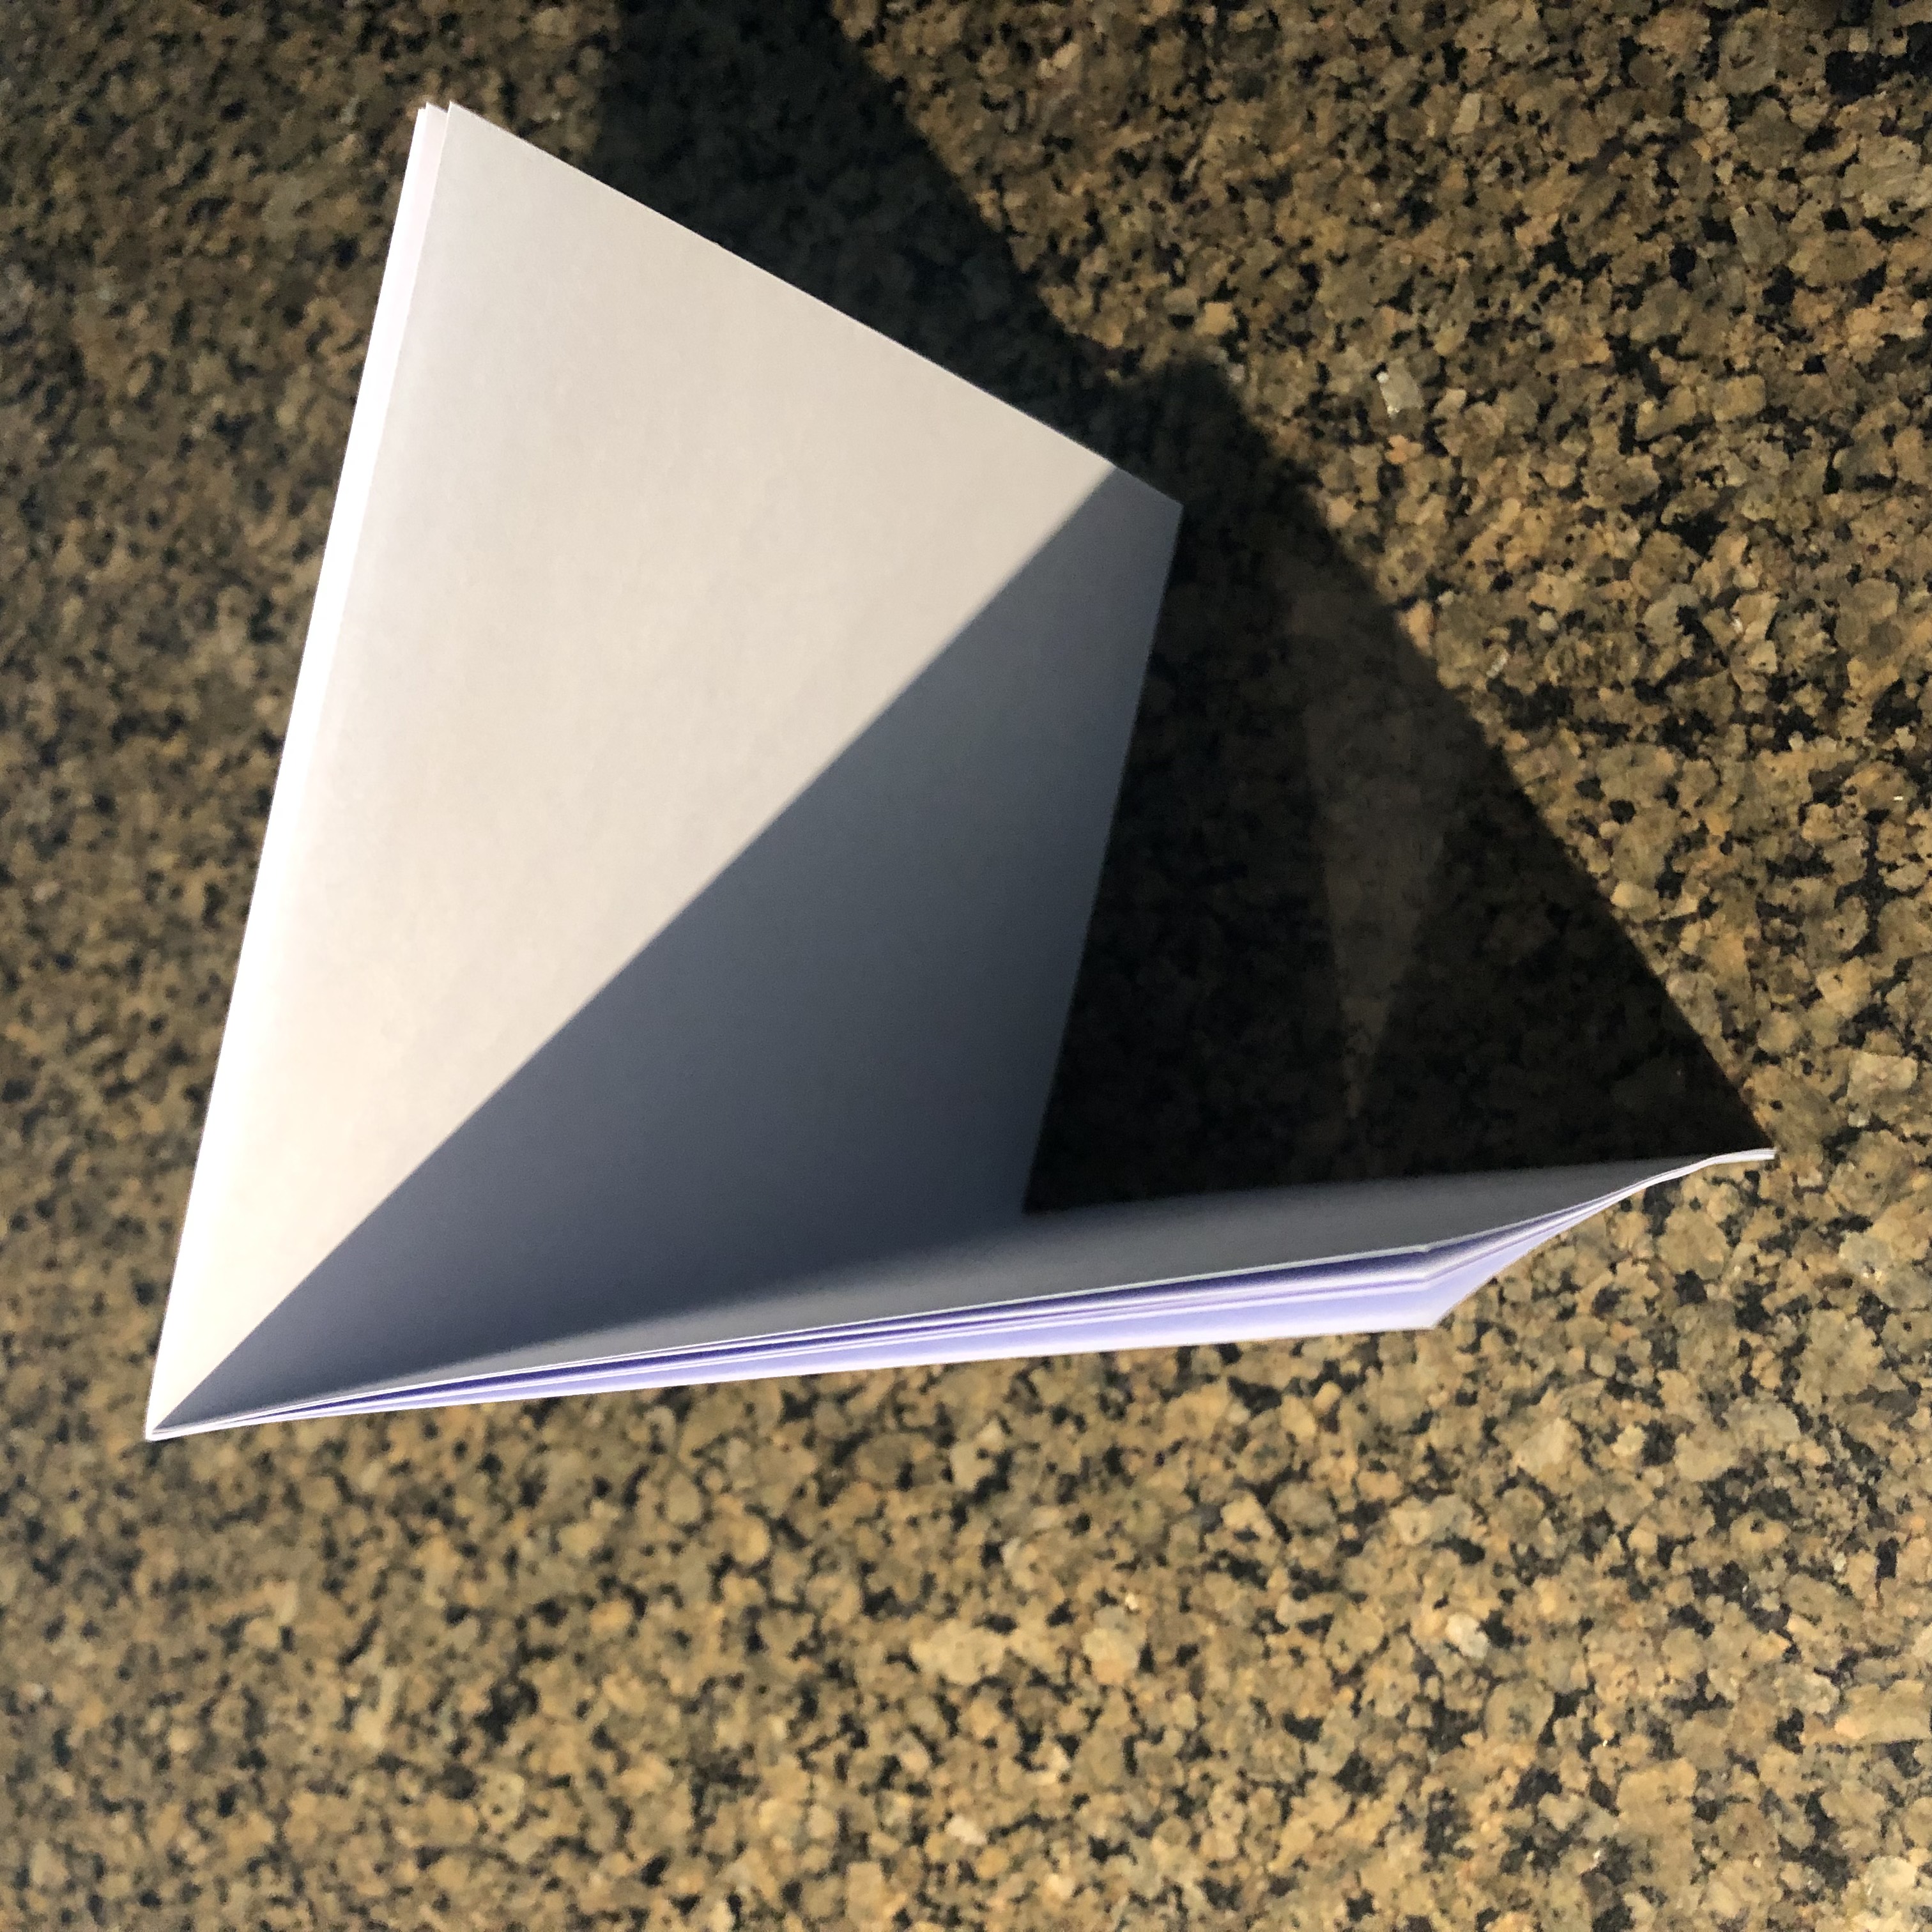
Signature
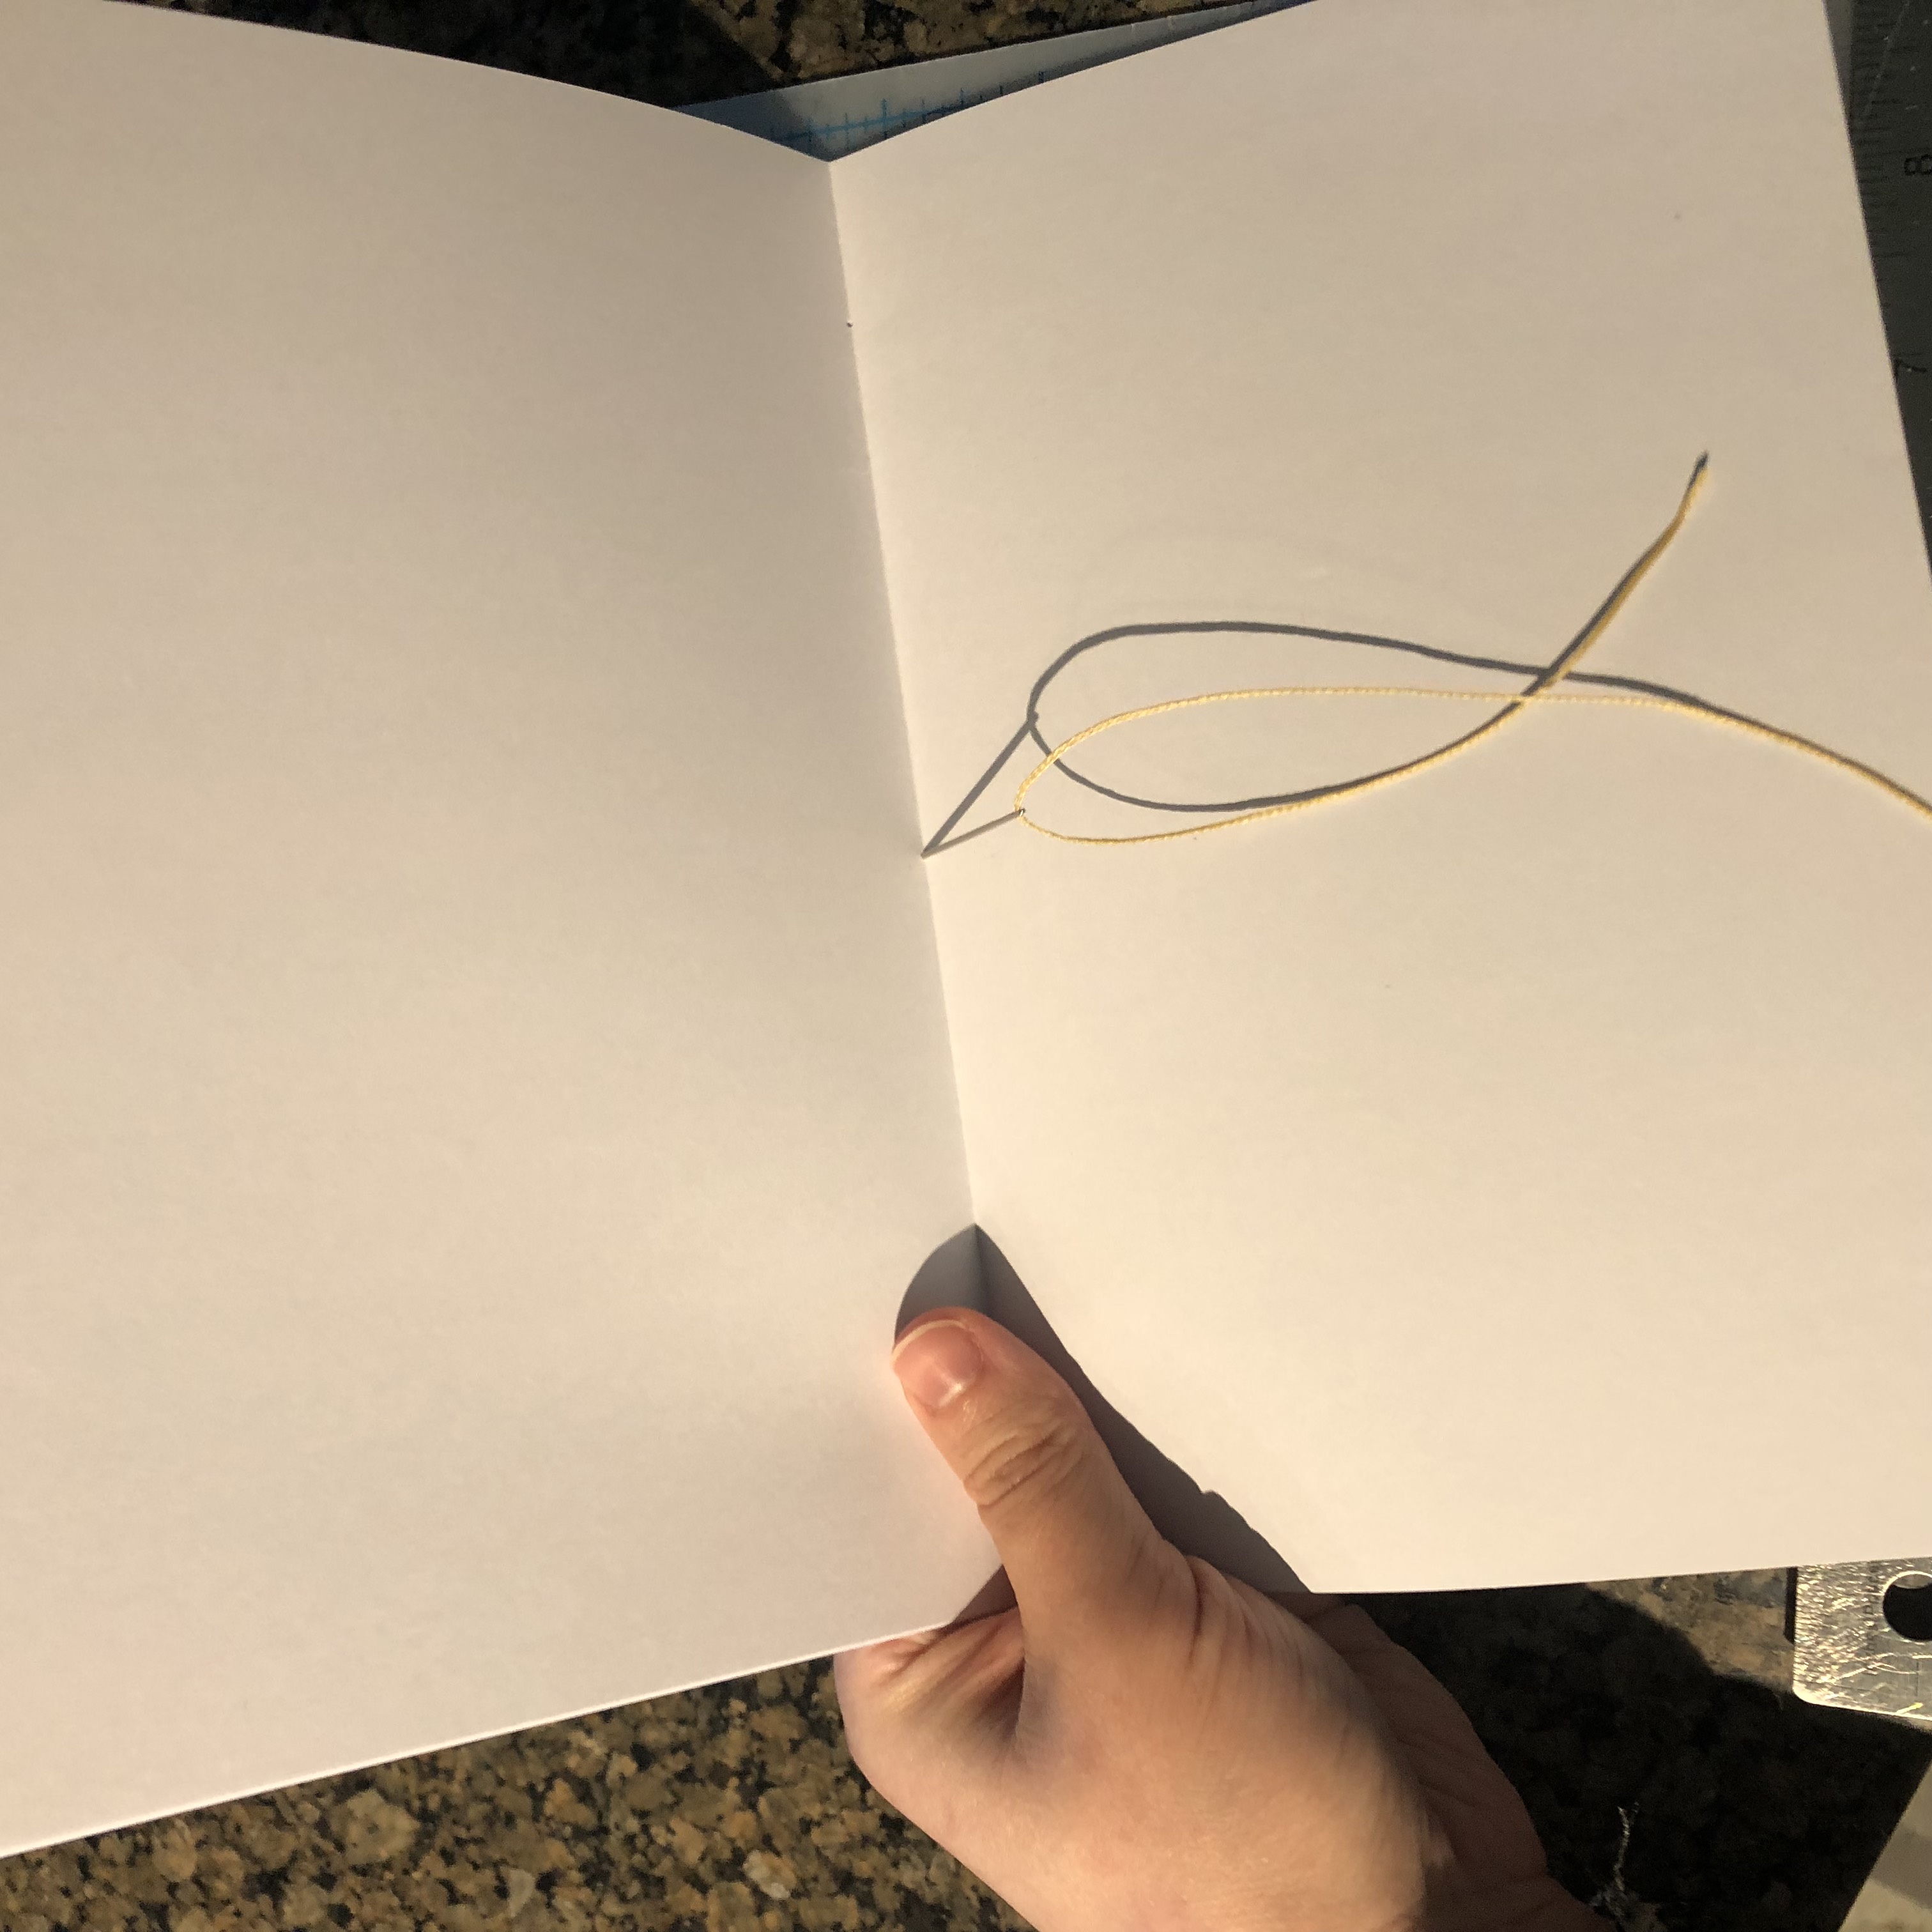
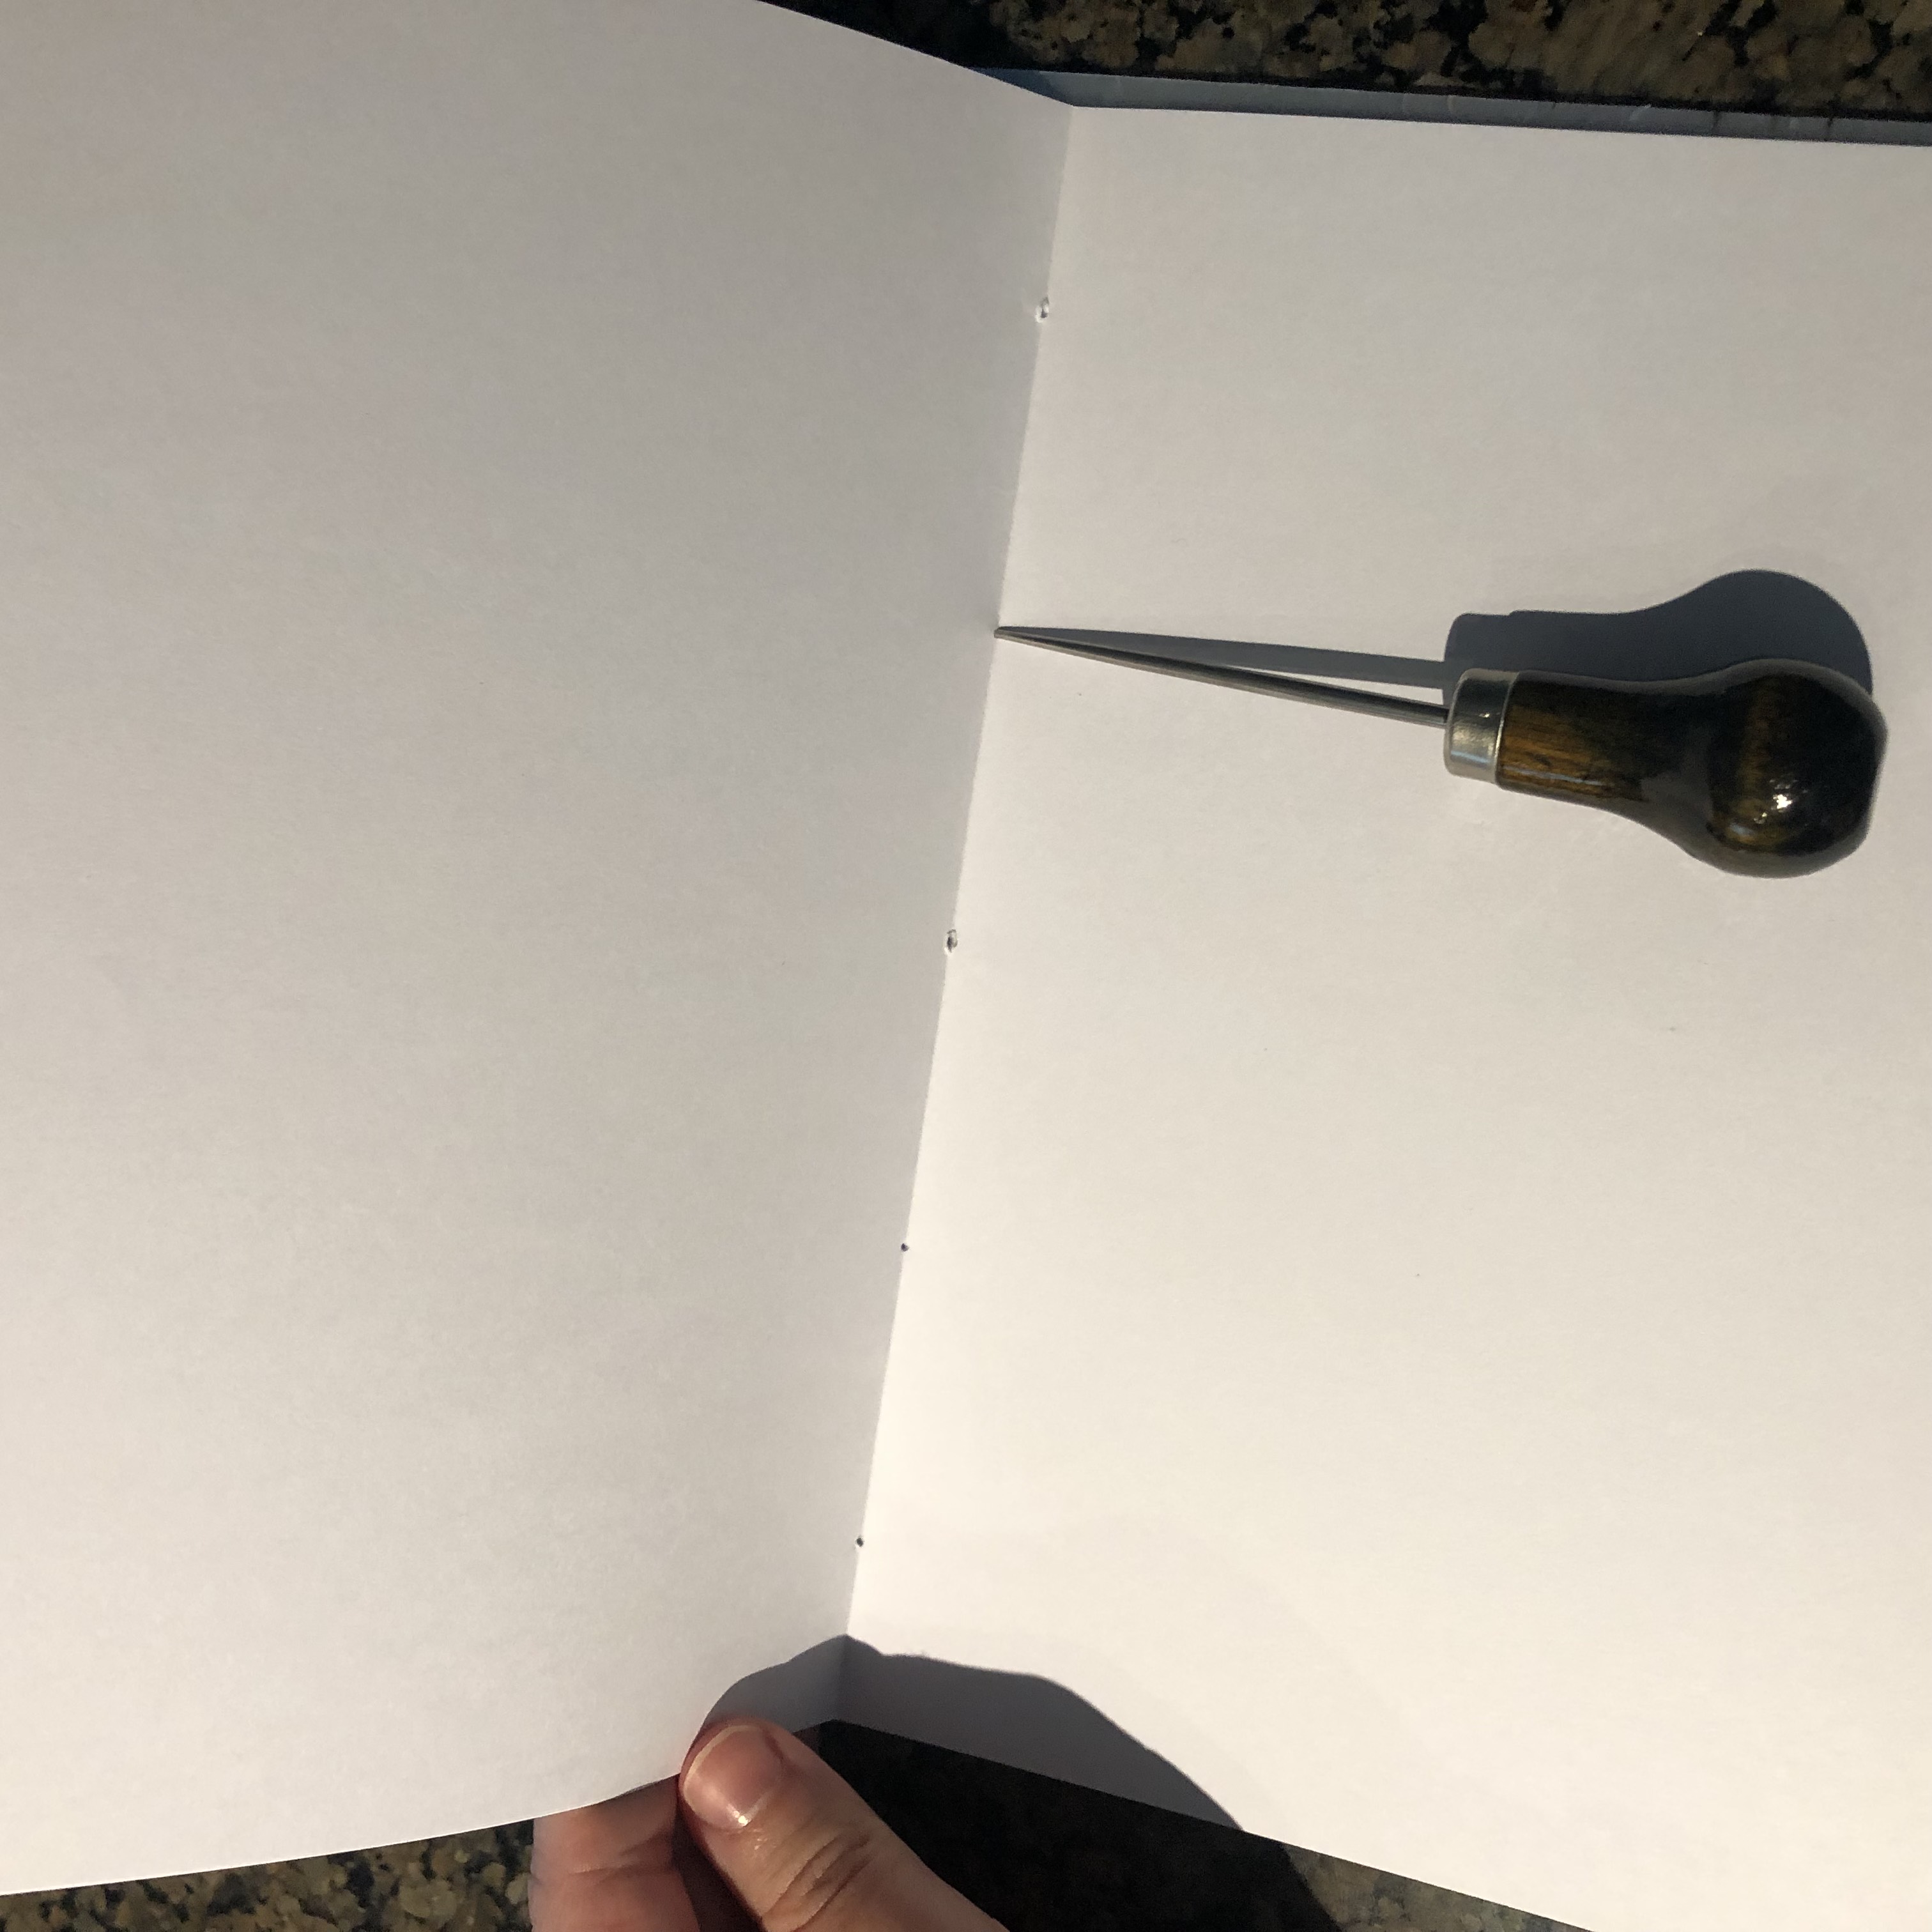
The next thing you’ll need to do is poke the holes into the spine of your signature. These books require an odd number of holes in the spine, the simplest design being 3 holes (one in the centre of the book with one on either side).
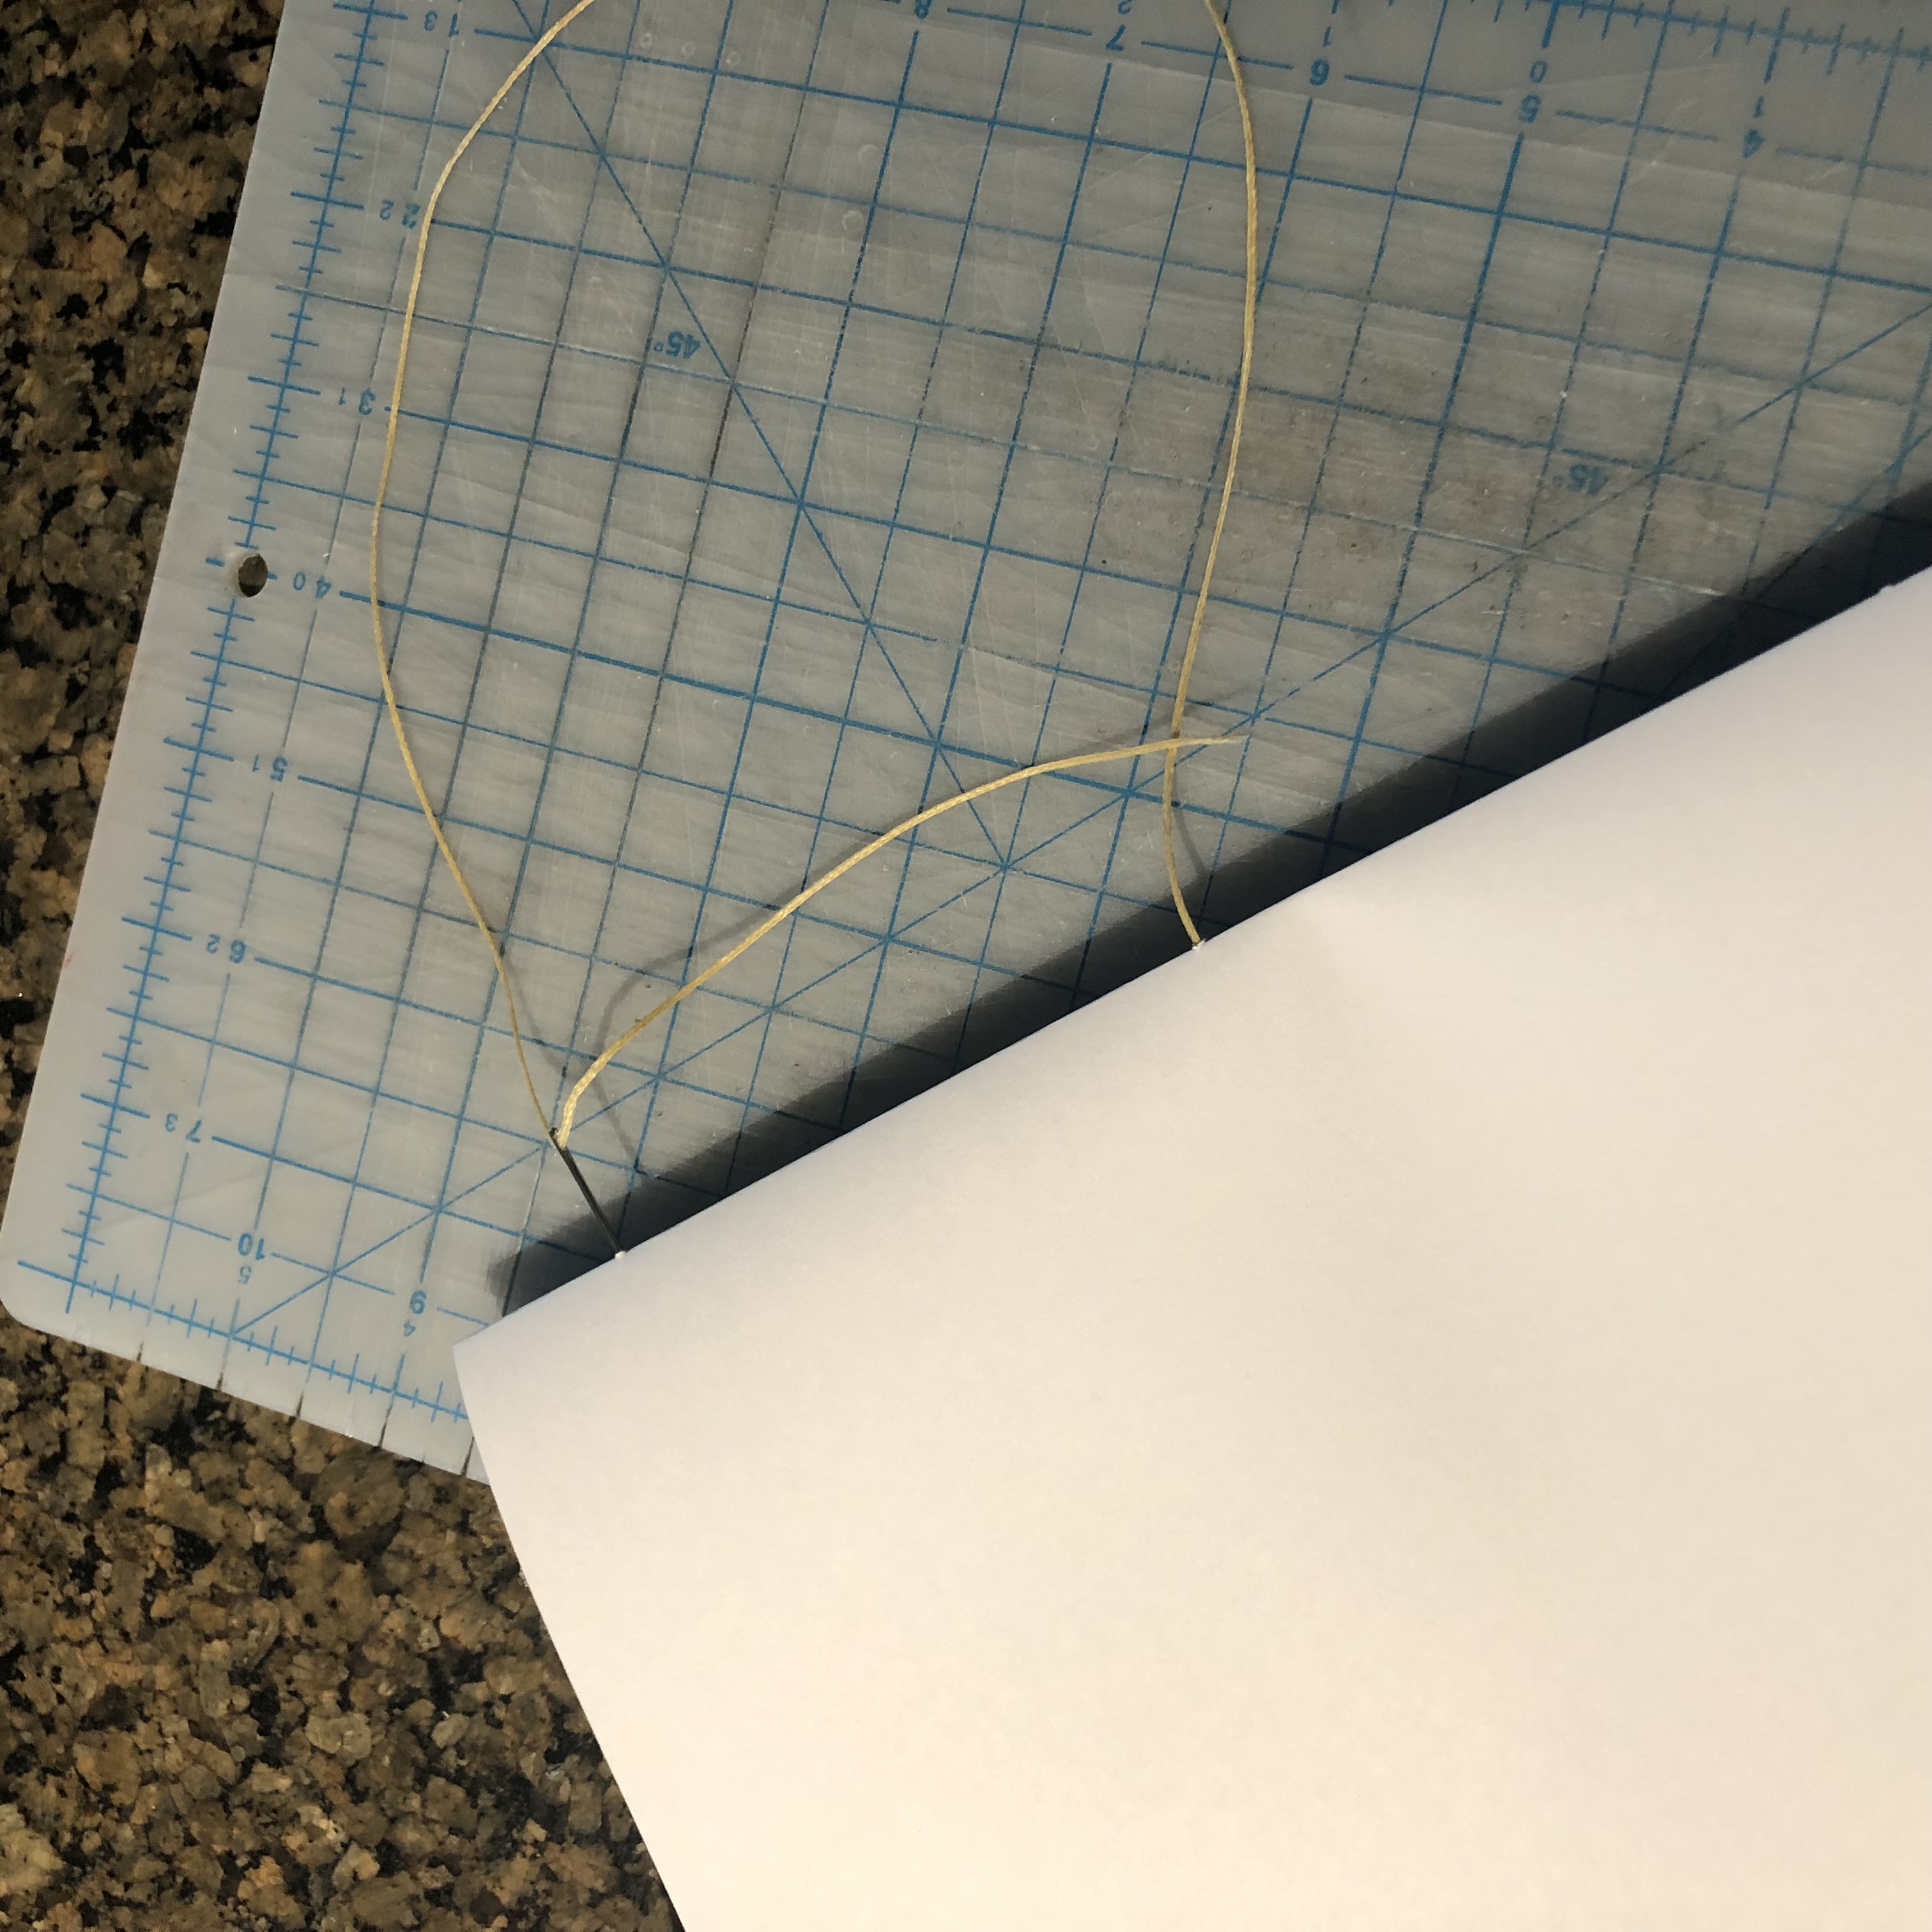
Using a ruler, poke your spine holes with your needle (or an awl if you have one). I’ve found that the best method for getting a straight punch is to balance my signature on its spine and poke straight down. You could also poke through at an angle with the book laid flat (as seen below). Make sure you have something underneath if you don’t want to damage your table, such as foam, cardboard, or a cutting mat.
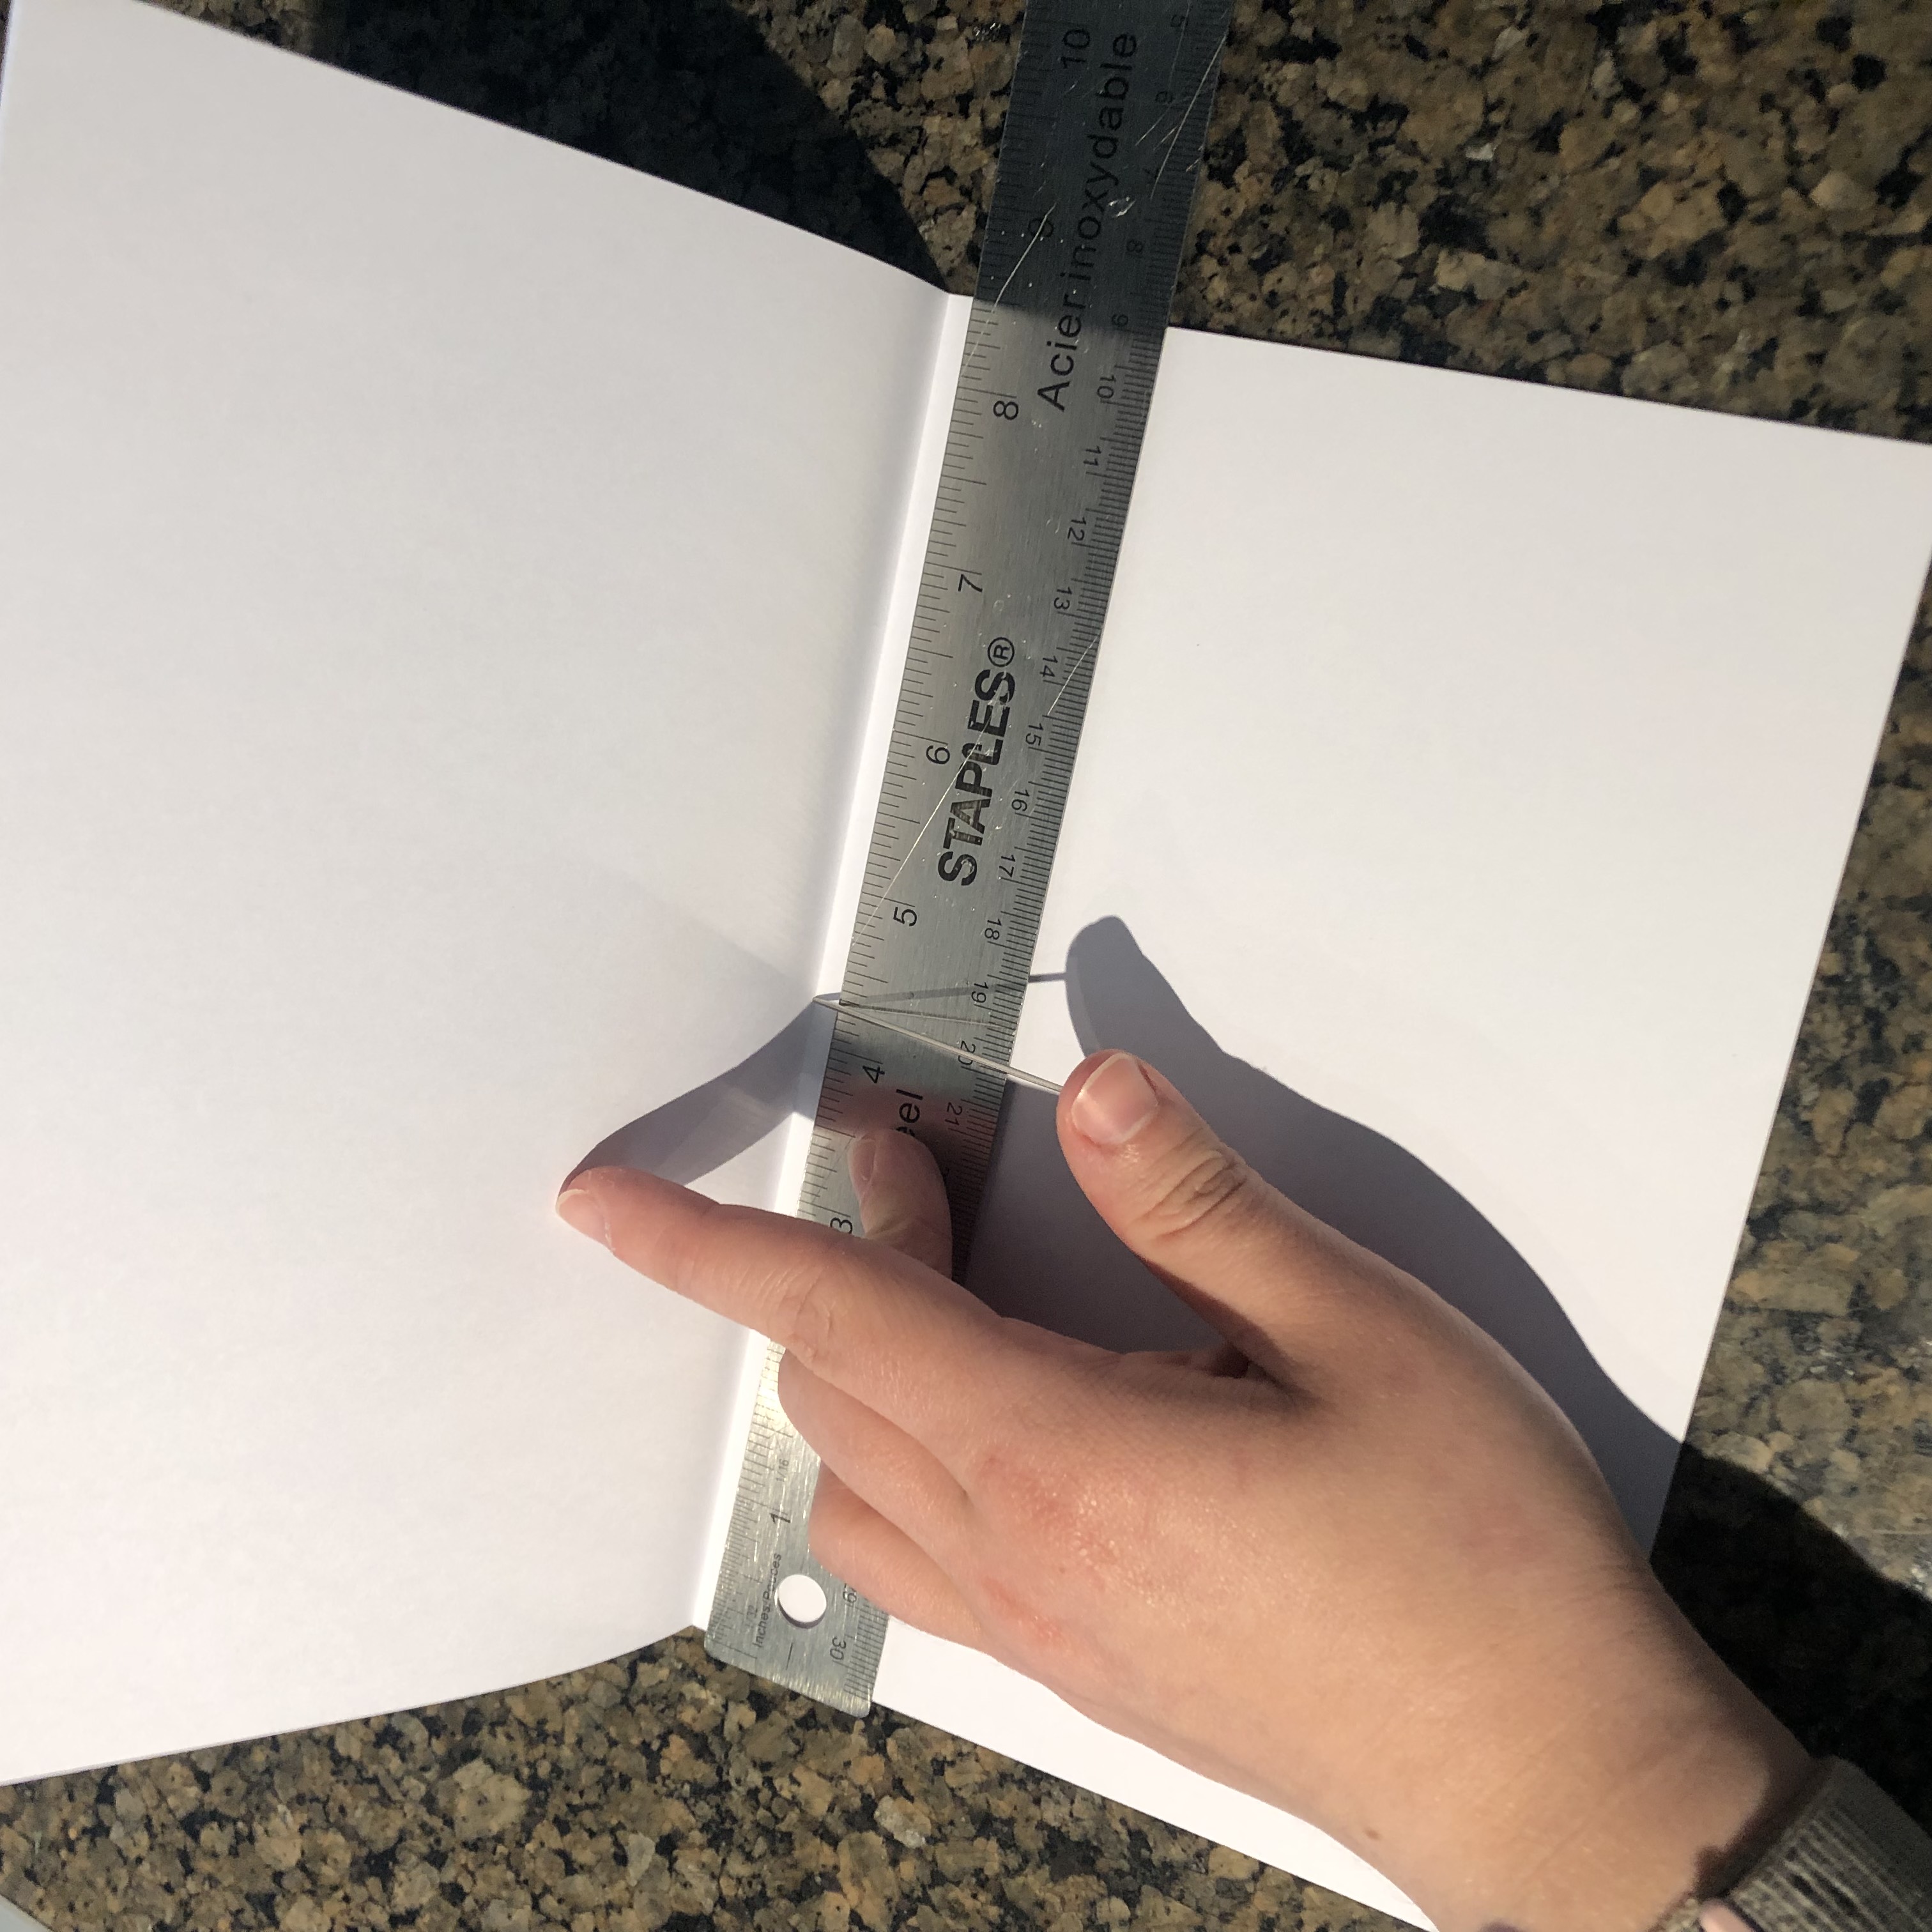
Measure the holes
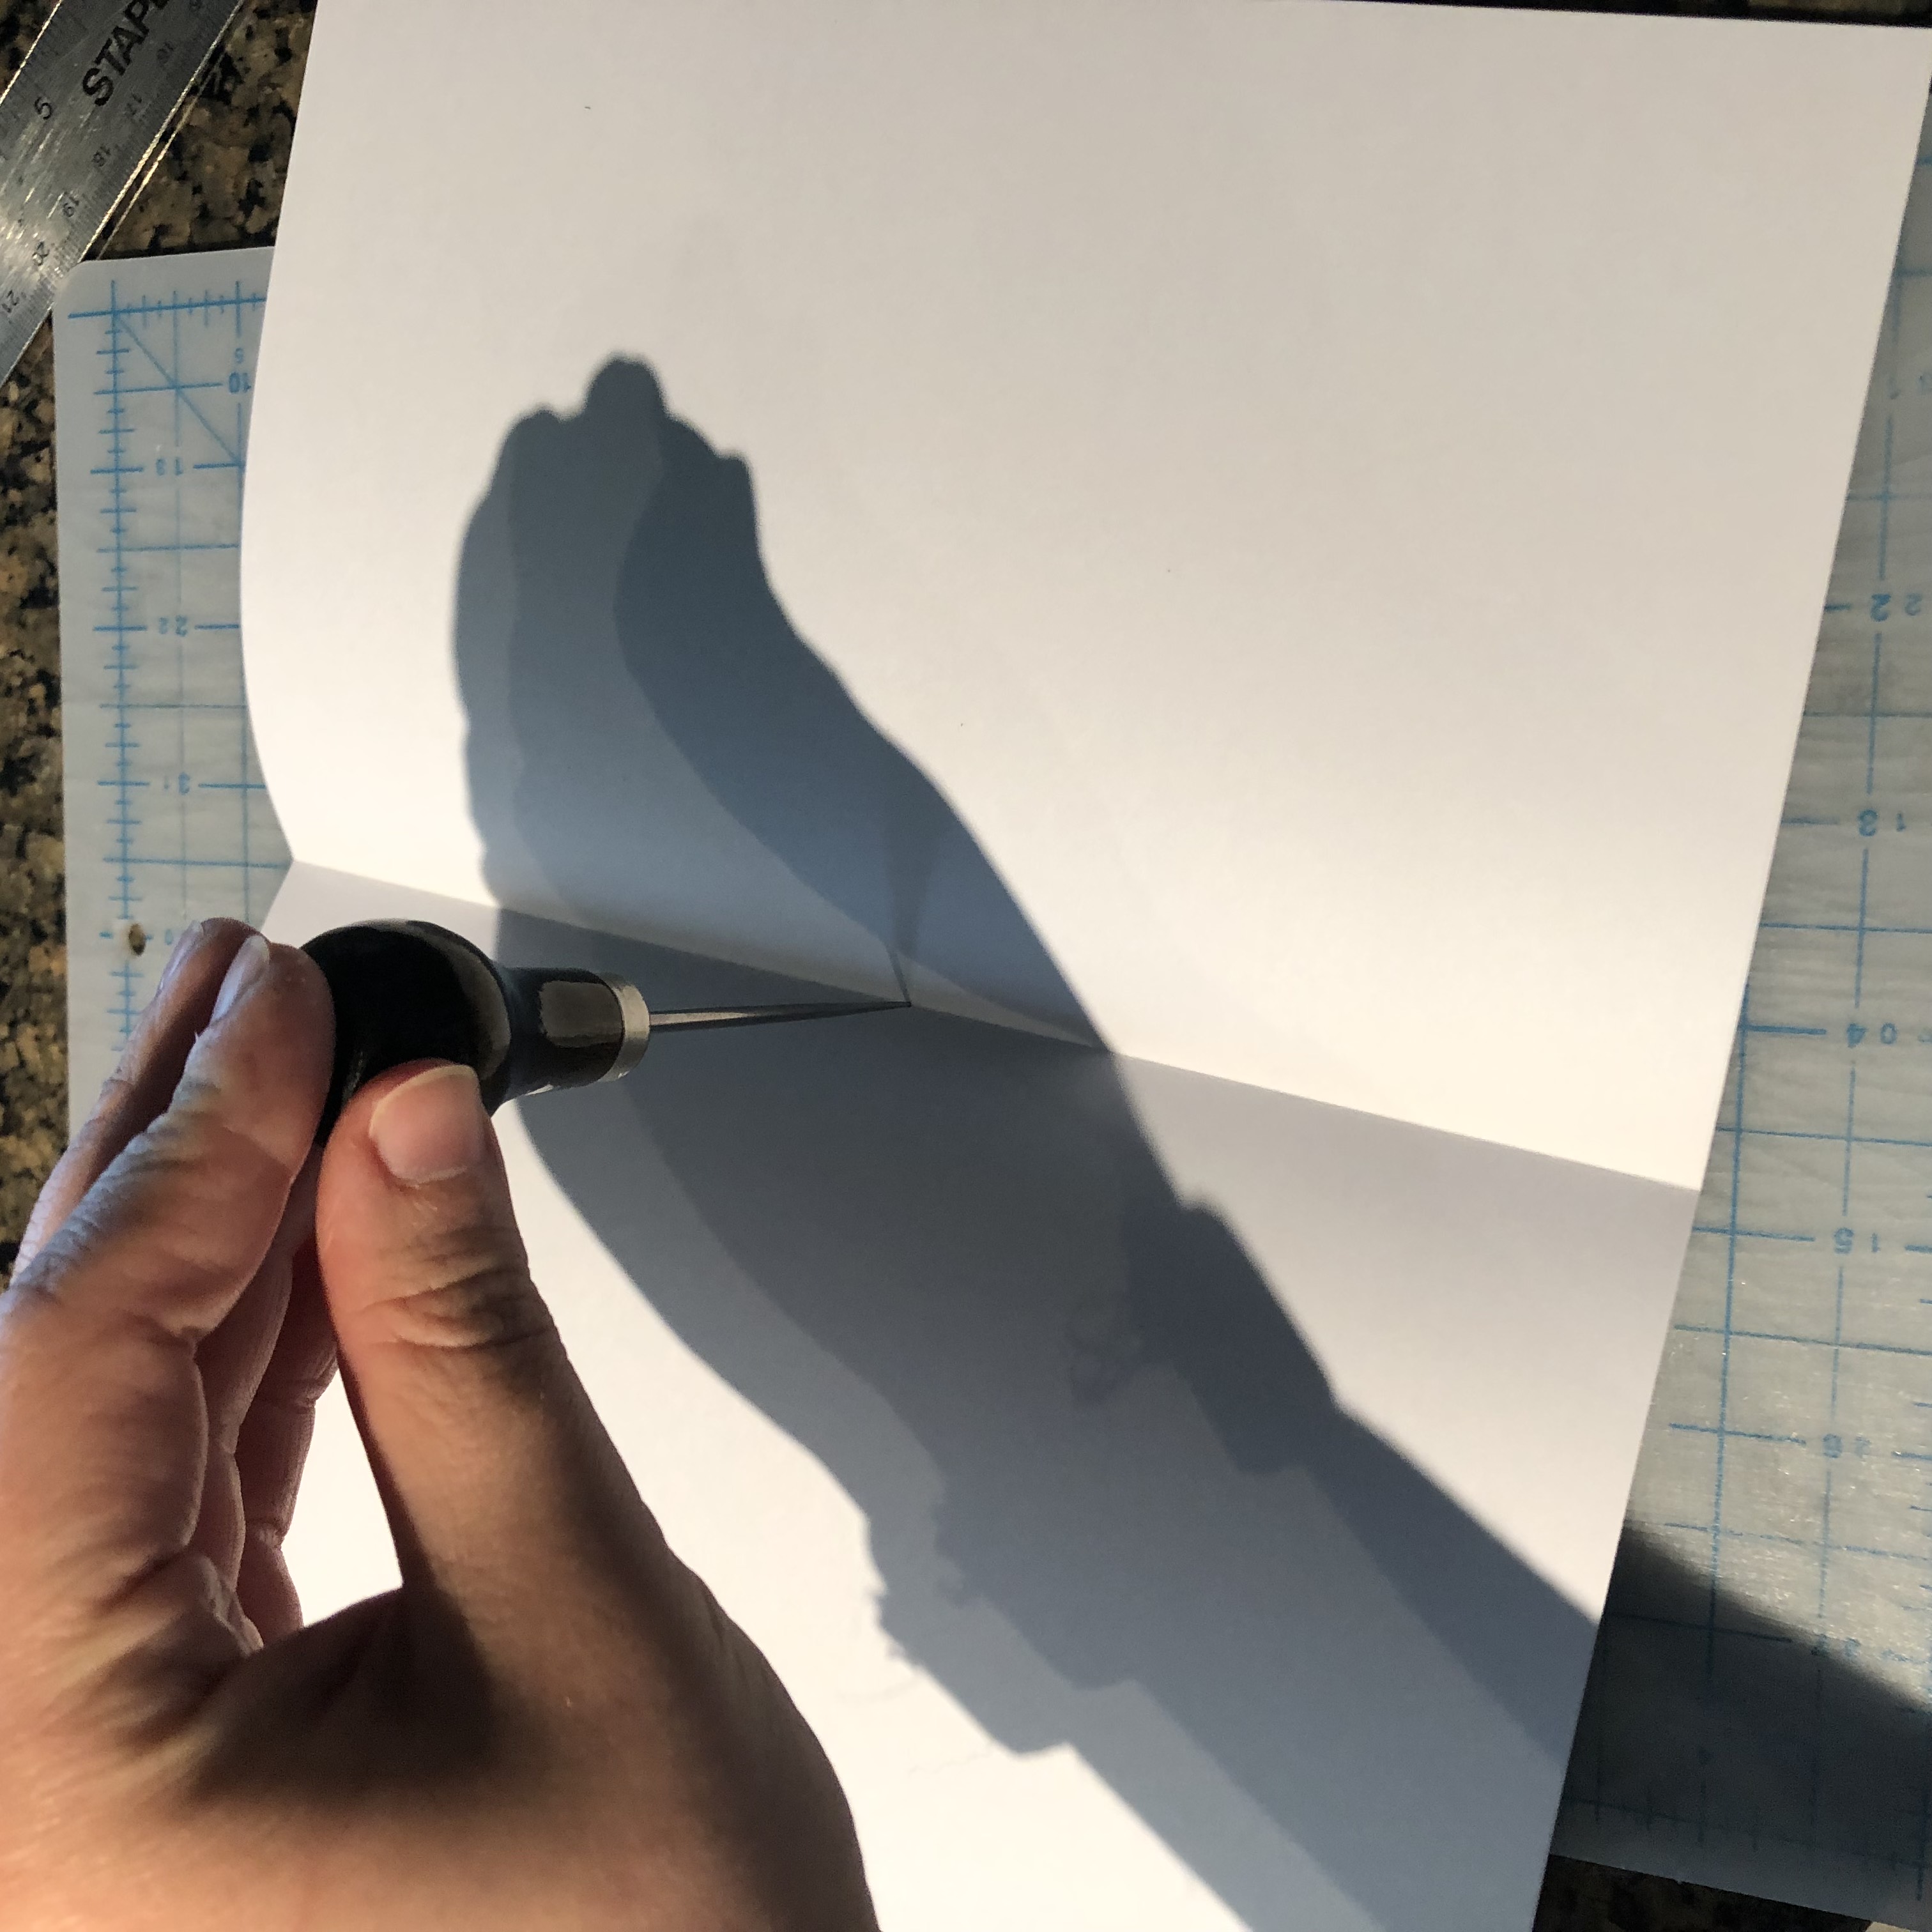
Poke the holes
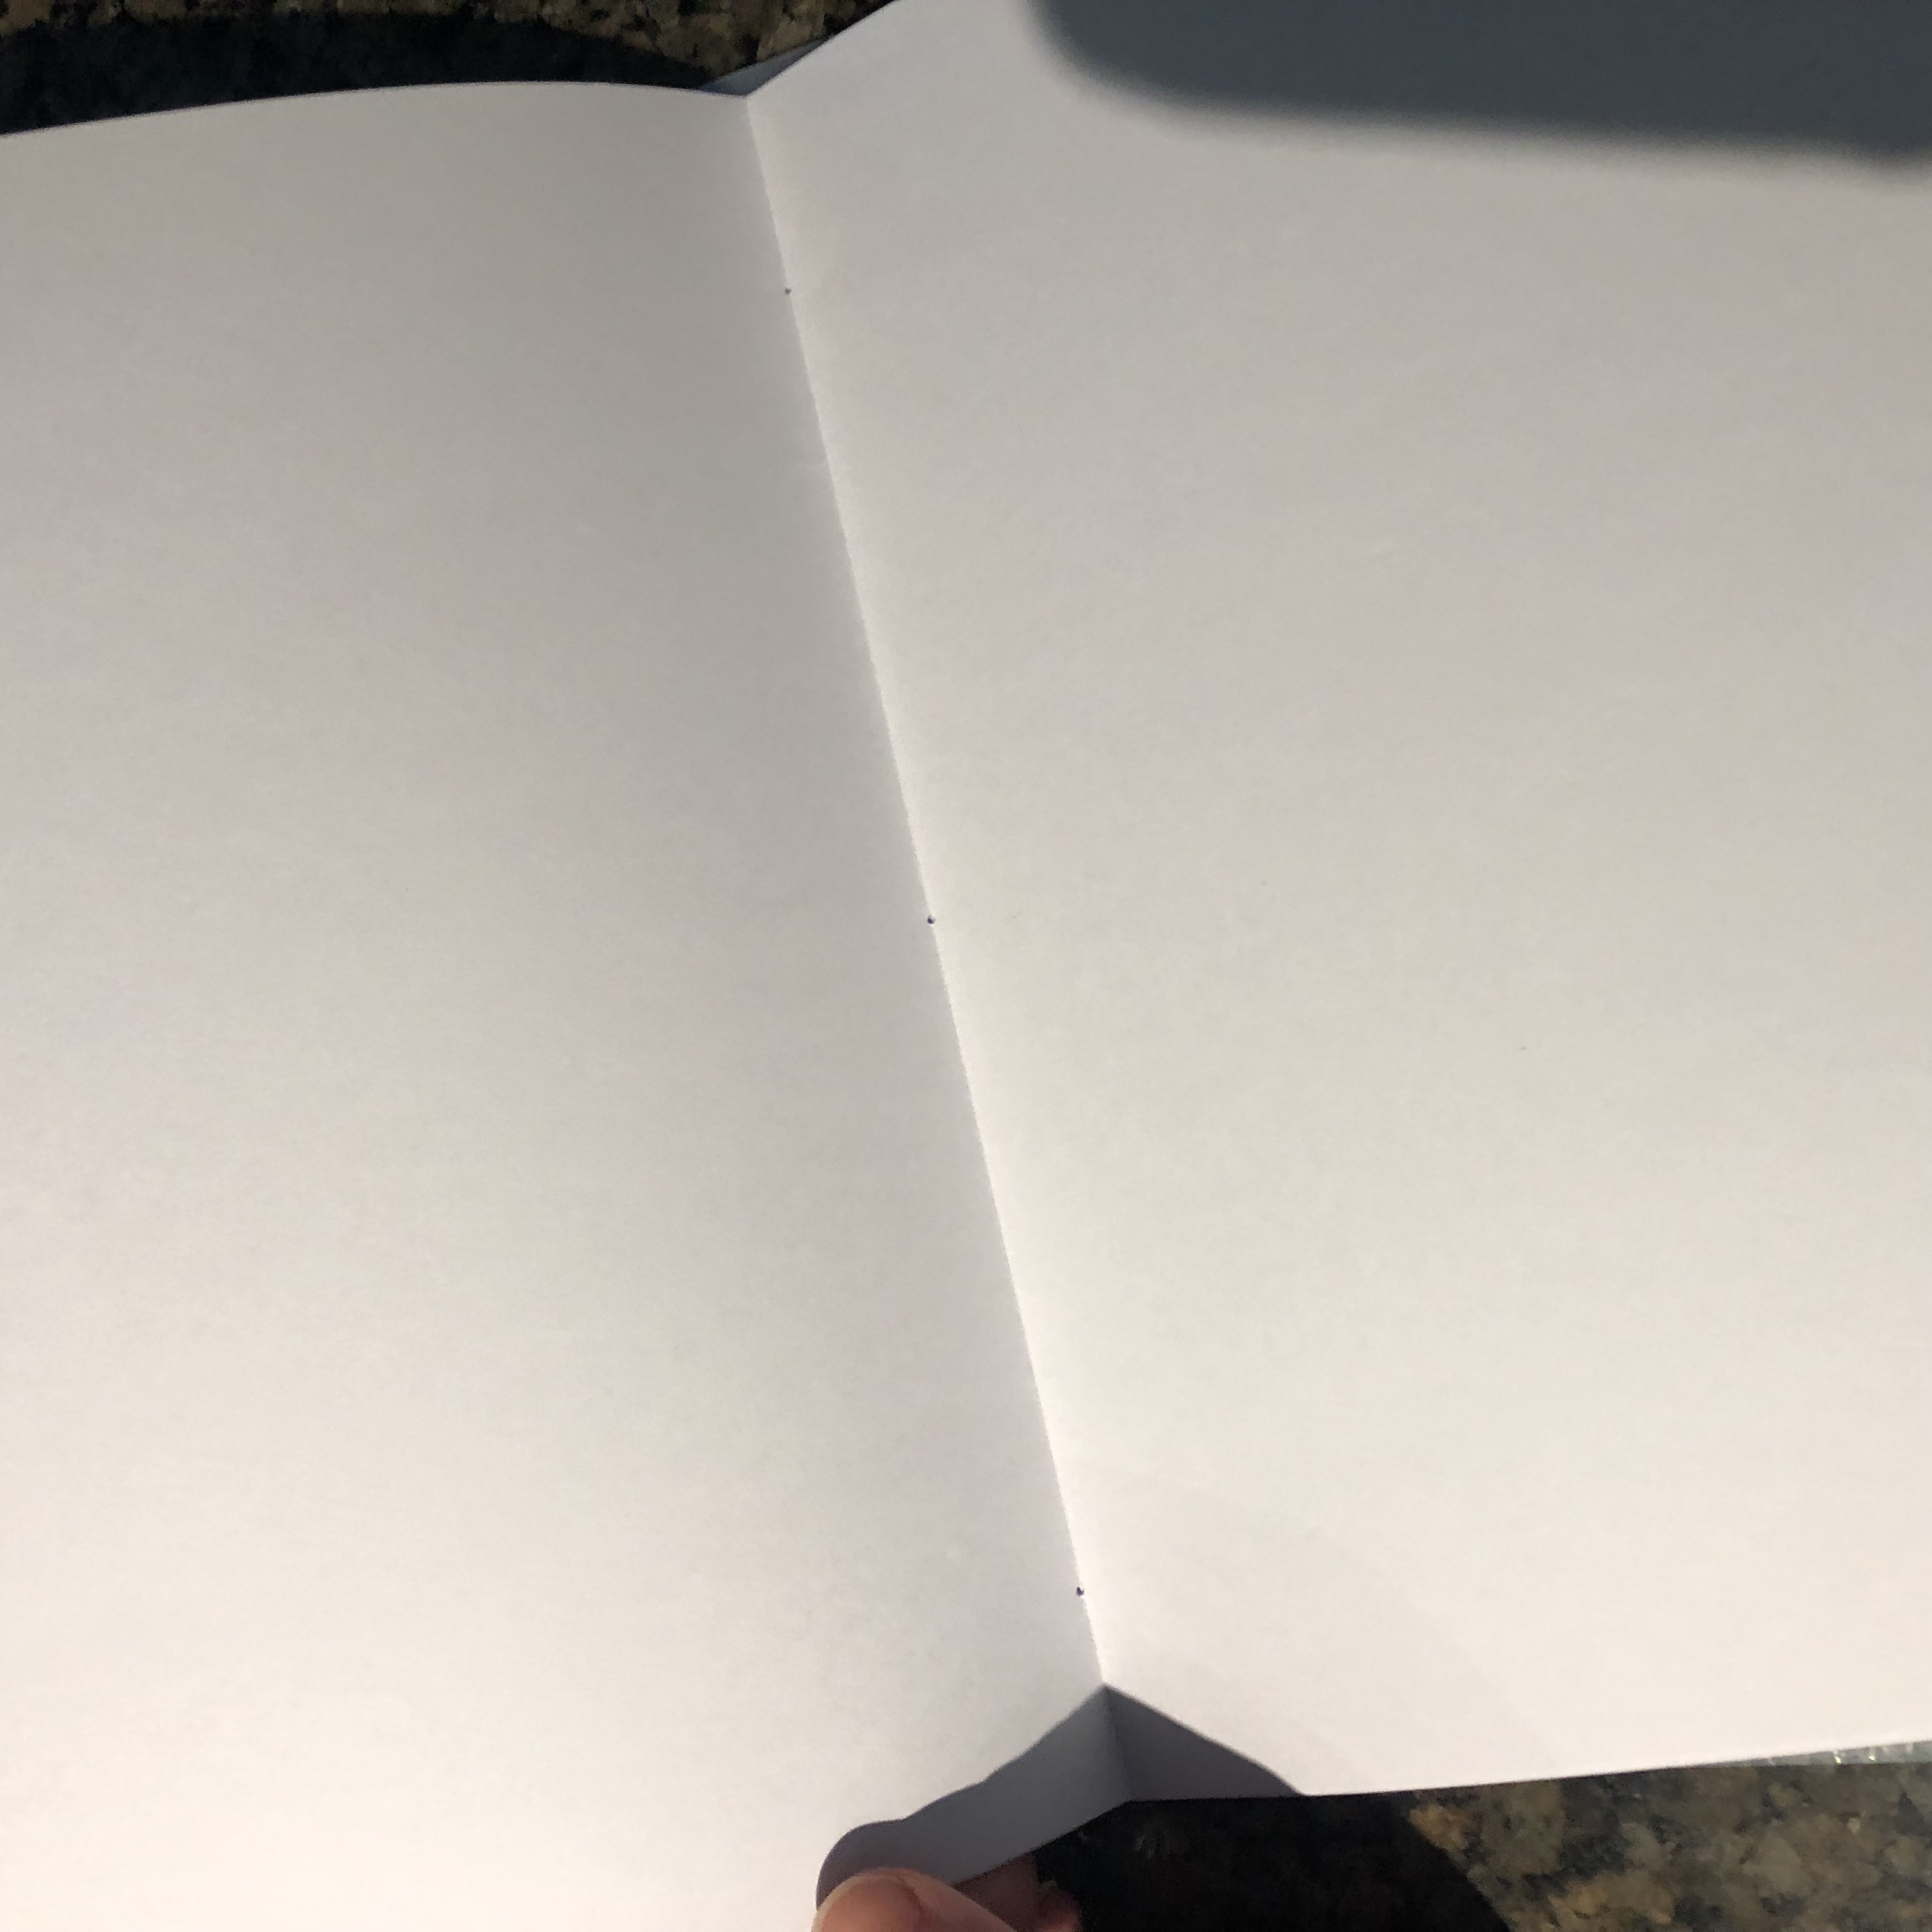
Three holes
Once the holes are punched, you’re ready to stitch. Measure out about twice the length of the full spine of your book. This will ensure that you have enough thread for stitching and to tie it off at the end.
Thread your needle. Leave the end untied.
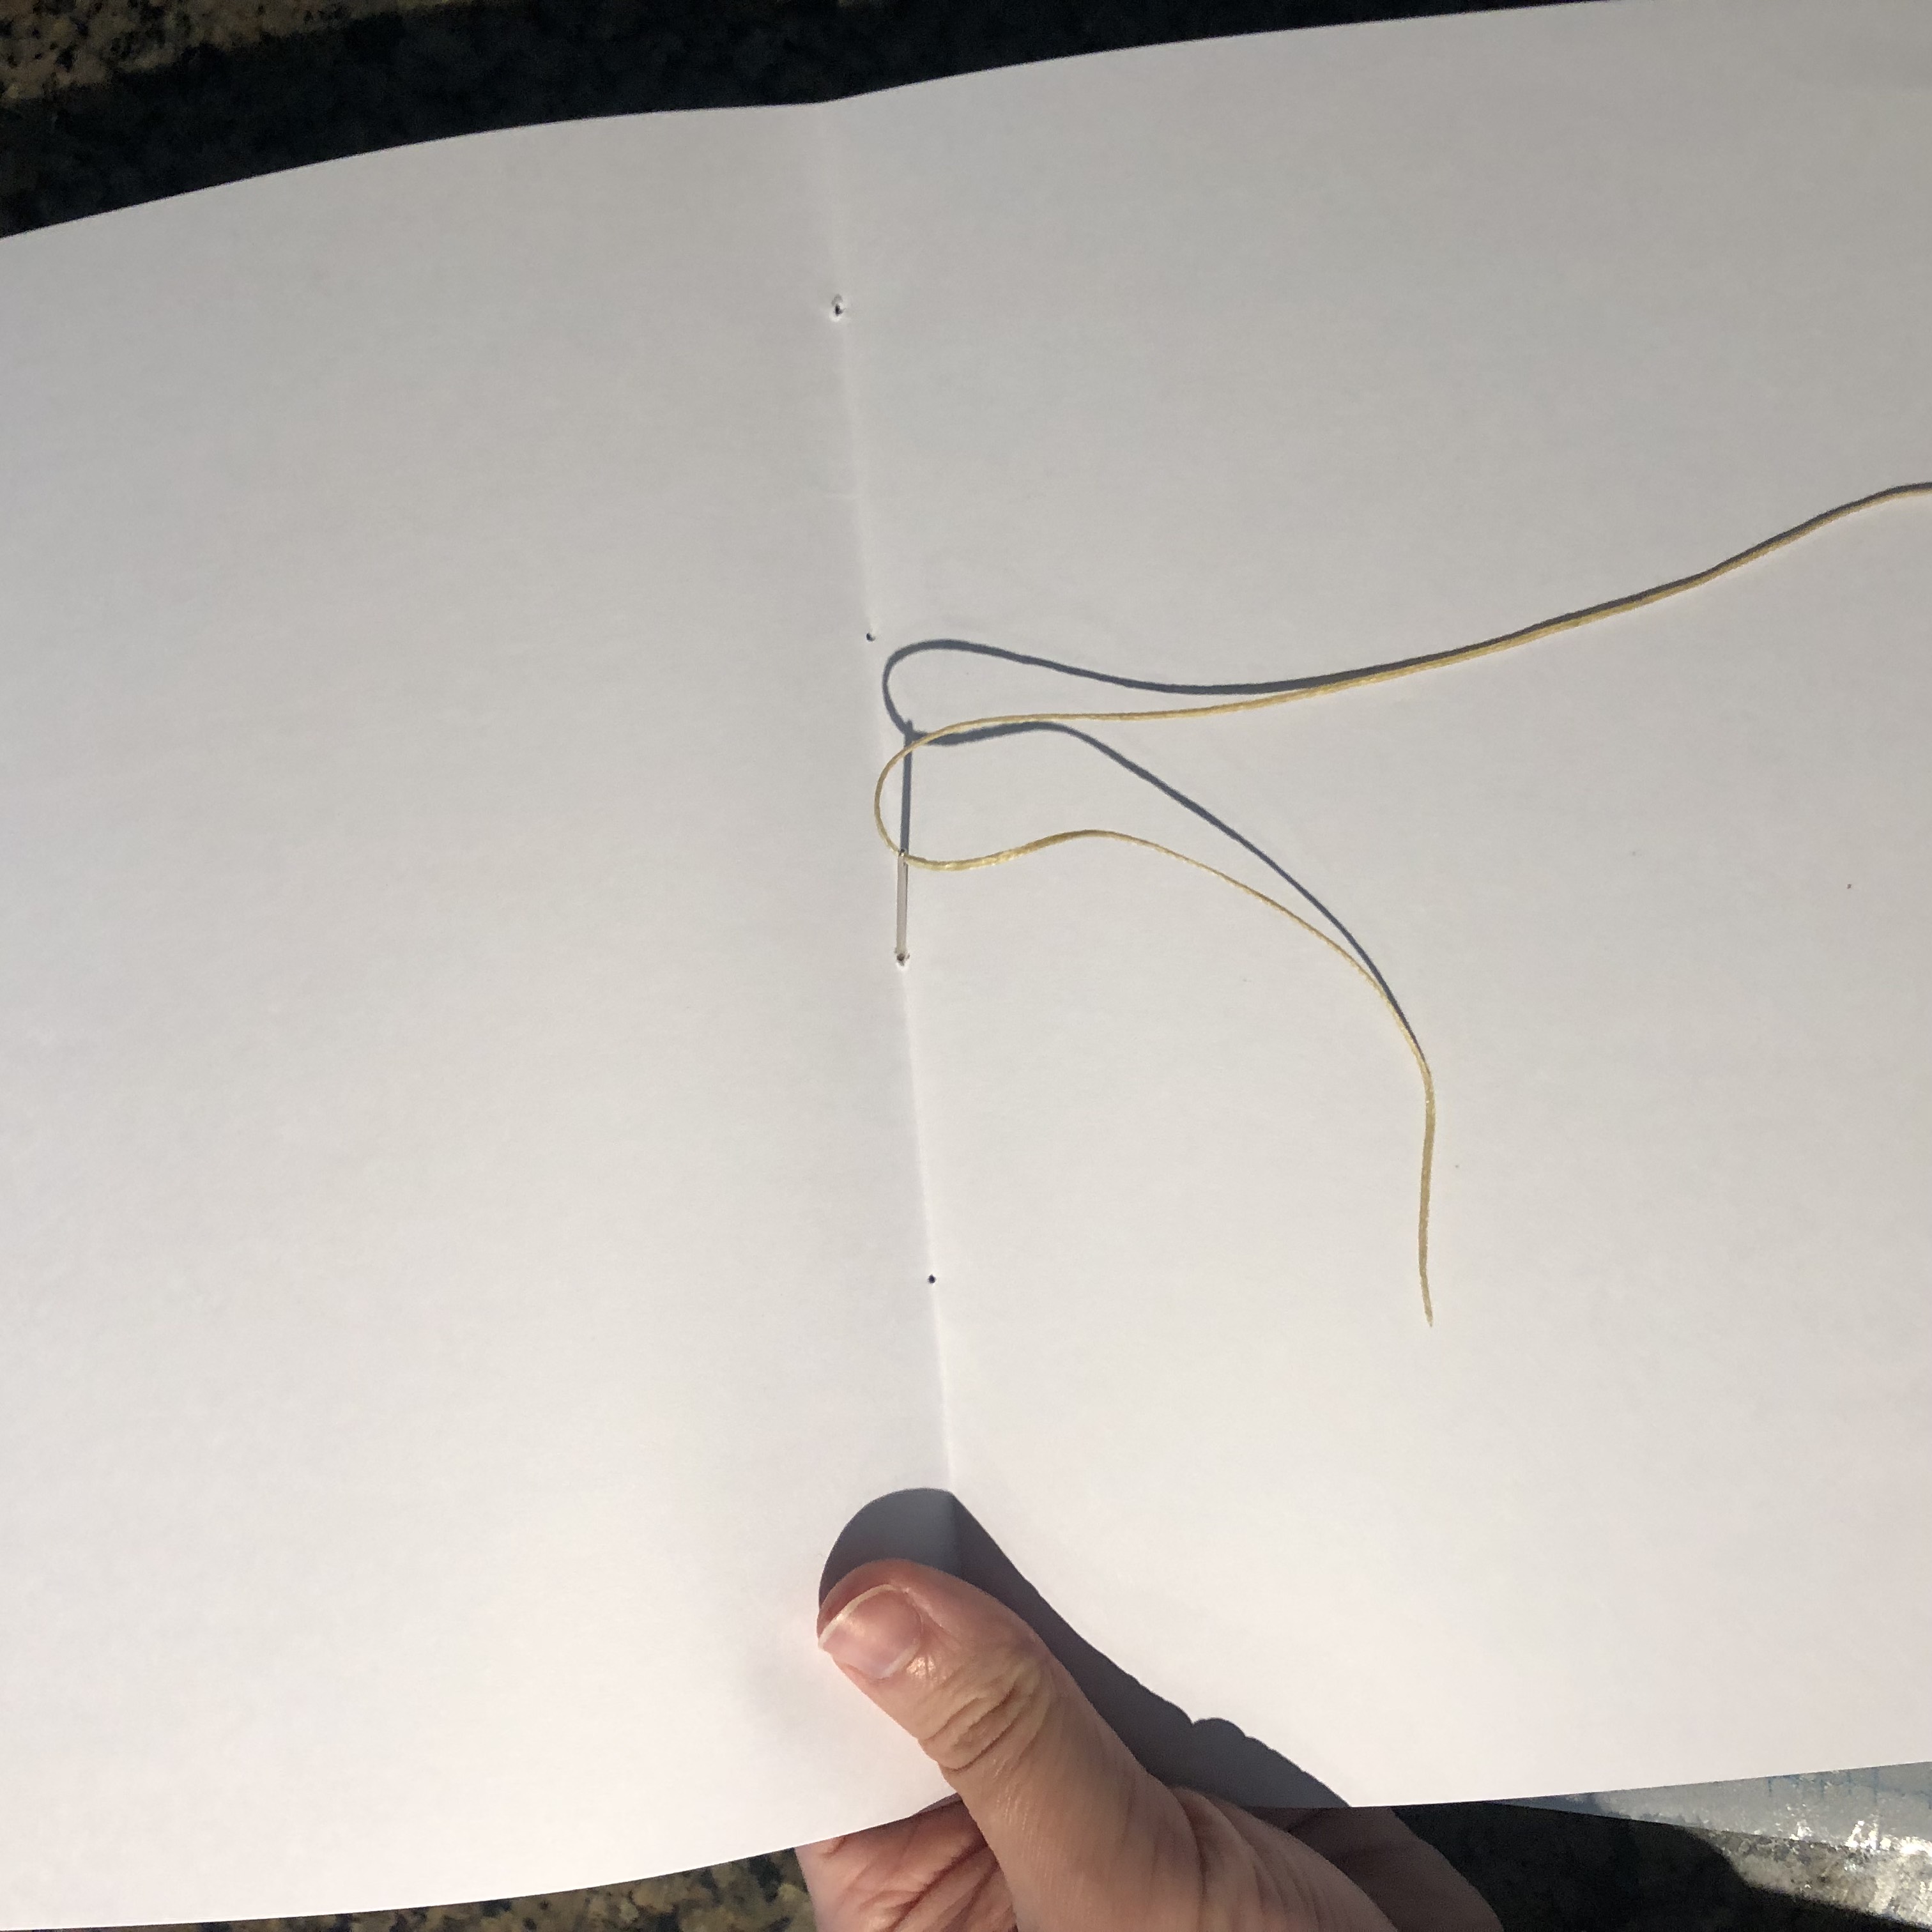
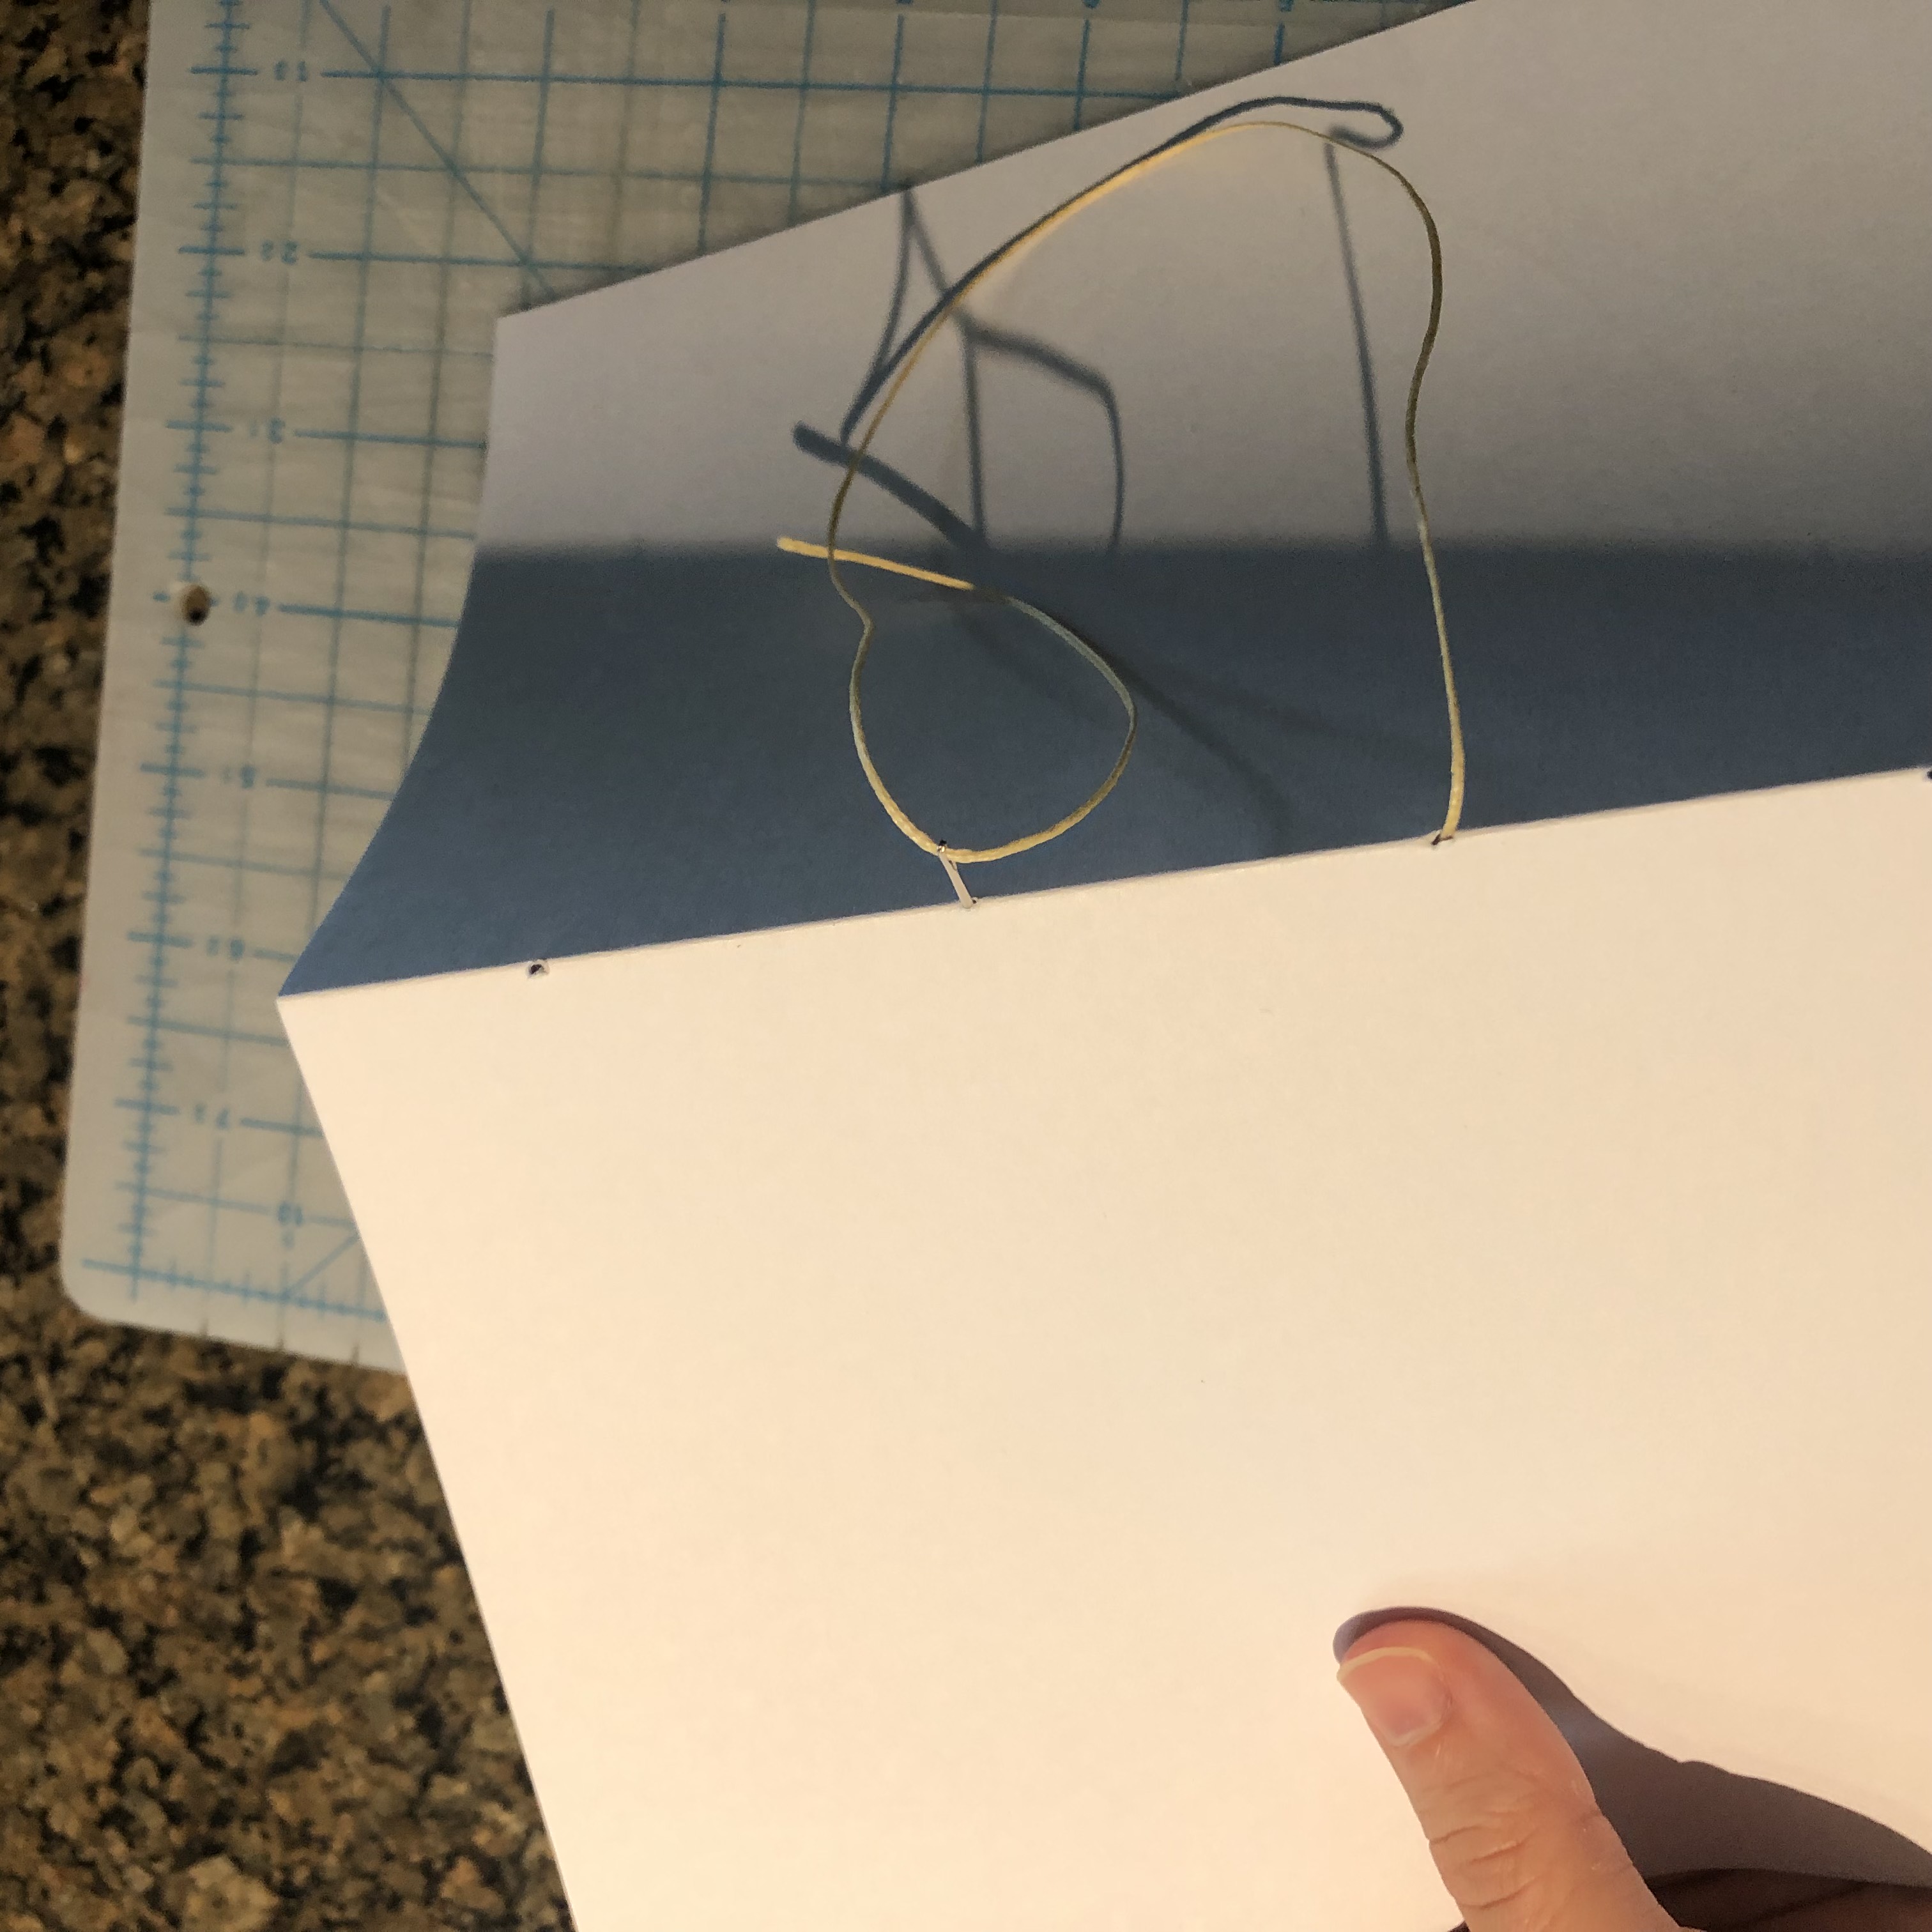
Start on the inside of the book and pull your thread through the centre hole to the outside. Be sure to leave a long tail so that the thread doesn’t come all the way through the book, but don’t tie it off yet.
Thread the needle back to the inside of the book by poking it back through either of the other two holes (top or bottom, doesn’t matter).
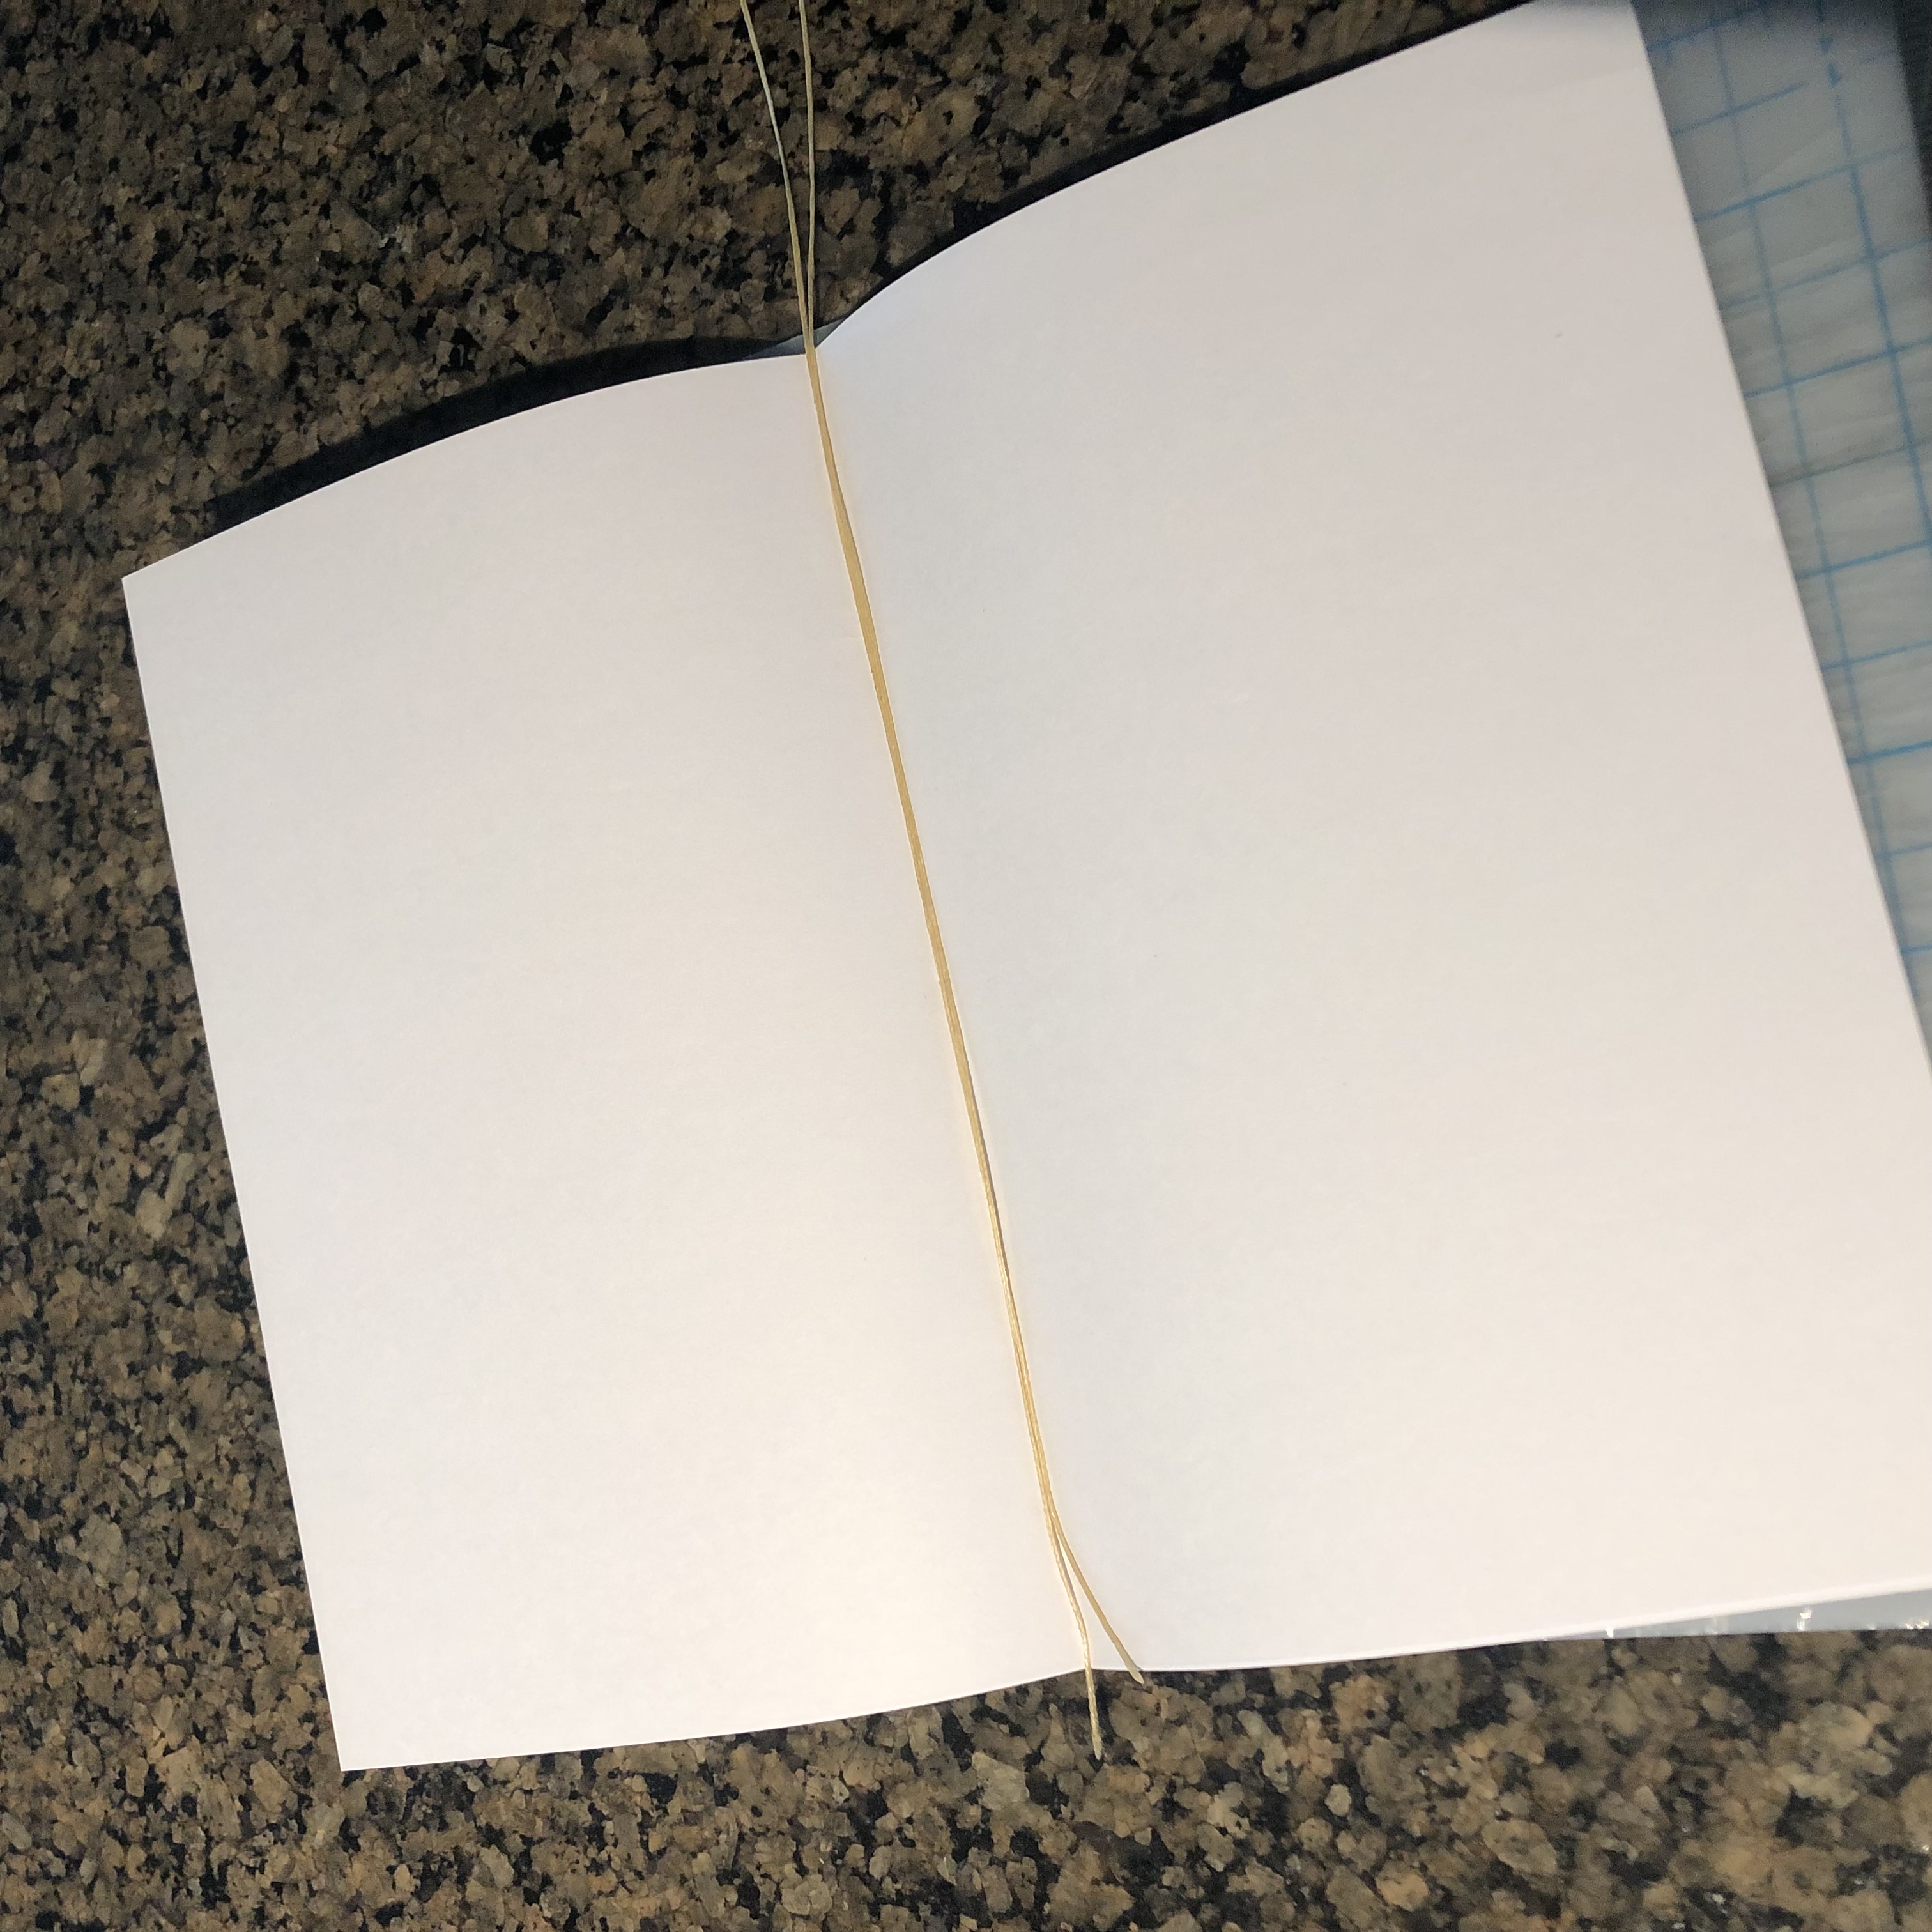
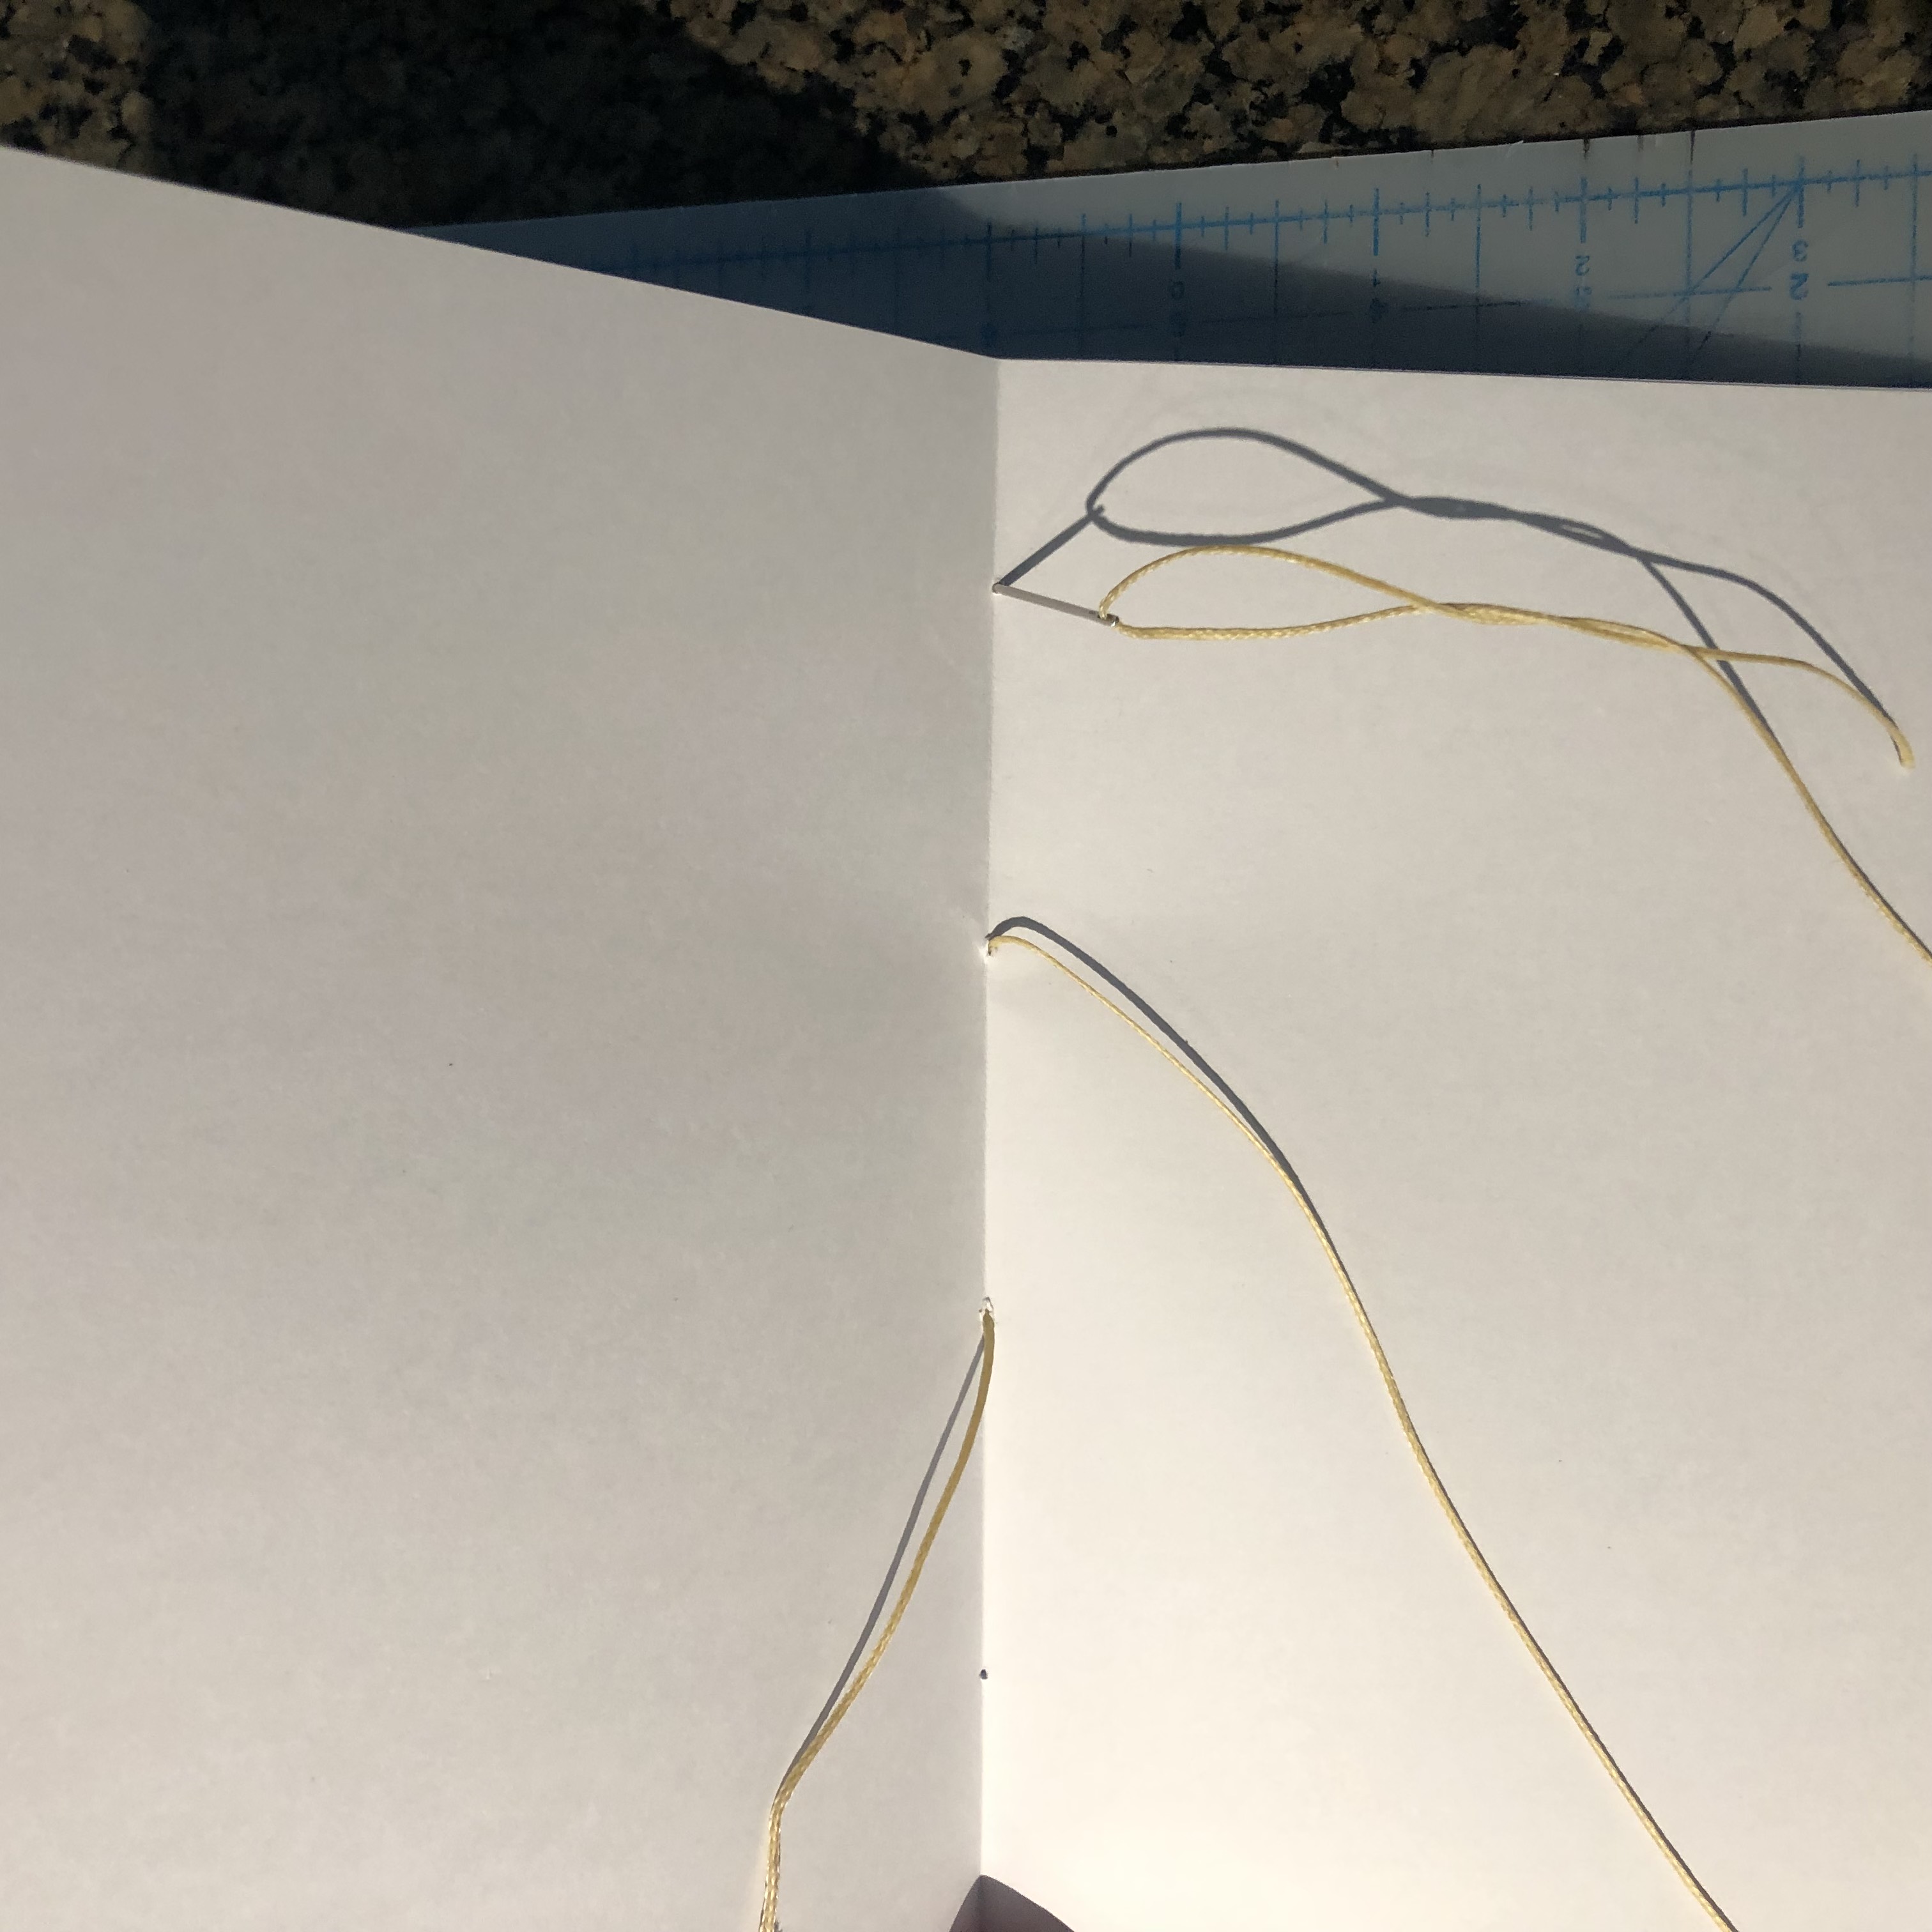
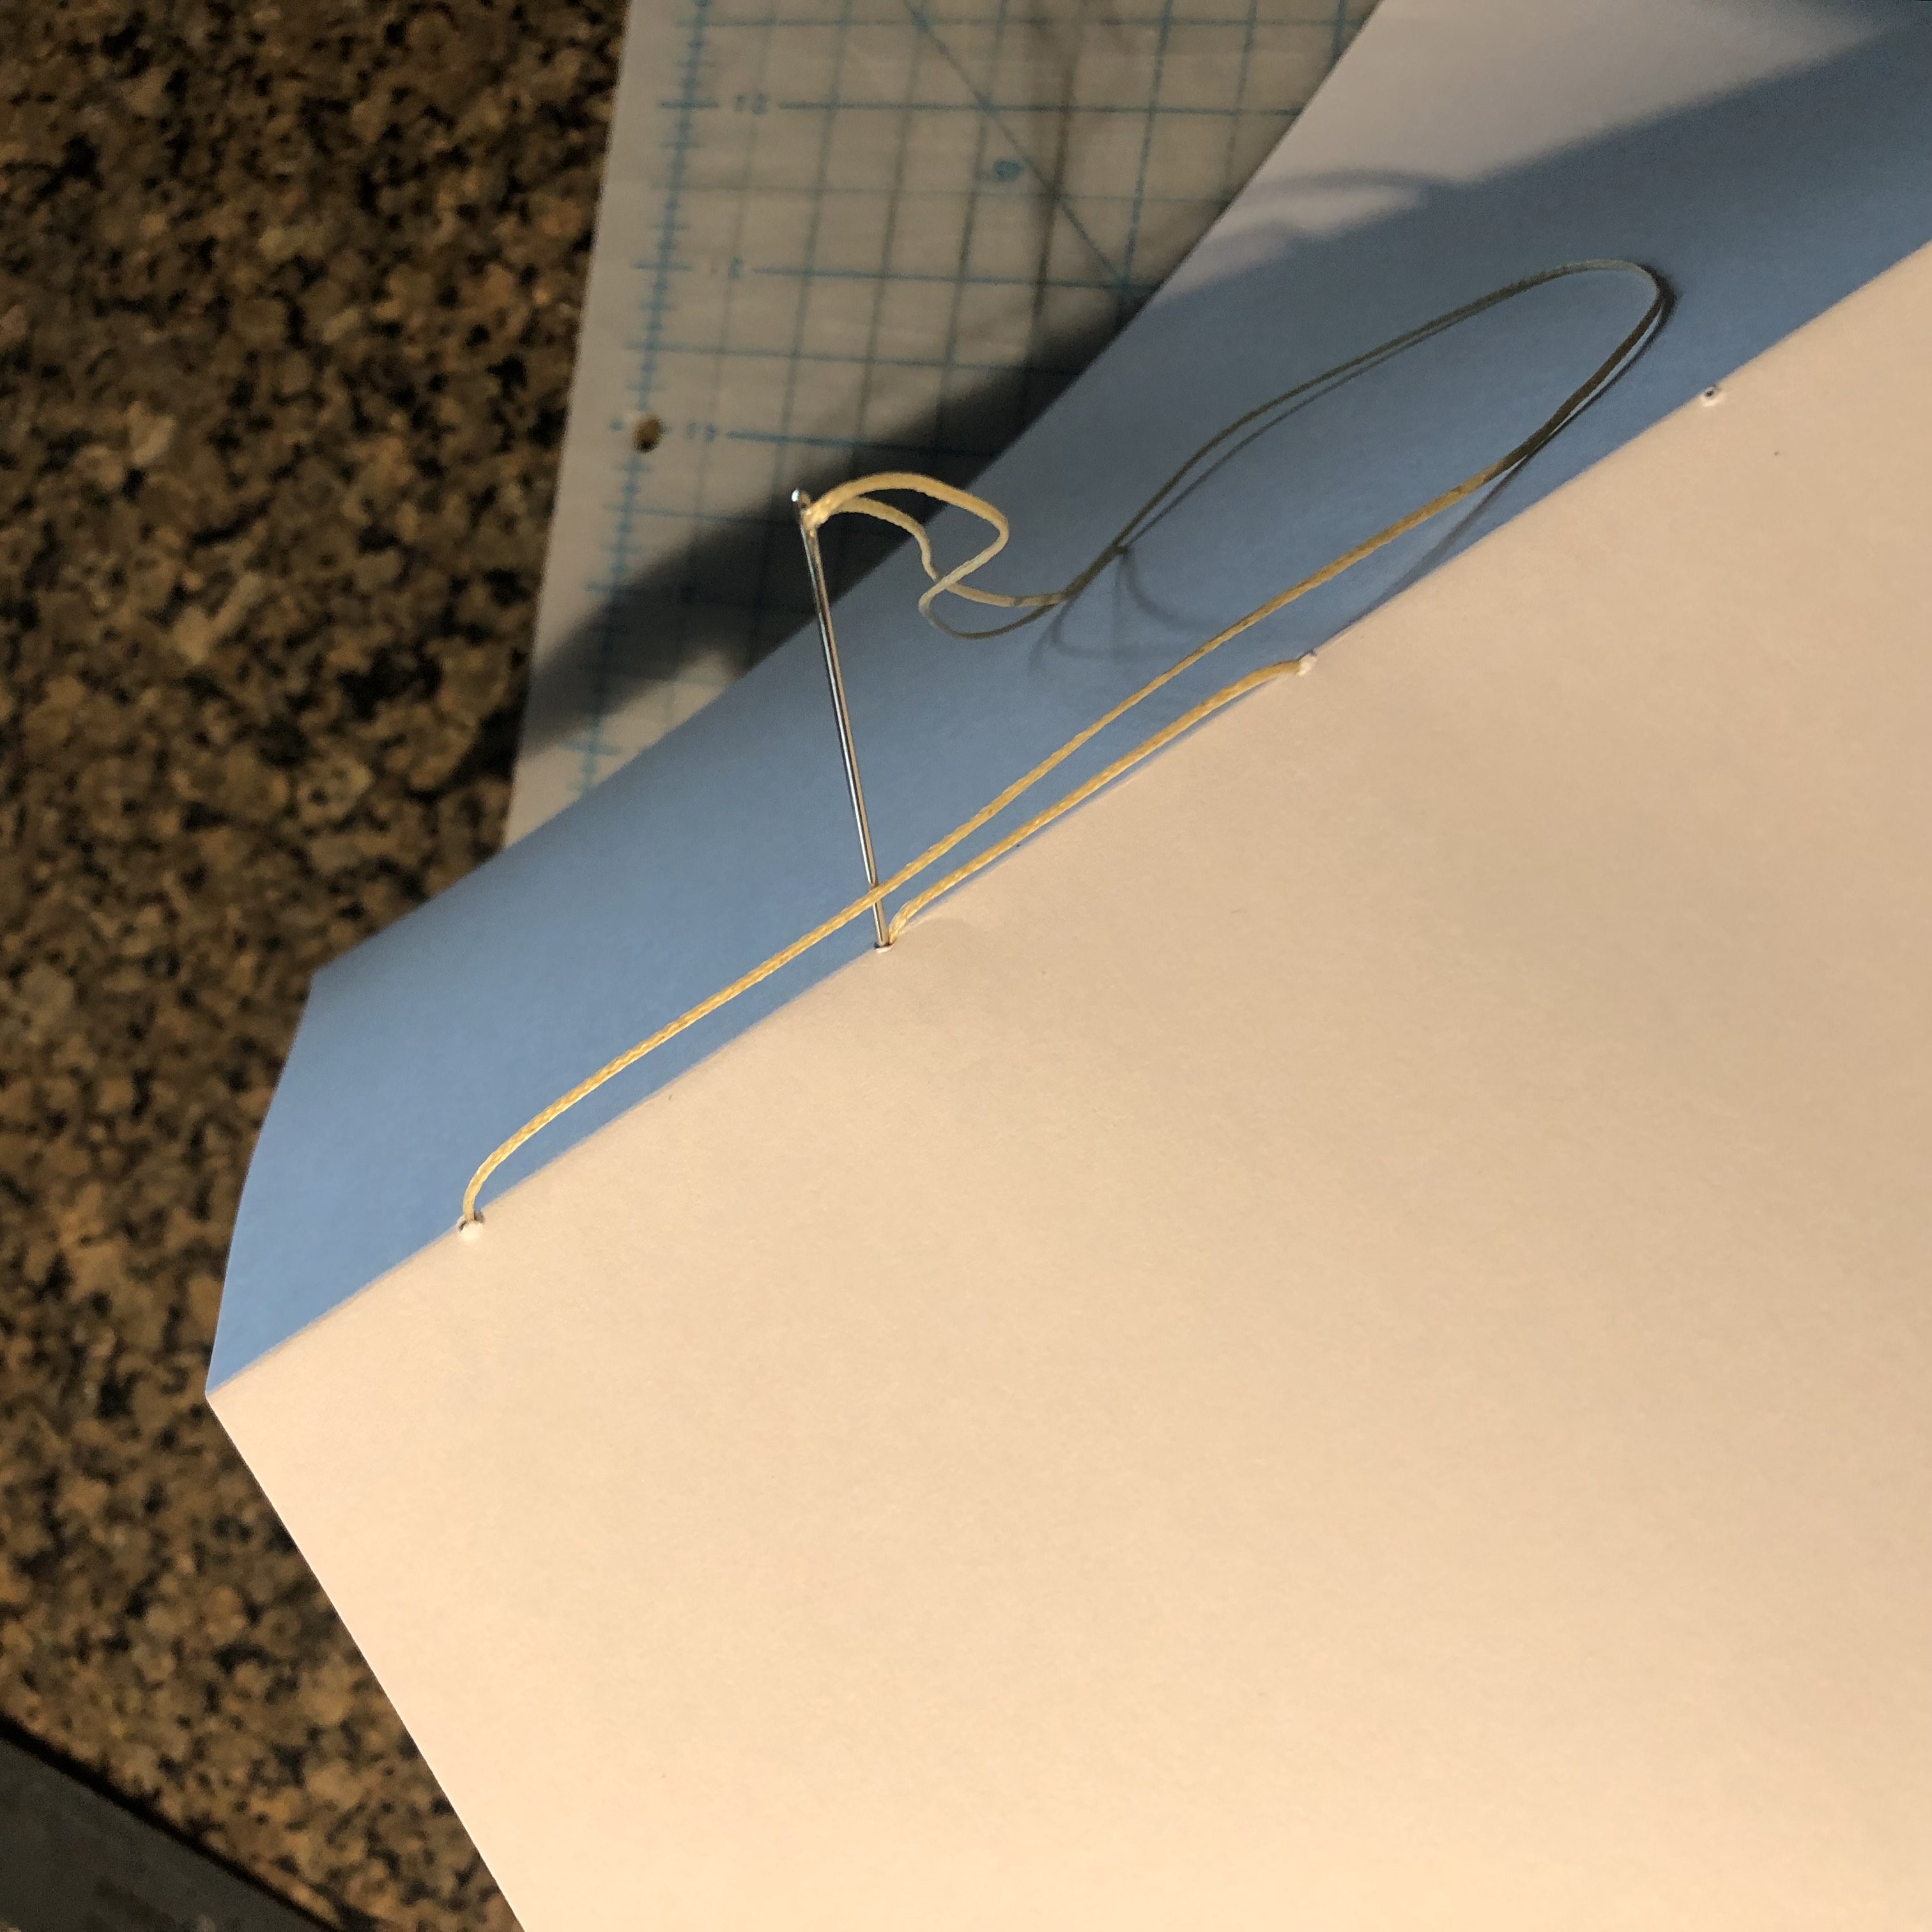
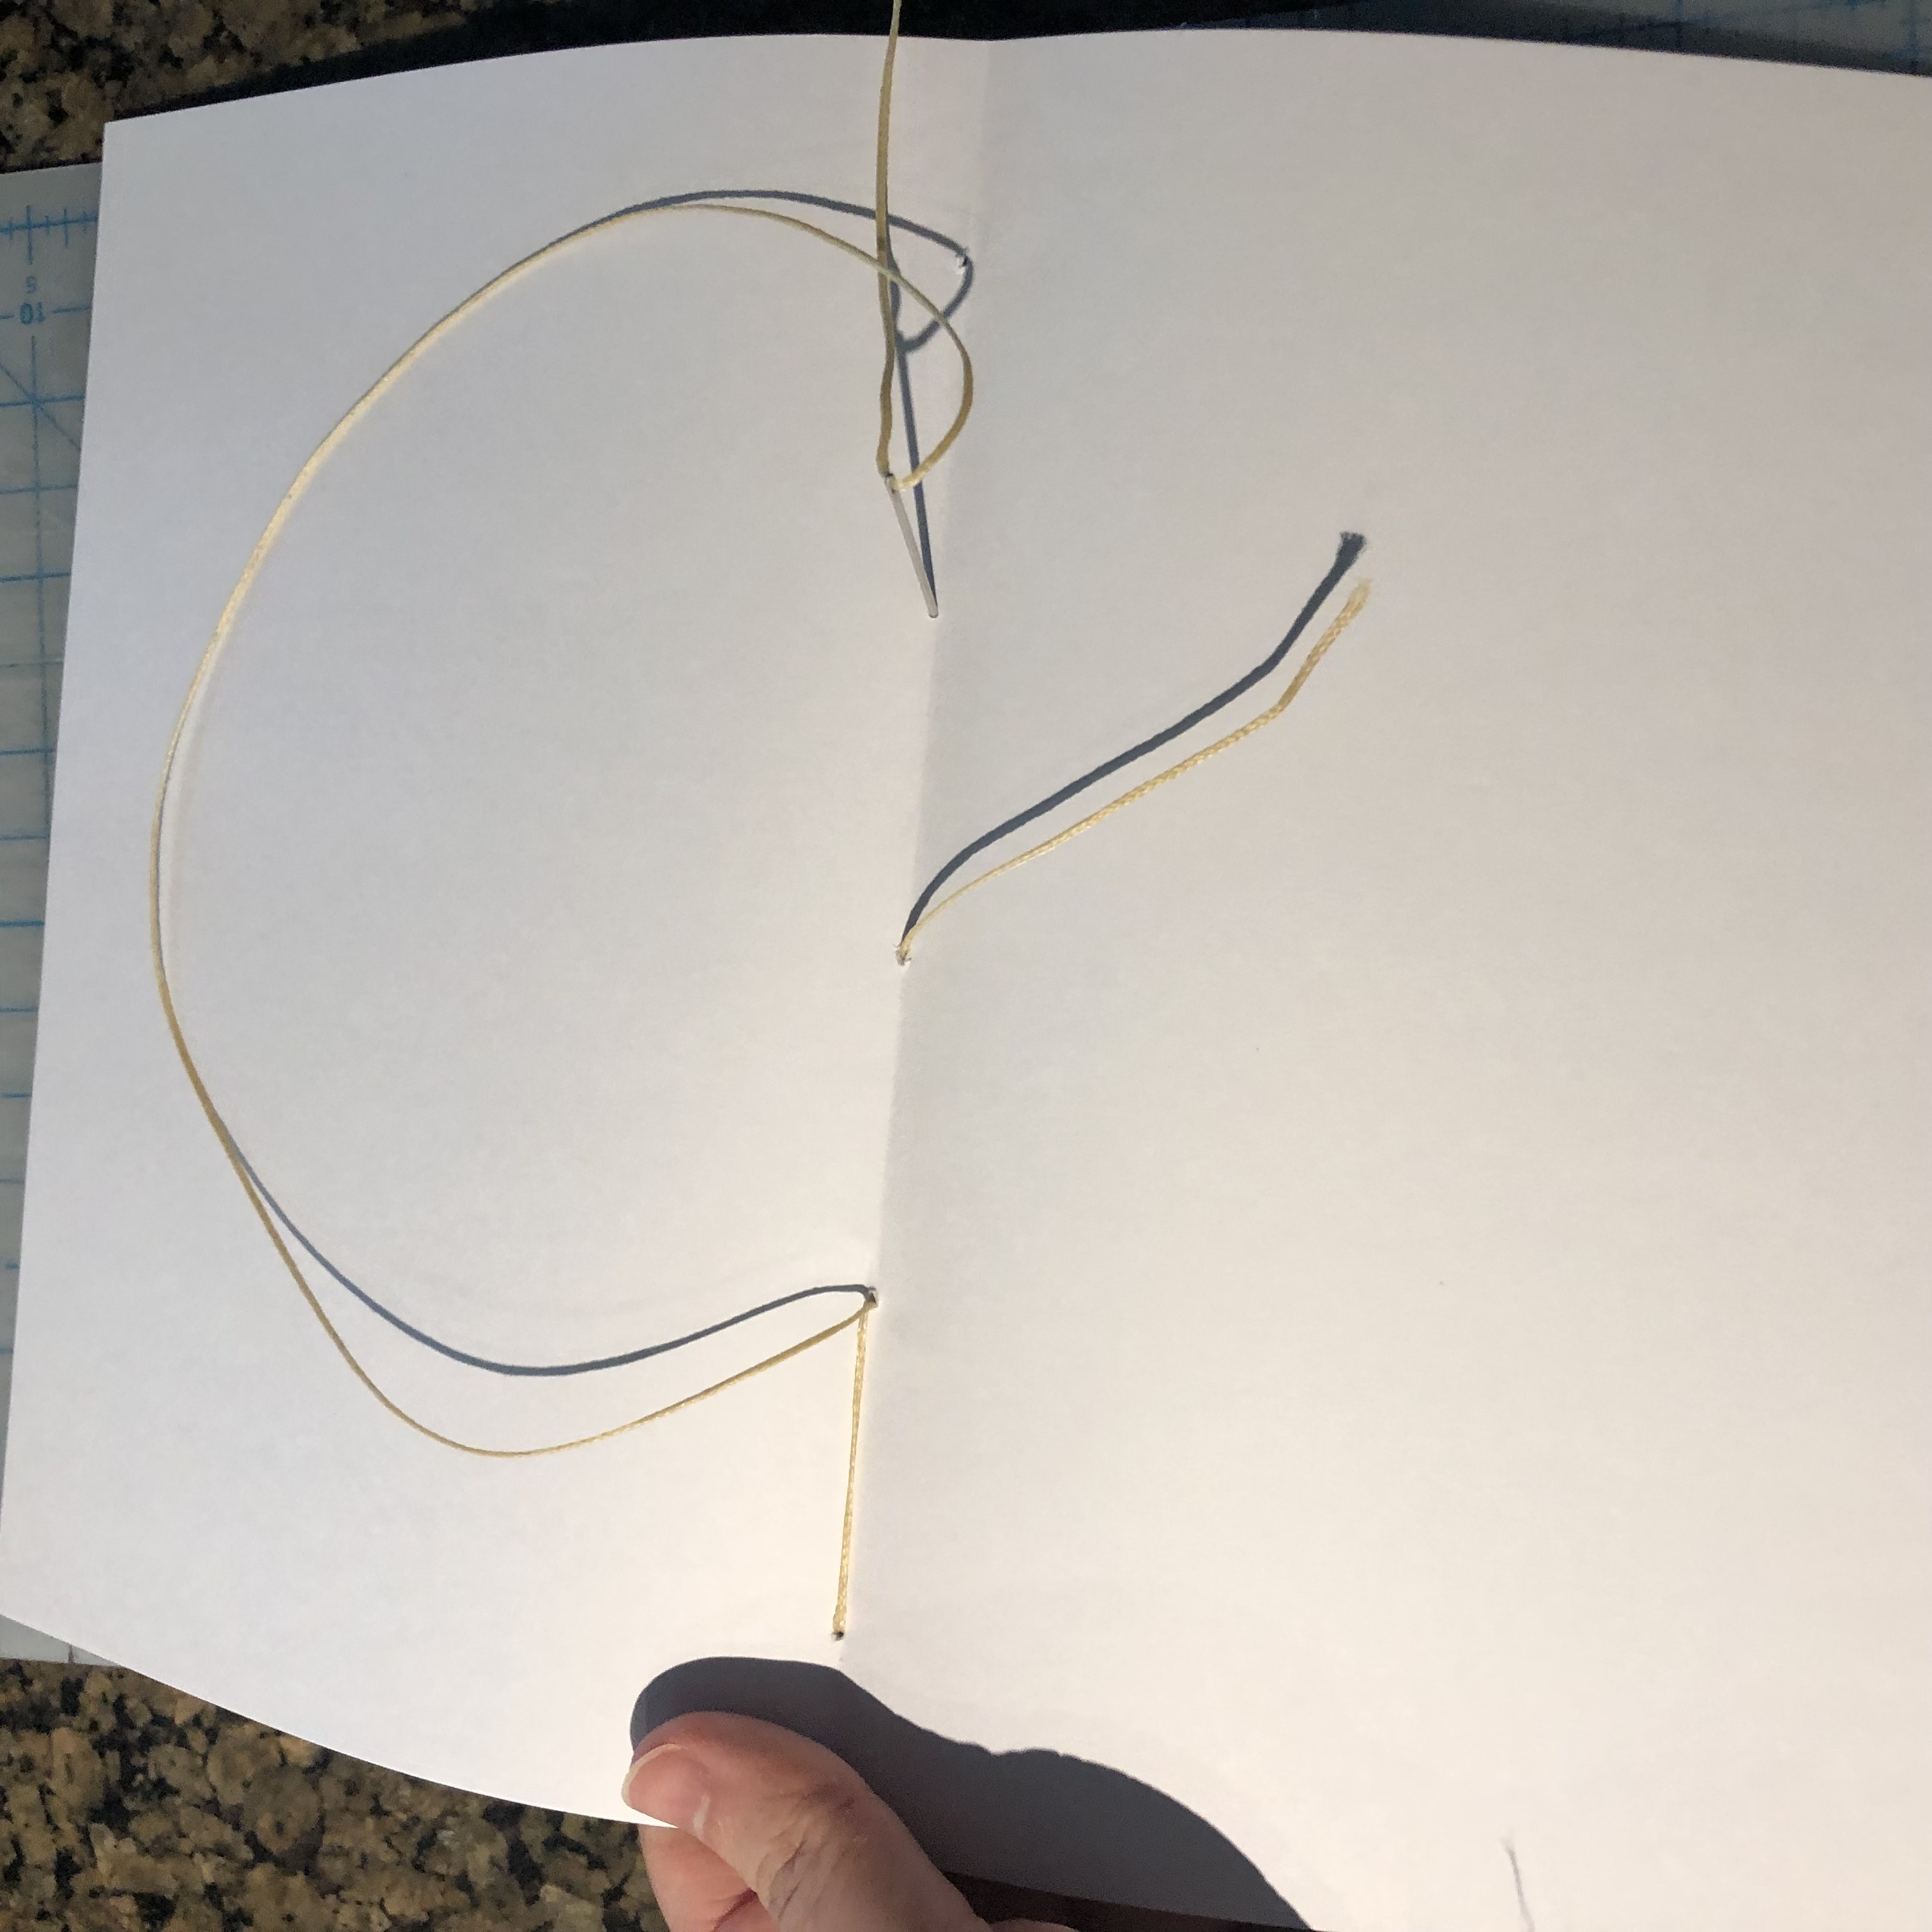
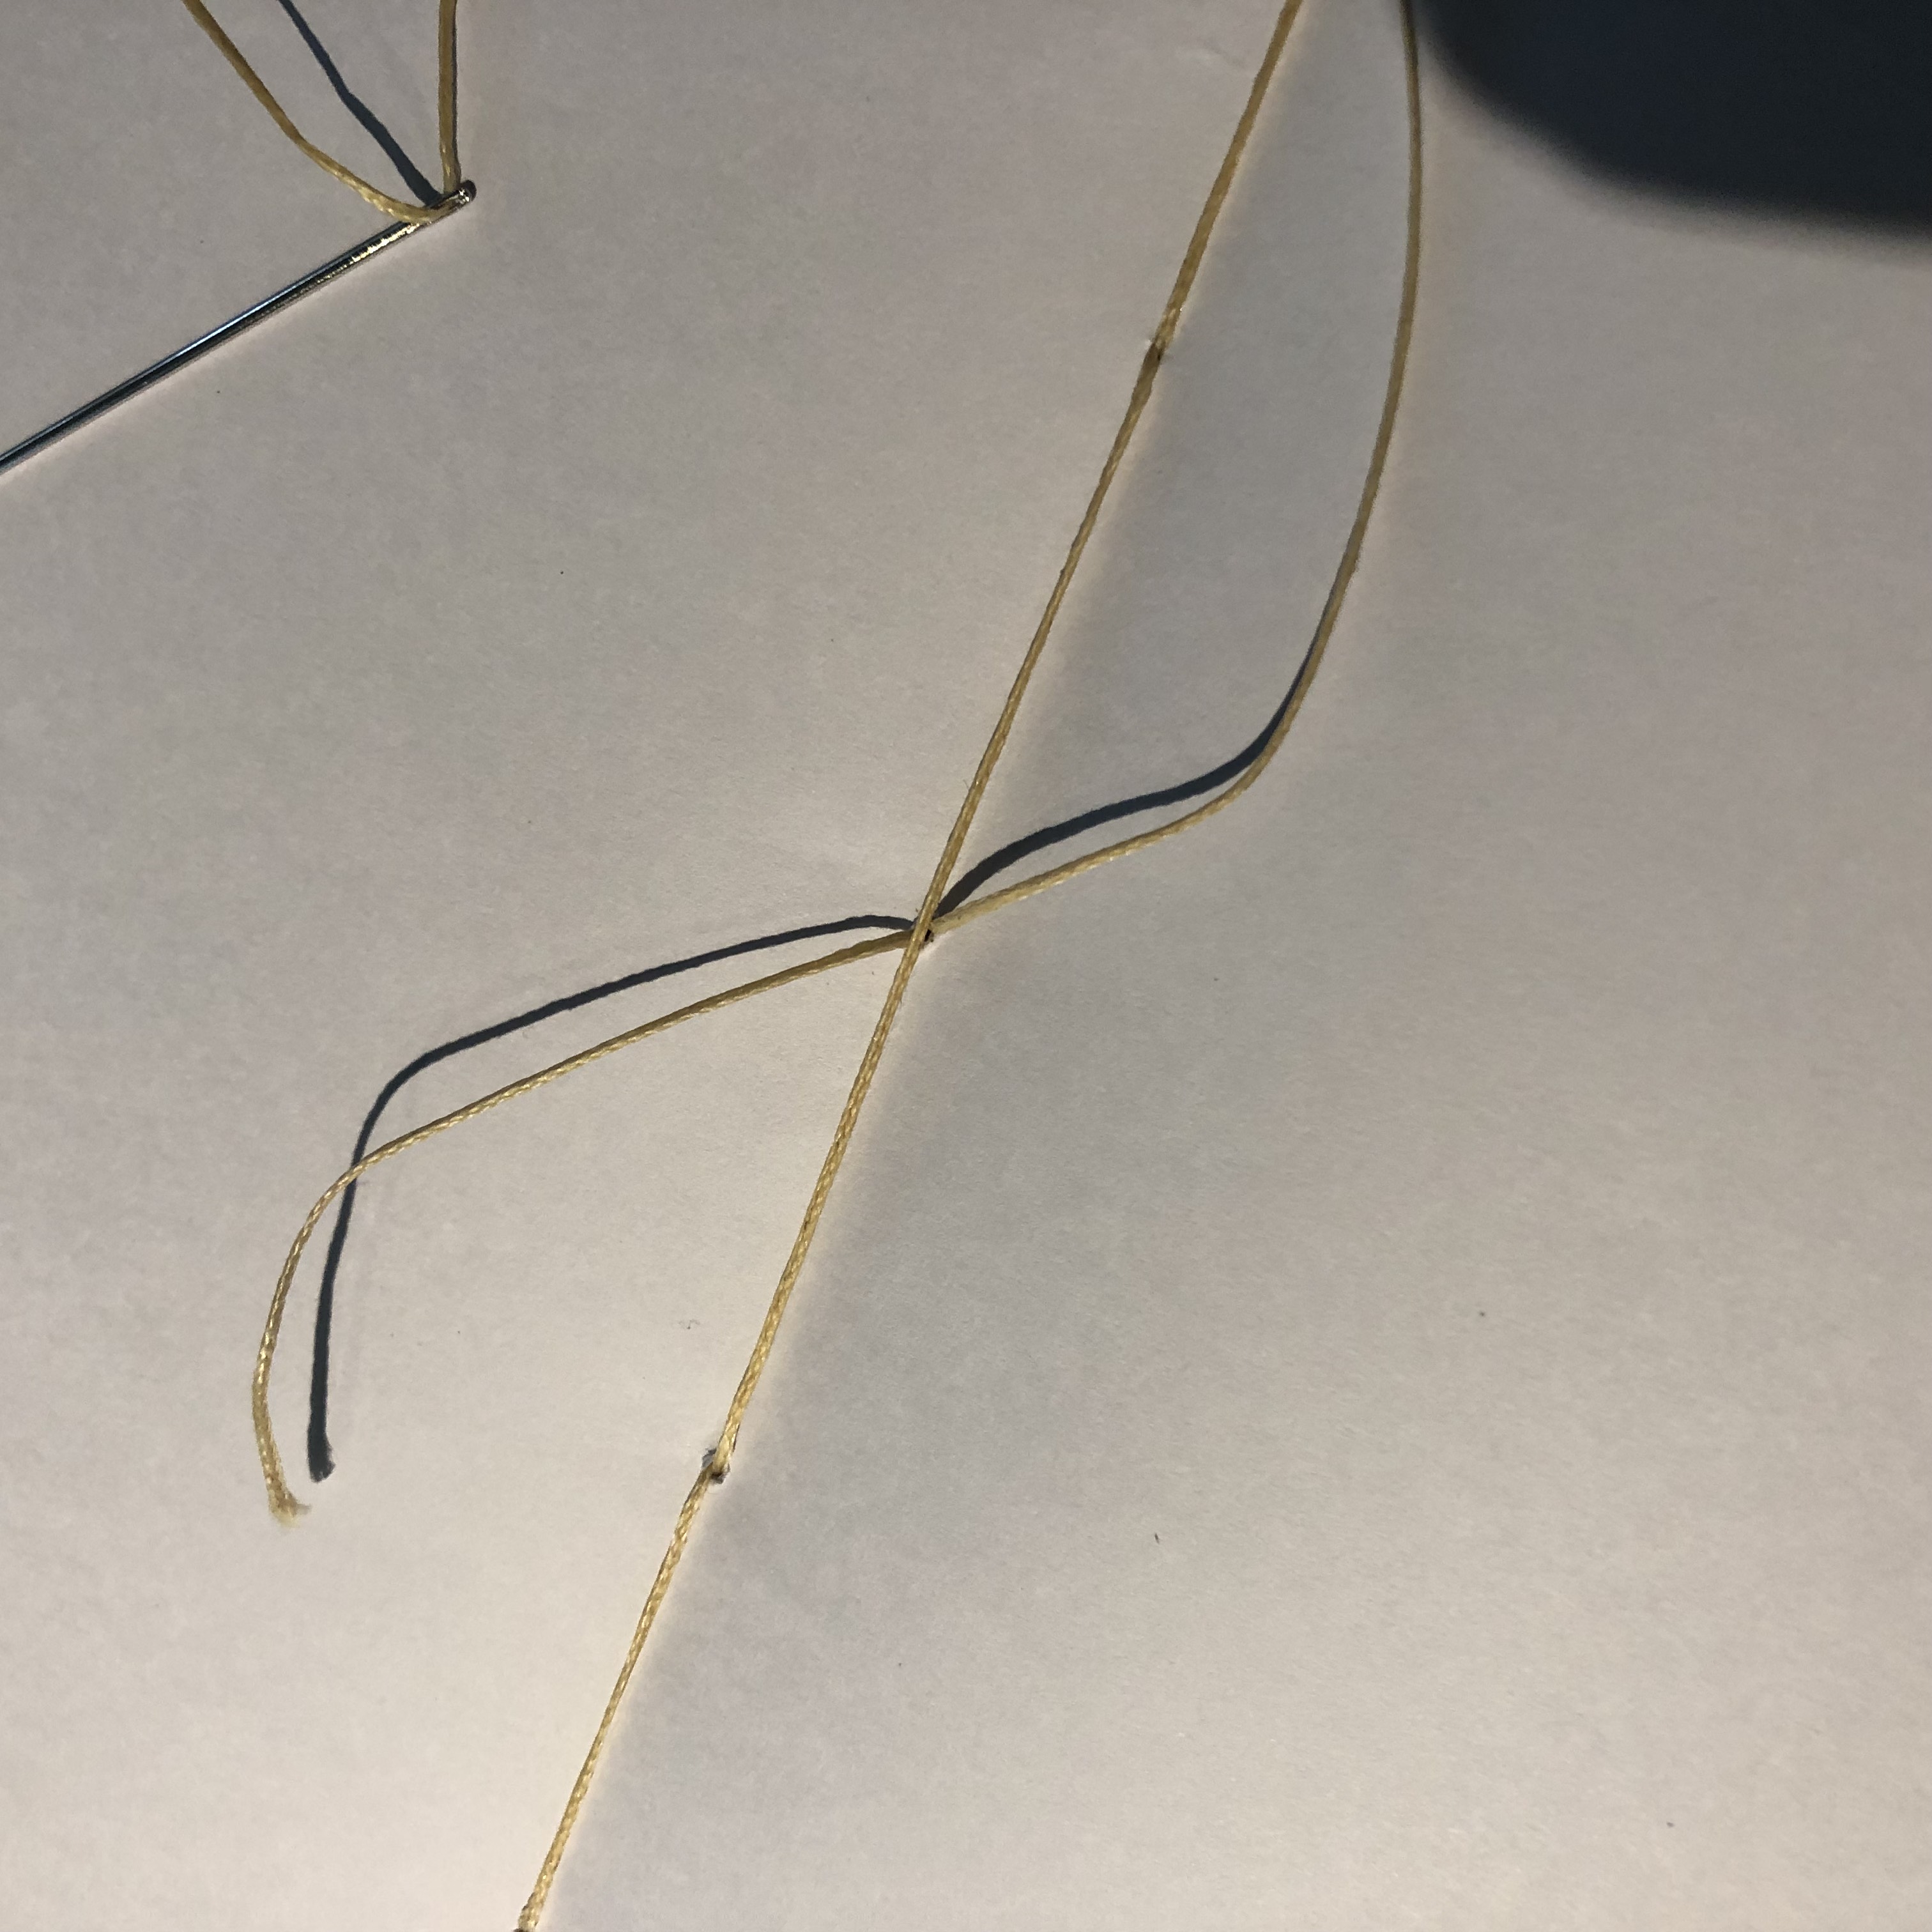
From the inside, skip the centre hole and thread back out through the third hole, then back in through the centre. Pull all the threads taught and, with one tail on either side of the thread running along the inside crease, tie a knot.
Snip off the excess.
Measure the thread
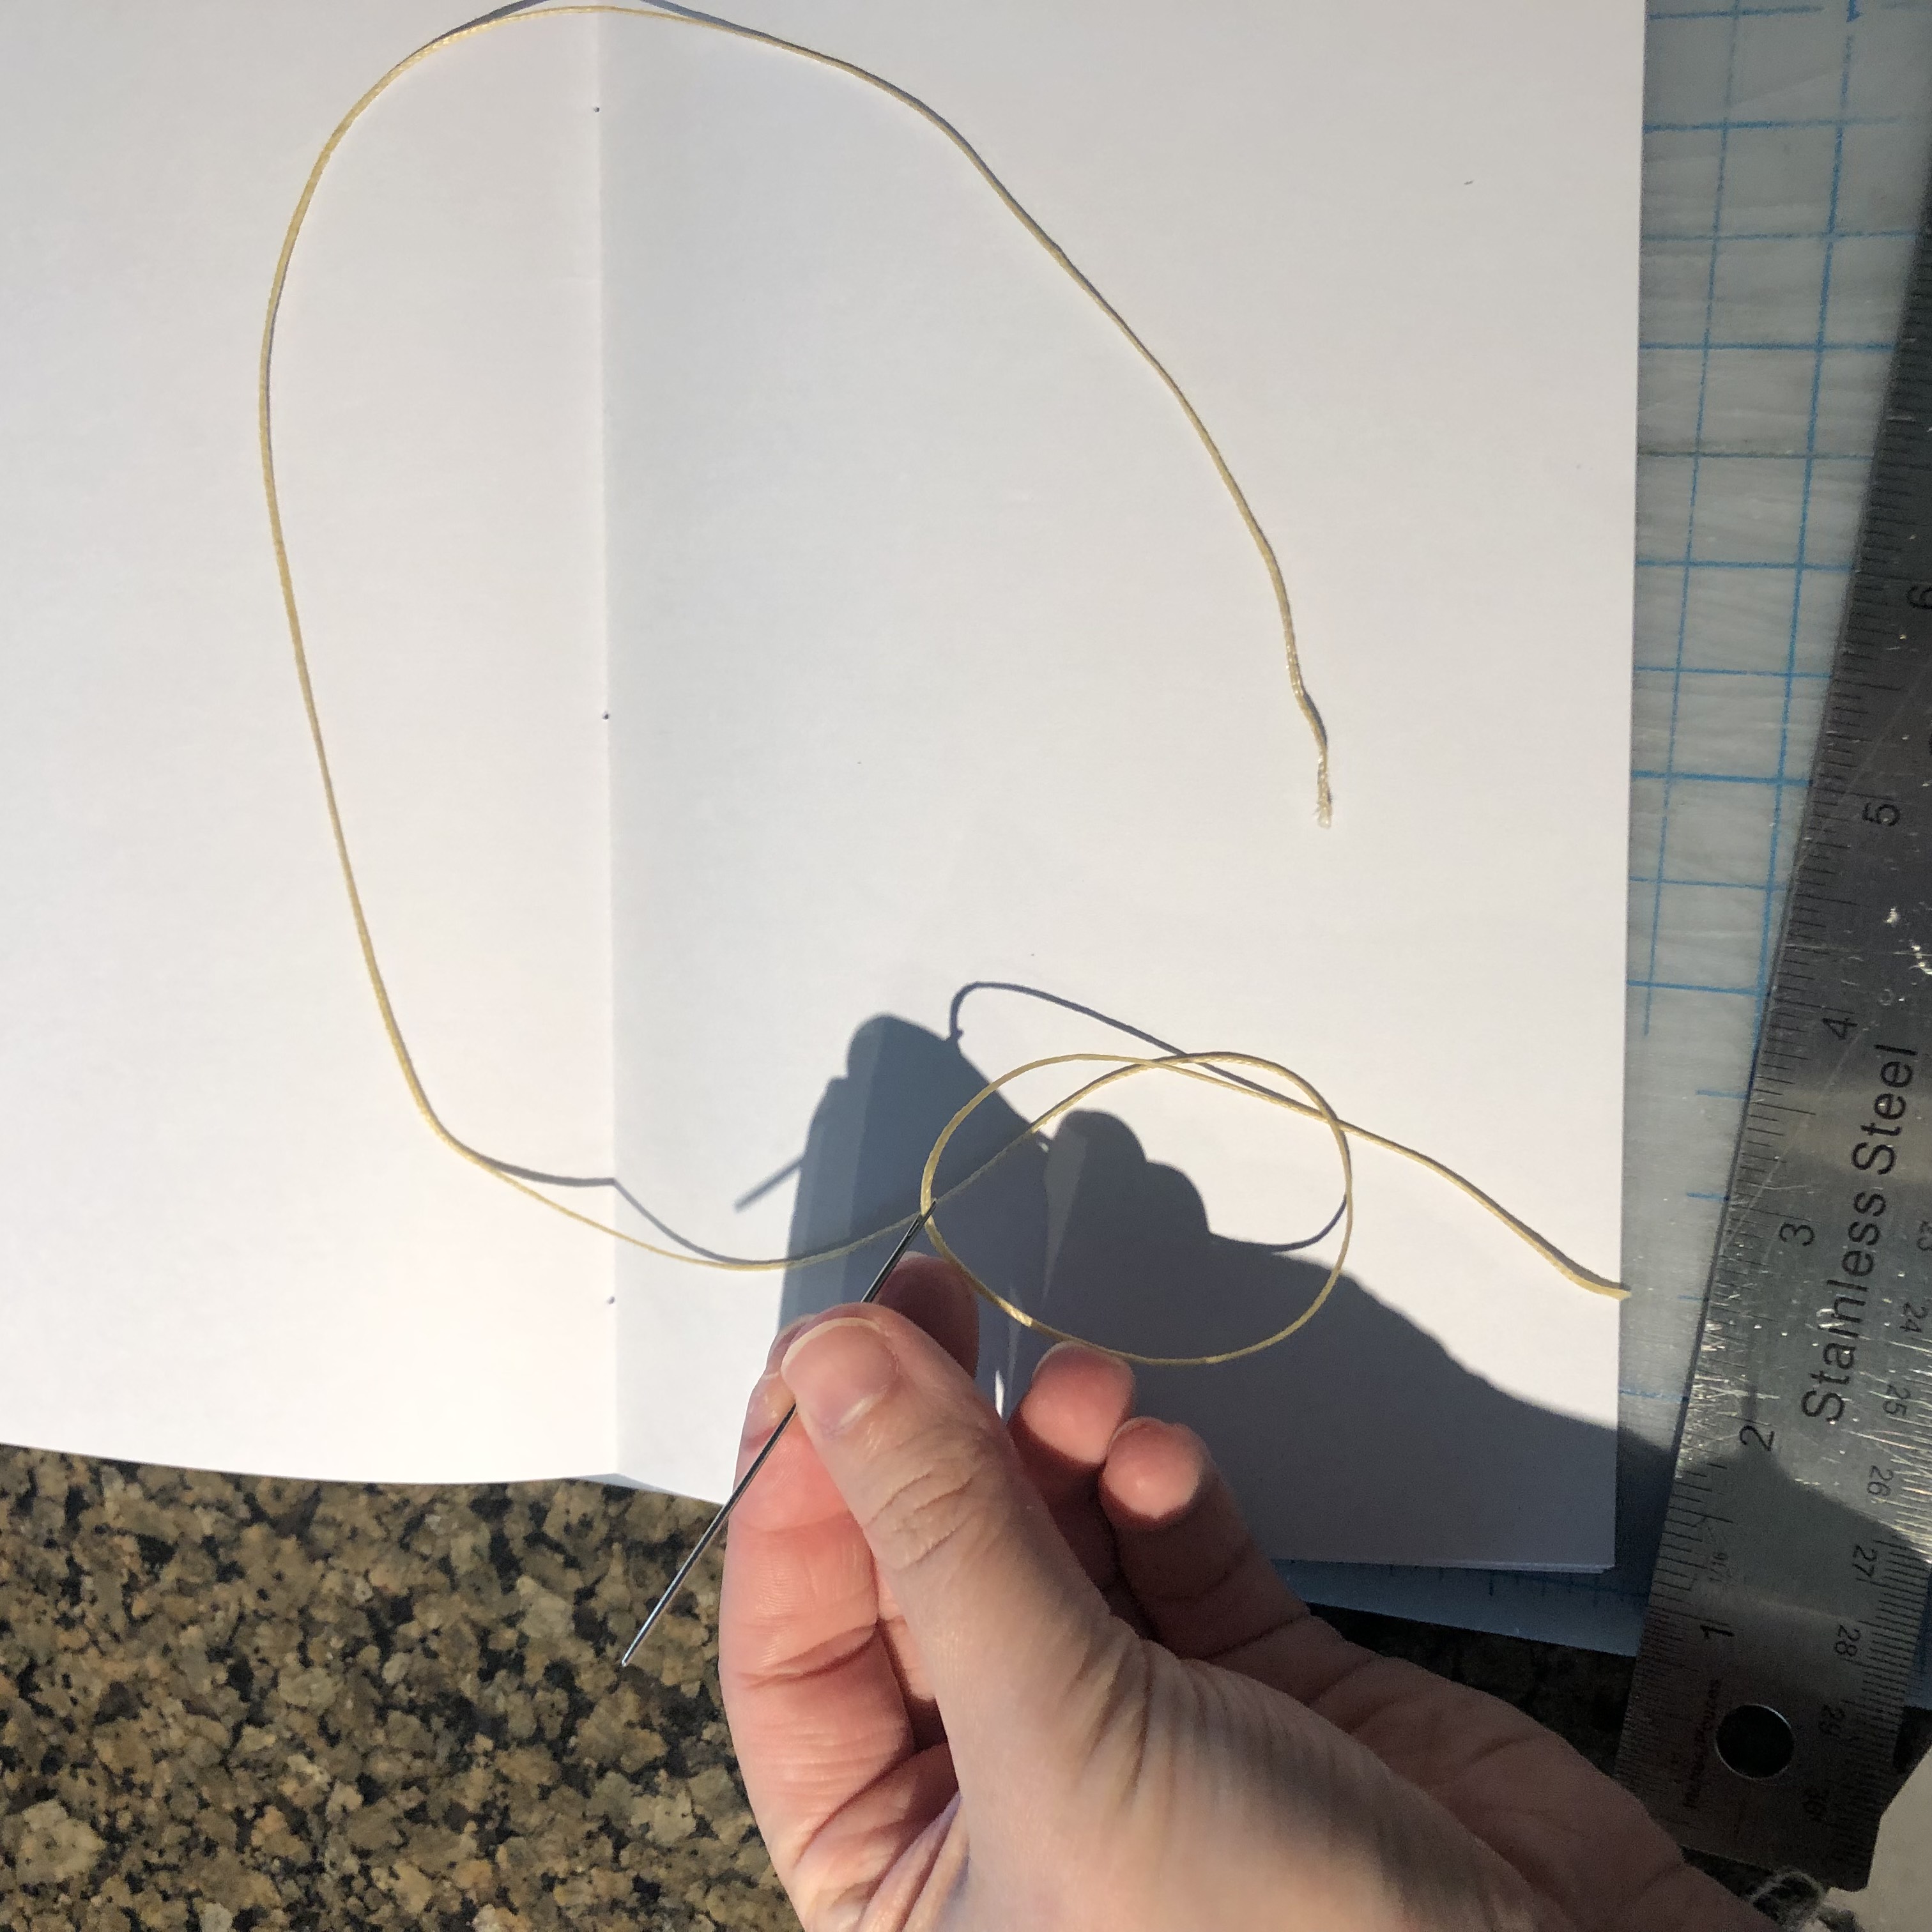
Thread the needle
First hole - centre (inside to outside)
Second hole (outside to inside)
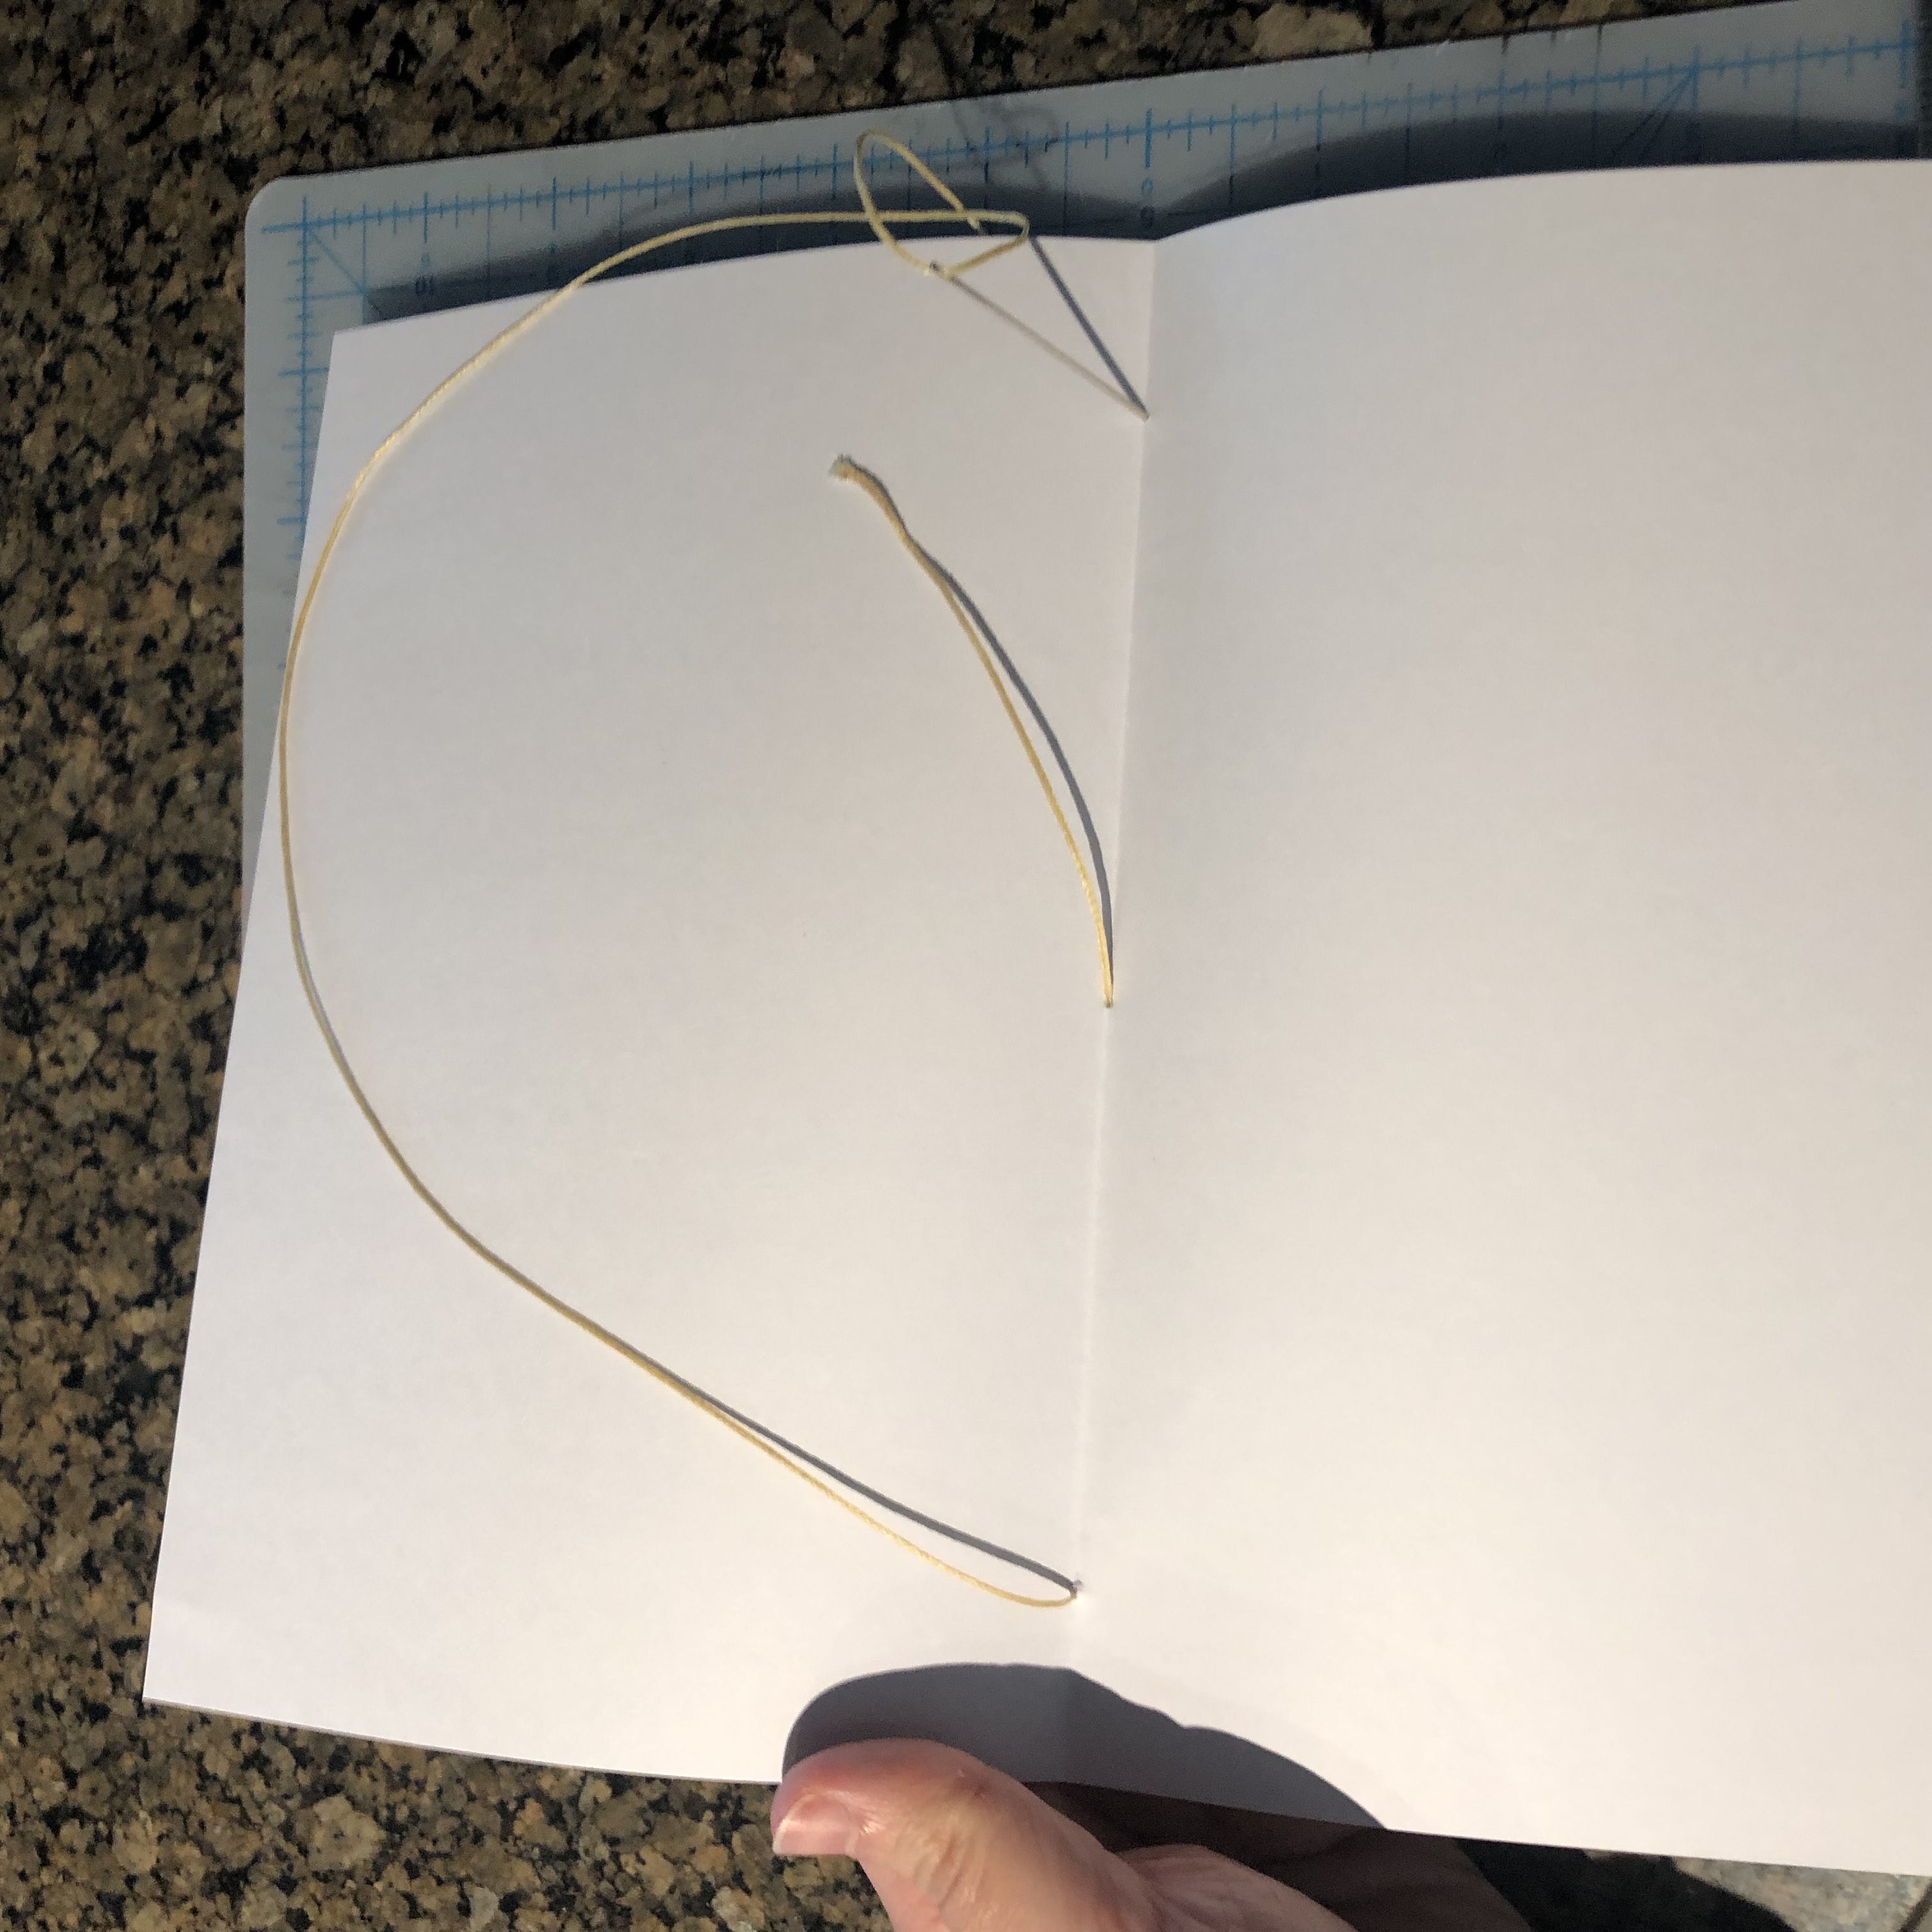
Third hole (inside to outside)
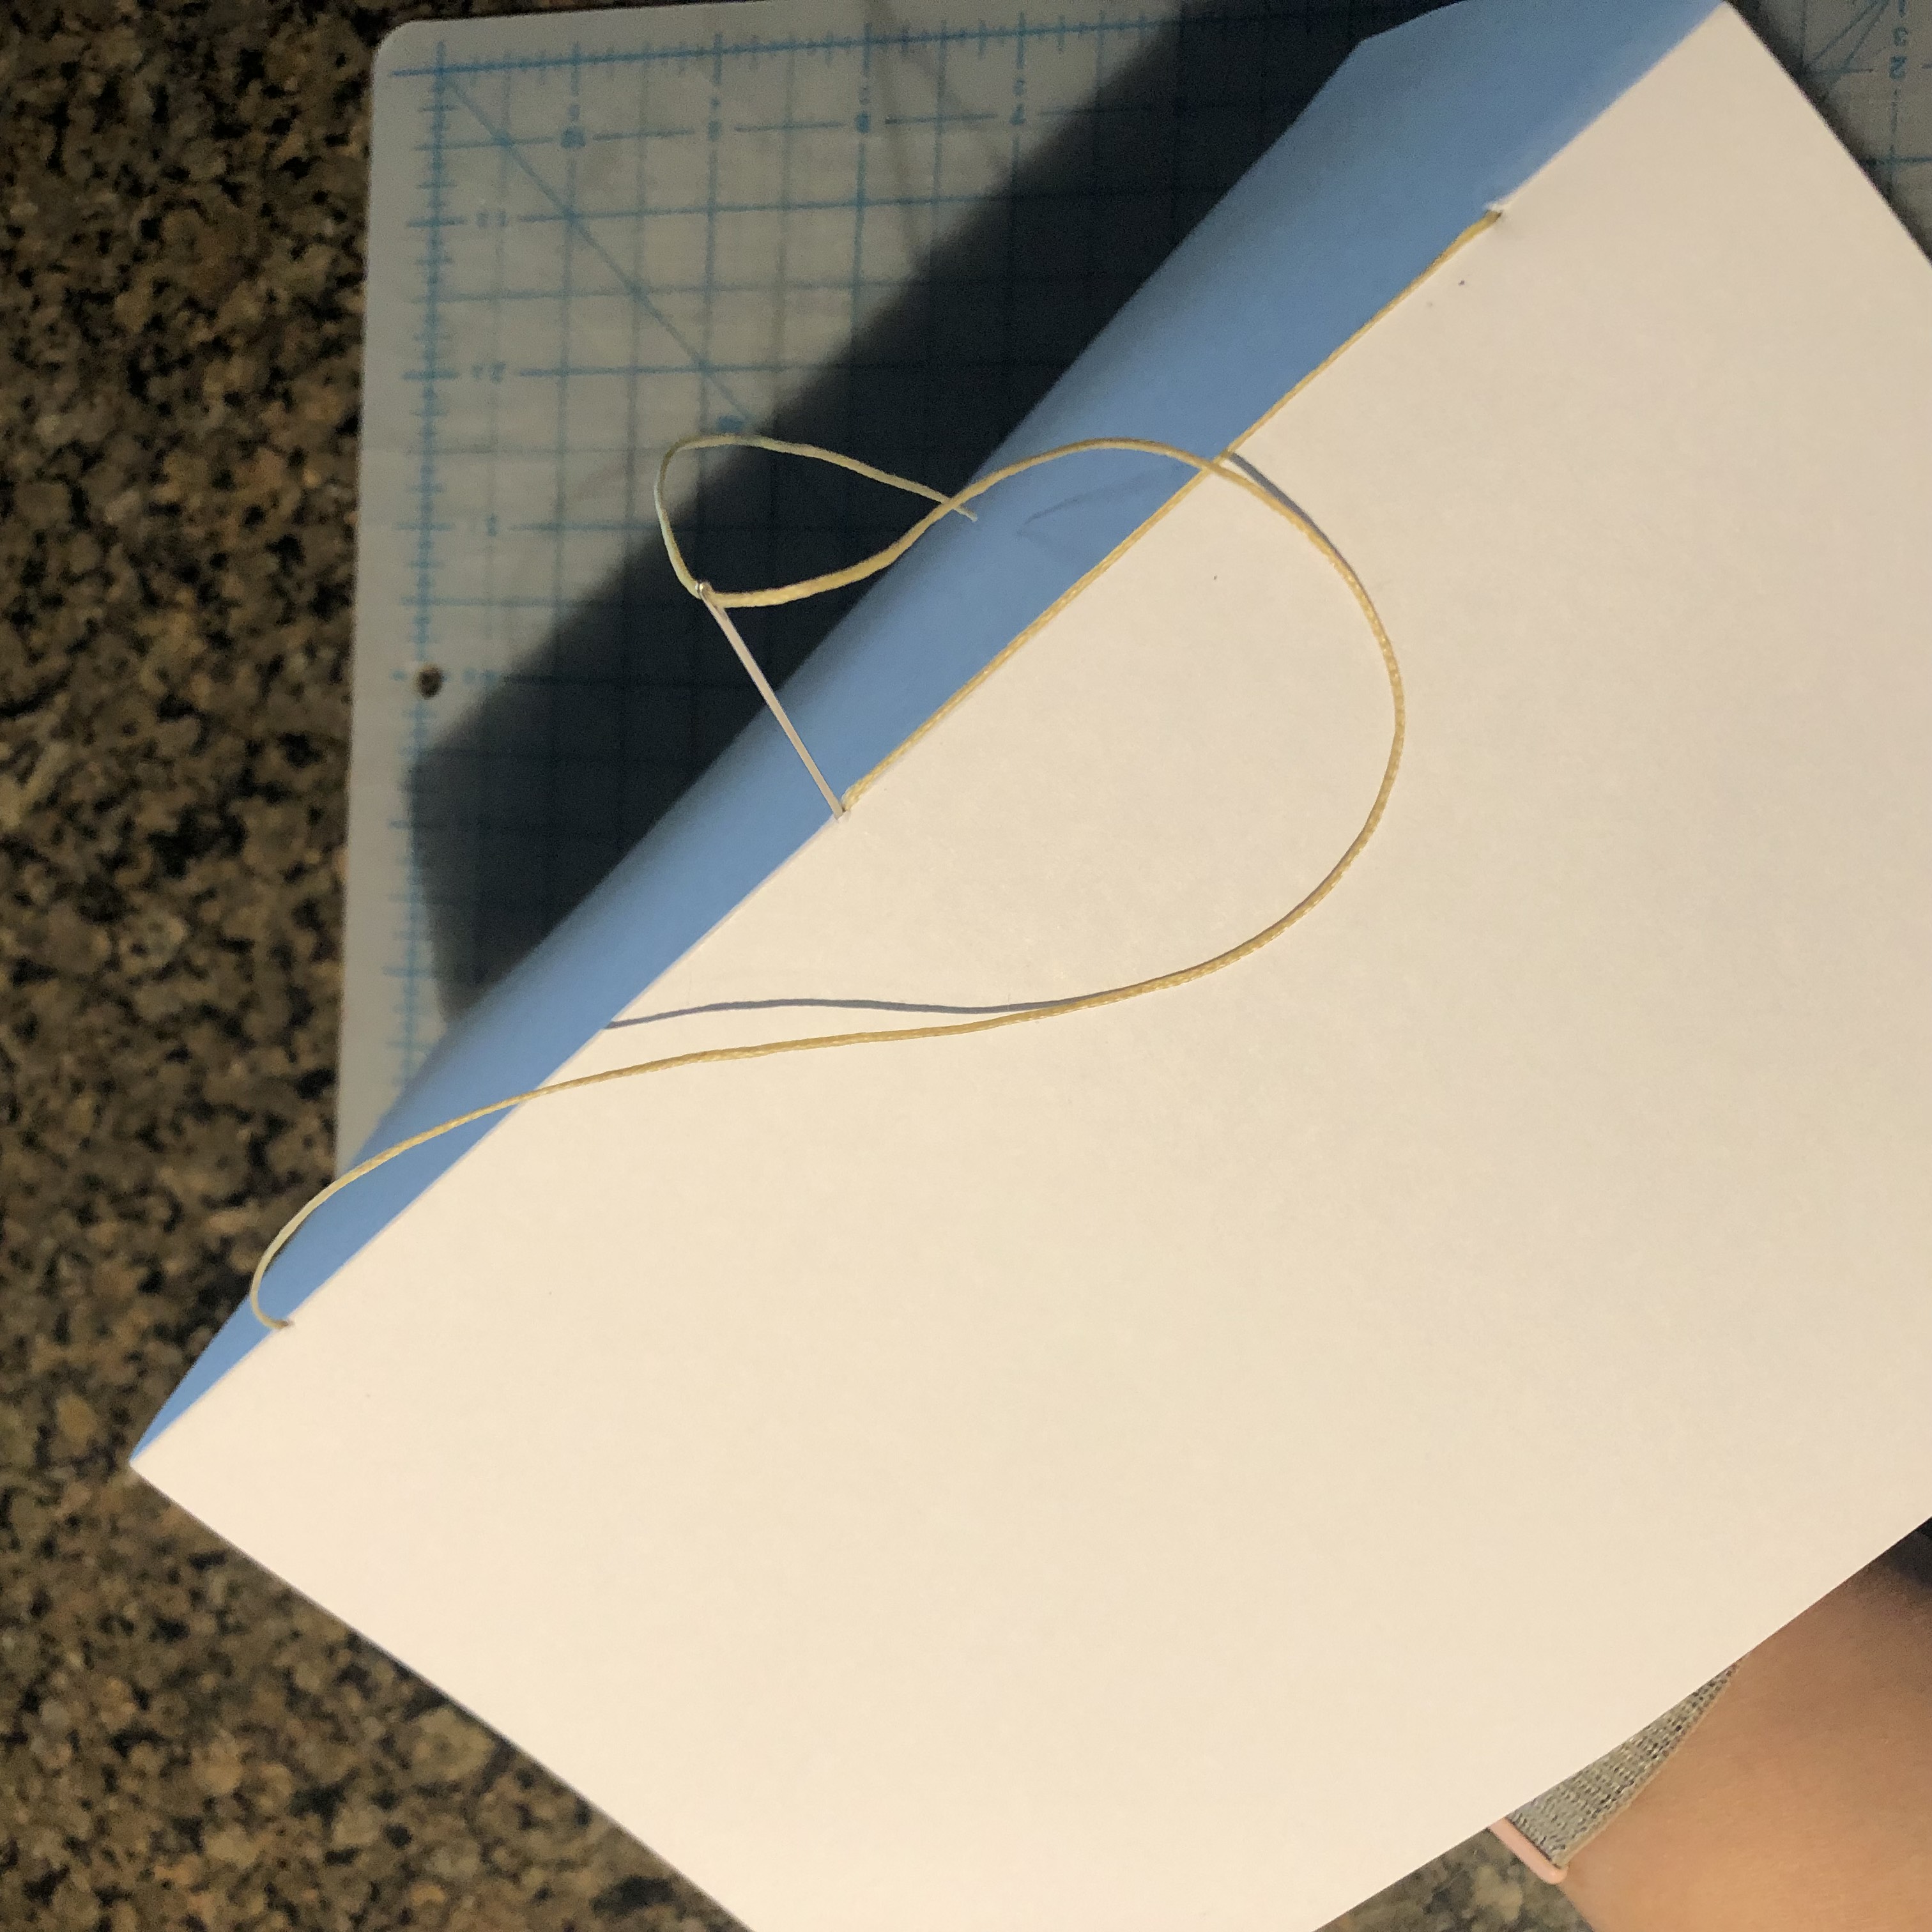
Final hole - centre (outside to inside)
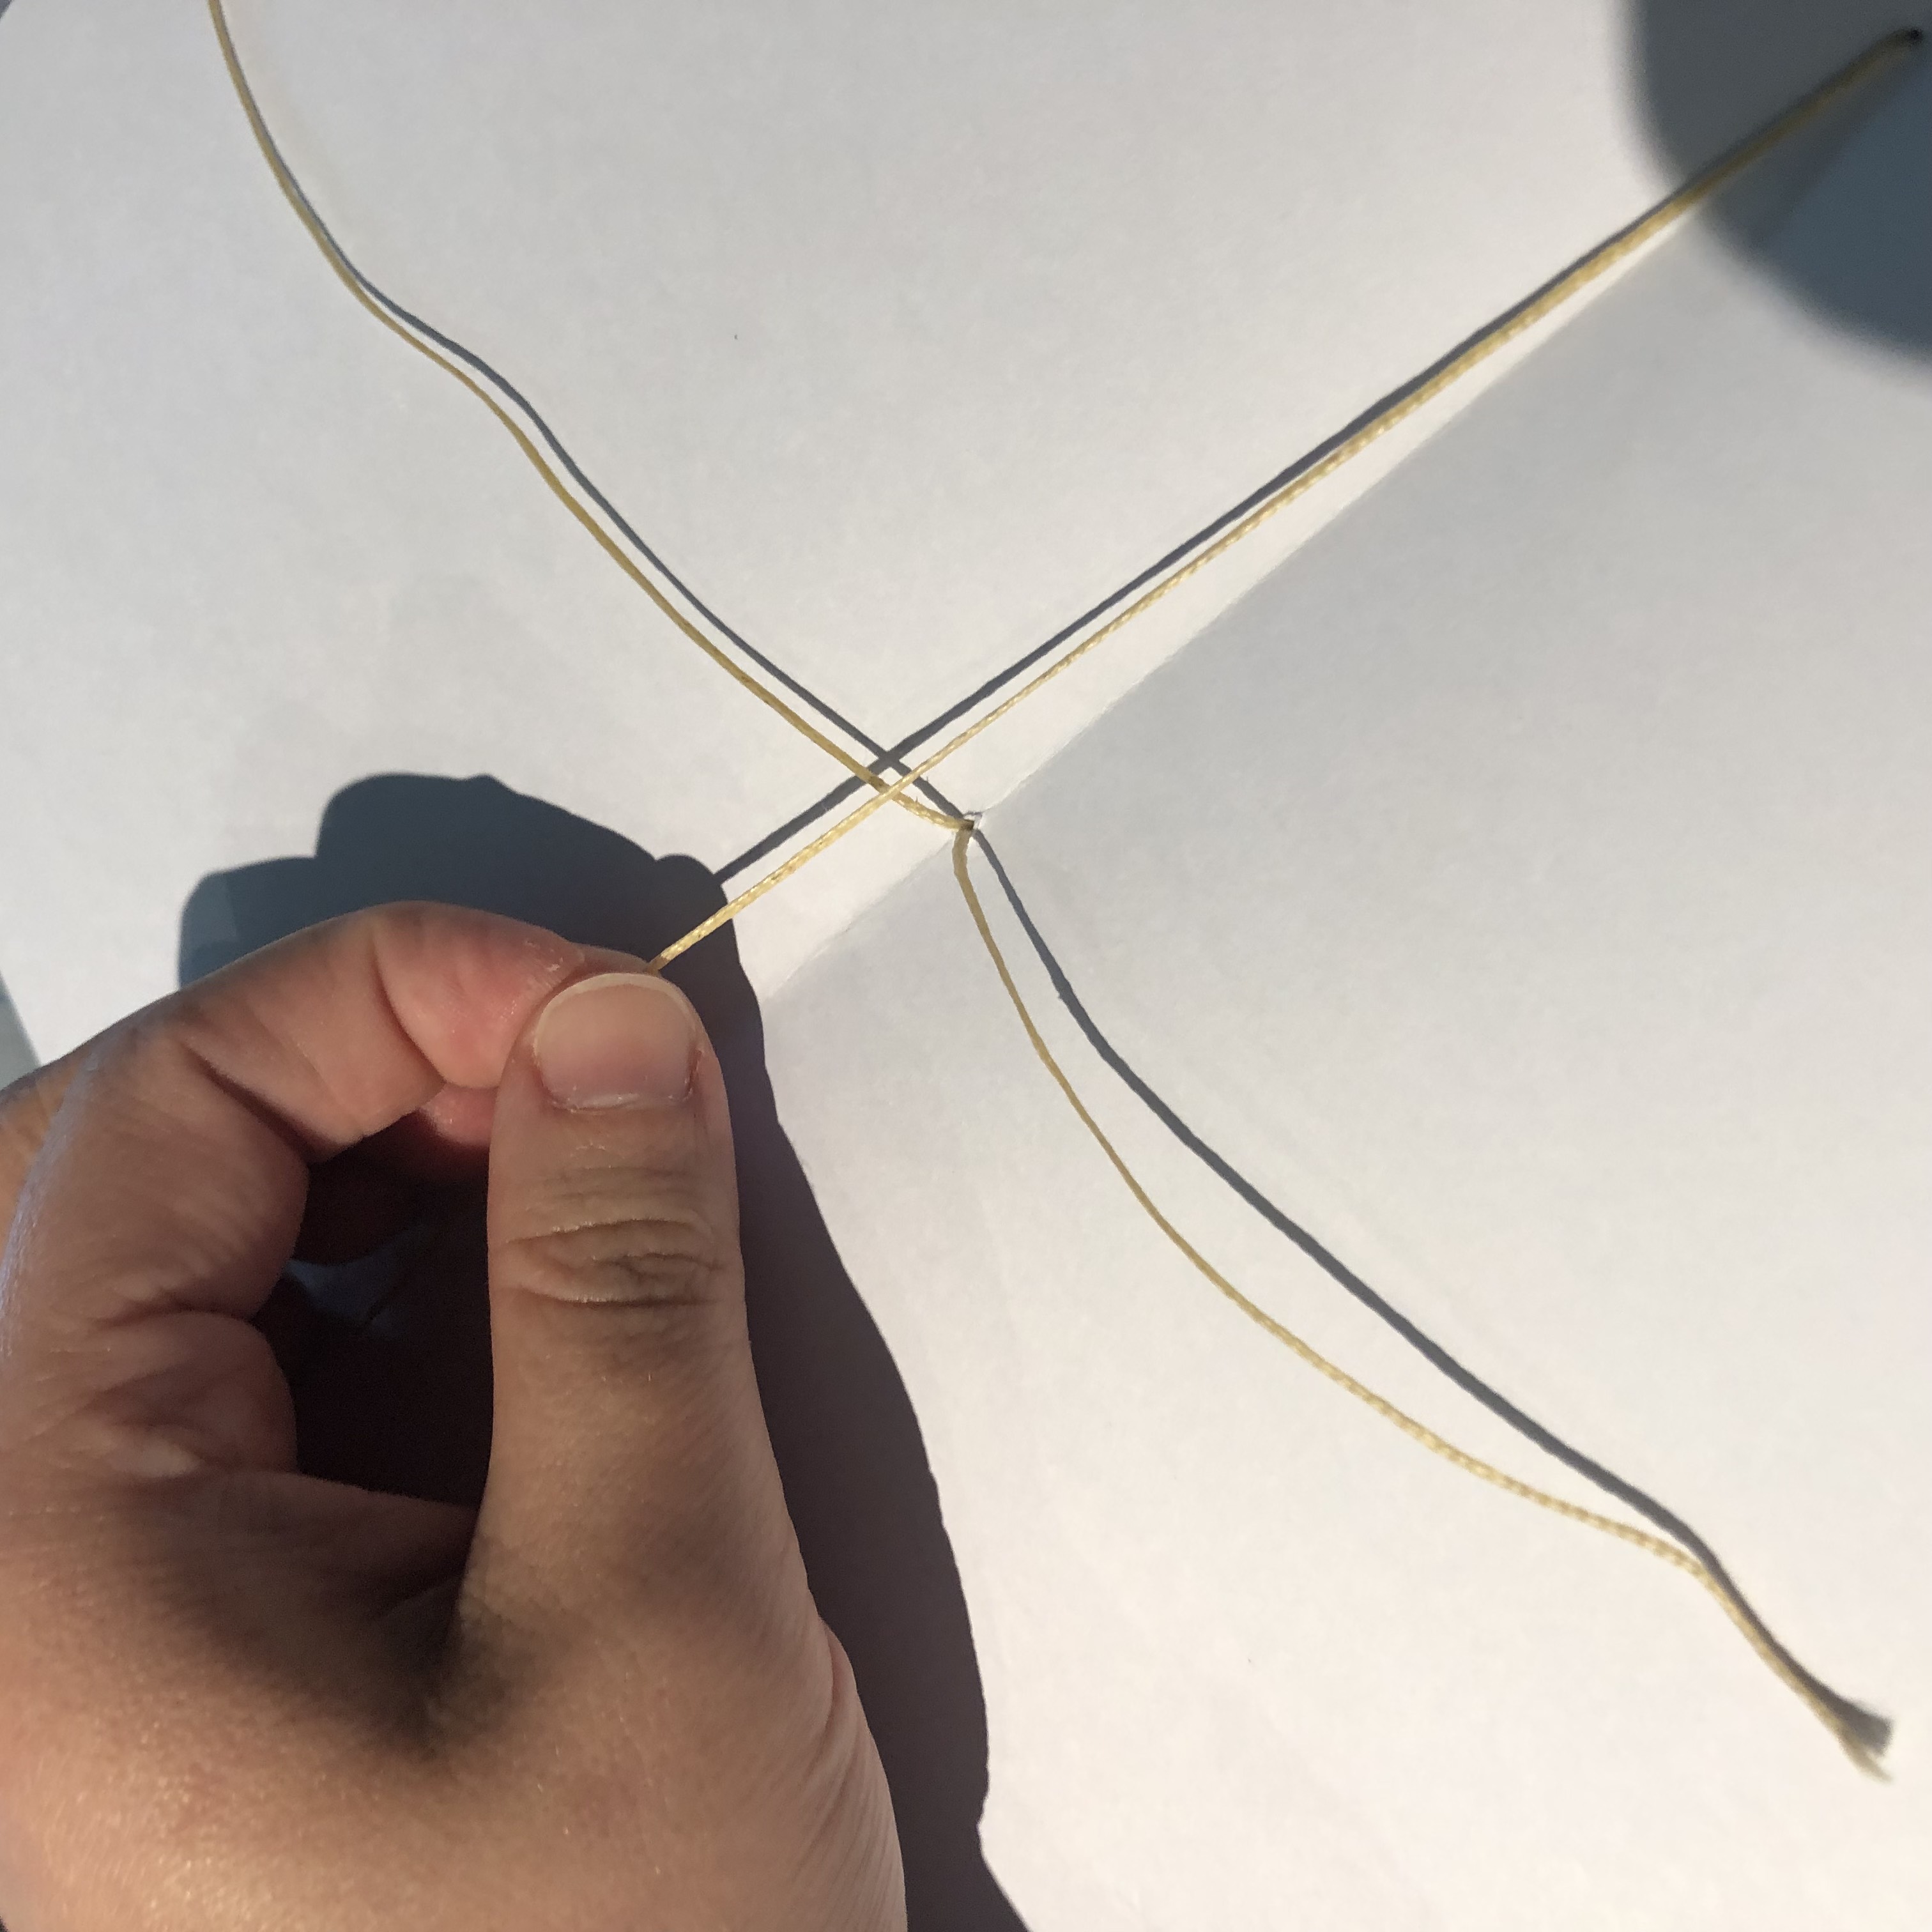
Tie off thread
Three-hole spine
Once a book has been stitched, I like to place it under something heavy (or in a book press) for a day or two to let it be pressed flat, then I’ll trim the edges so that they’re straight.
And there you have it: a finished saddle stitch book.
If your book has more pages, is larger than a piece of letter-sized paper folded in half, or you just want it to have more spine stability, you can add more holes for stitching. Just remember to keep the number of holes an odd number.
For 5 holes, start stitching in the middle like with 3, then back in through the closest hole to the centre, out the next hole in the line and back through the second hole again (see below for clarification). Repeat this process on the other side (skipping the centre hole like with 3 holes). Thread the needle to the inside through the centre hole and tie it off as usual.
This process can be used for 7 holes and beyond, but I wouldn’t recommend using more than that. It’s simply not necessary.
Poke five holes
First hole - centre (inside to outside)
Second hole (outside to inside)
Third hole (inside to outside)
Fourth hole (outside to inside)
Fifth hole - skip centre (repeat above steps)
Tie off thread

Five-hole spine
Saddle Stitch Tutorial
Dash Stitch Tutorial
Chain Stitch Tutorial
Long Stitch Tutorial
French Link Stitch Tutorial
Coptic Stitch Tutorial
Cross Stitch Tutorial
Japanese Stab Binding Tutorial
Case Binding Tutorial
Leather Binding Tutorial
Tigerpetal Press is a small book press dedicated to publishing local authors and poets.