Posted: February 10, 2025
Chain stitch is a more complex and time-consuming stitching method, but the end result is worth it. It’s also a method that can be used for both single-signature and multi-signature books. Here’s what you’ll need:
The first step—like most books—is to make your sheets of paper into a signature. A signature, put simply, is a collection of papers folded in half. Typically, a signature is 4 to 8 sheets (depending on the thickness of the paper). Thicker chain stitch books are possible, but the recommended maximum is 15 sheets of plain copy (20 lb) paper. Otherwise, it’s too thick and the spine won’t lay nicely flat. My preference is 6 to 10 sheets of 24 lb writing paper.
*As mentioned above, chain stitched books can have multiple signatures, each which are individually stitched to the cover. If you wish to add a hard cover to your book, you can prepare it ahead of time using the special steps at the end.
Back to folding: I like using a bone folder for a nice crisp crease, but if you don’t have one, not to worry. A butter knife will do in a pinch, or even just your thumb nail. I also prefer to fold each page individually, but it’s possible to fold all the sheets of a signature at once.
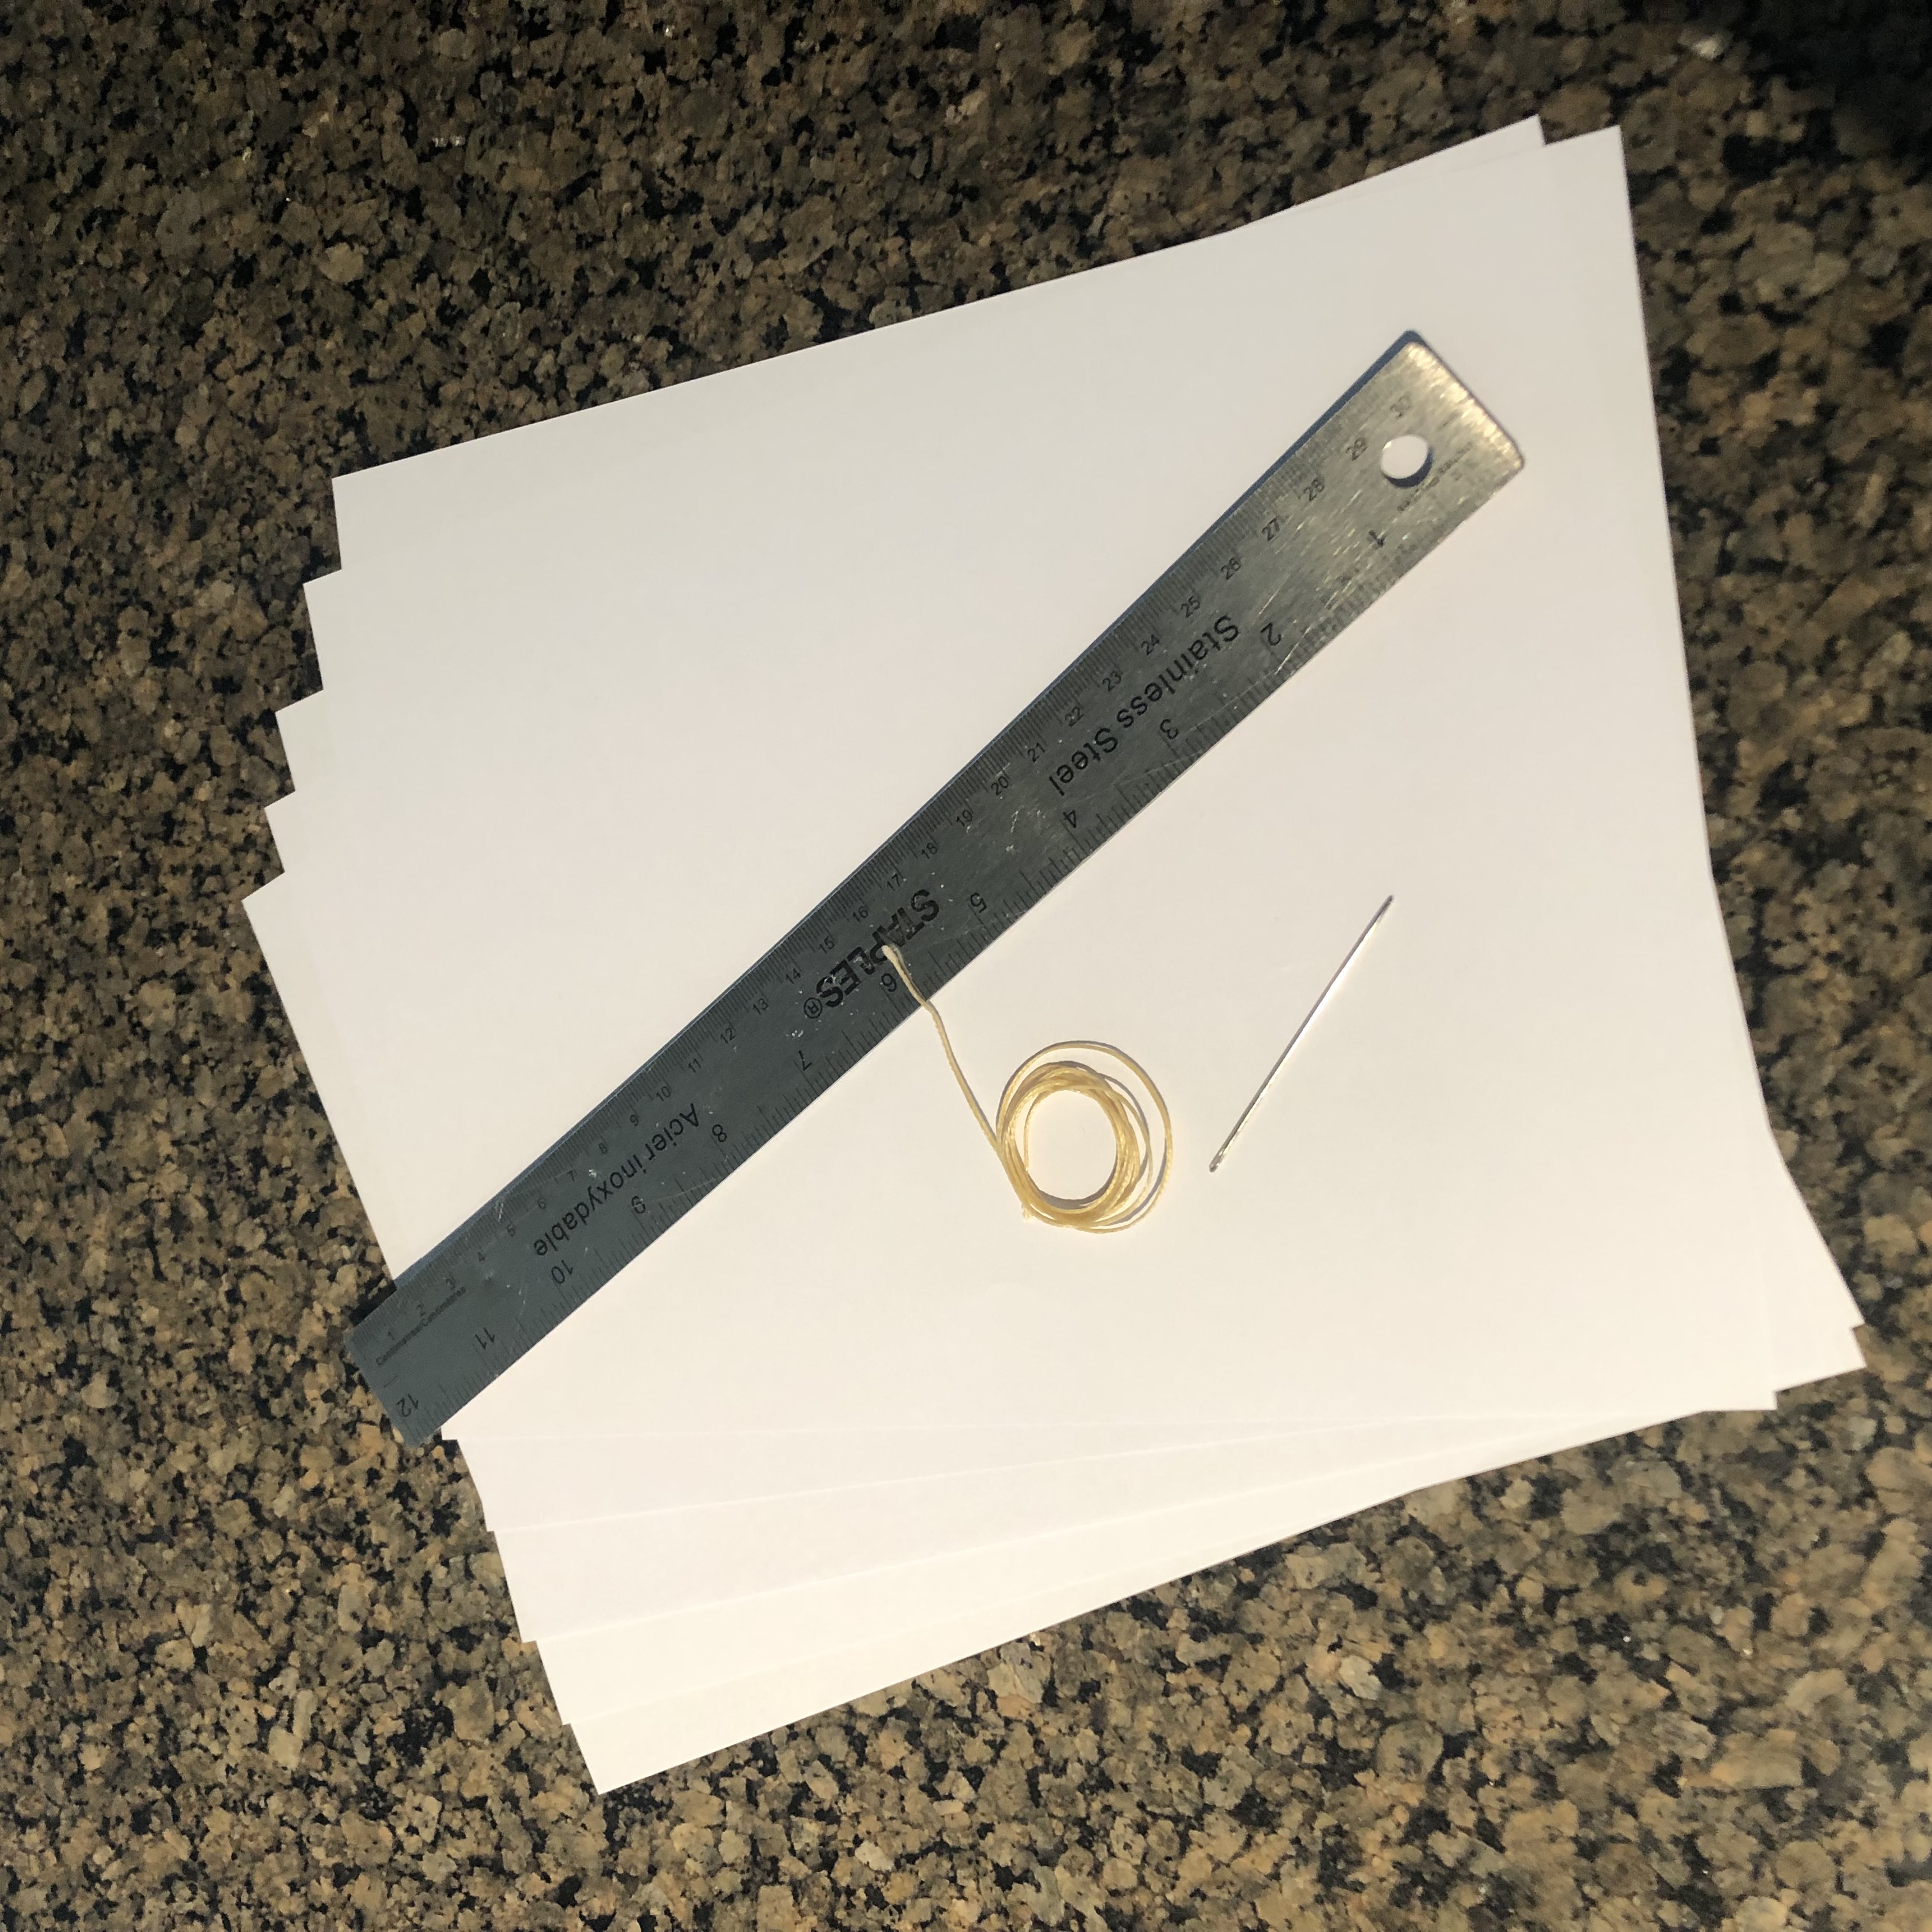
Materials
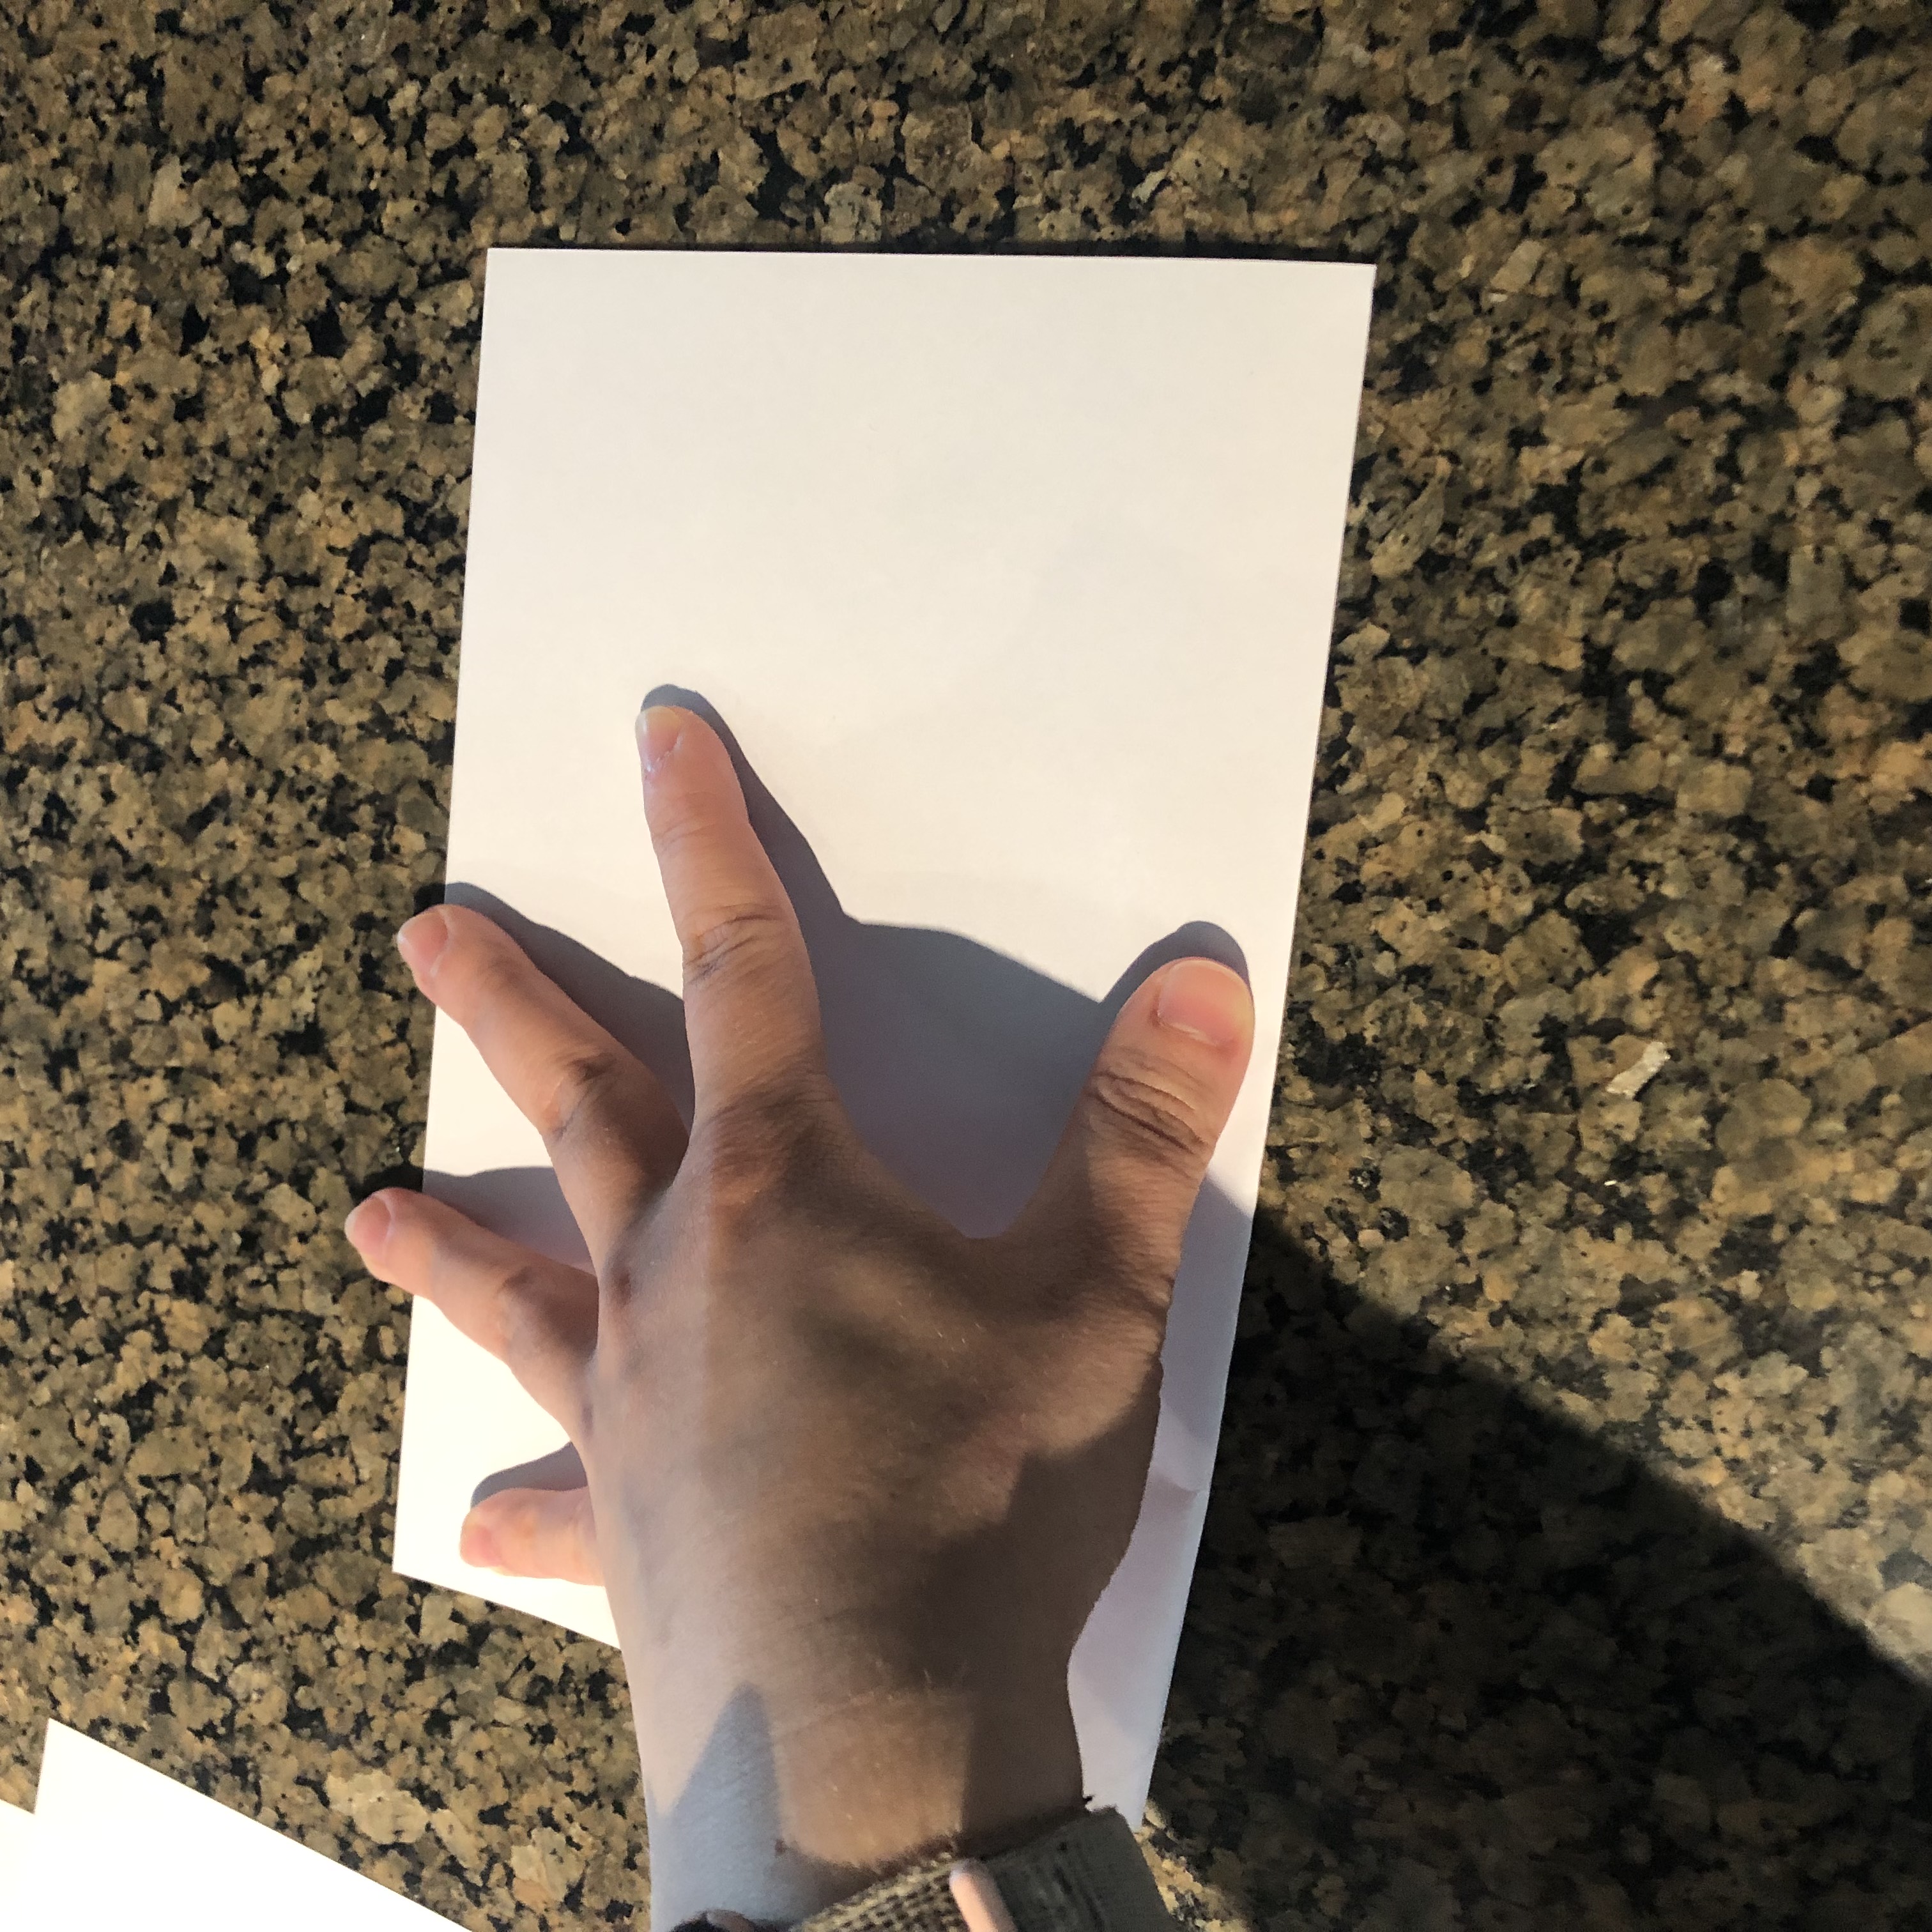
Fold the paper
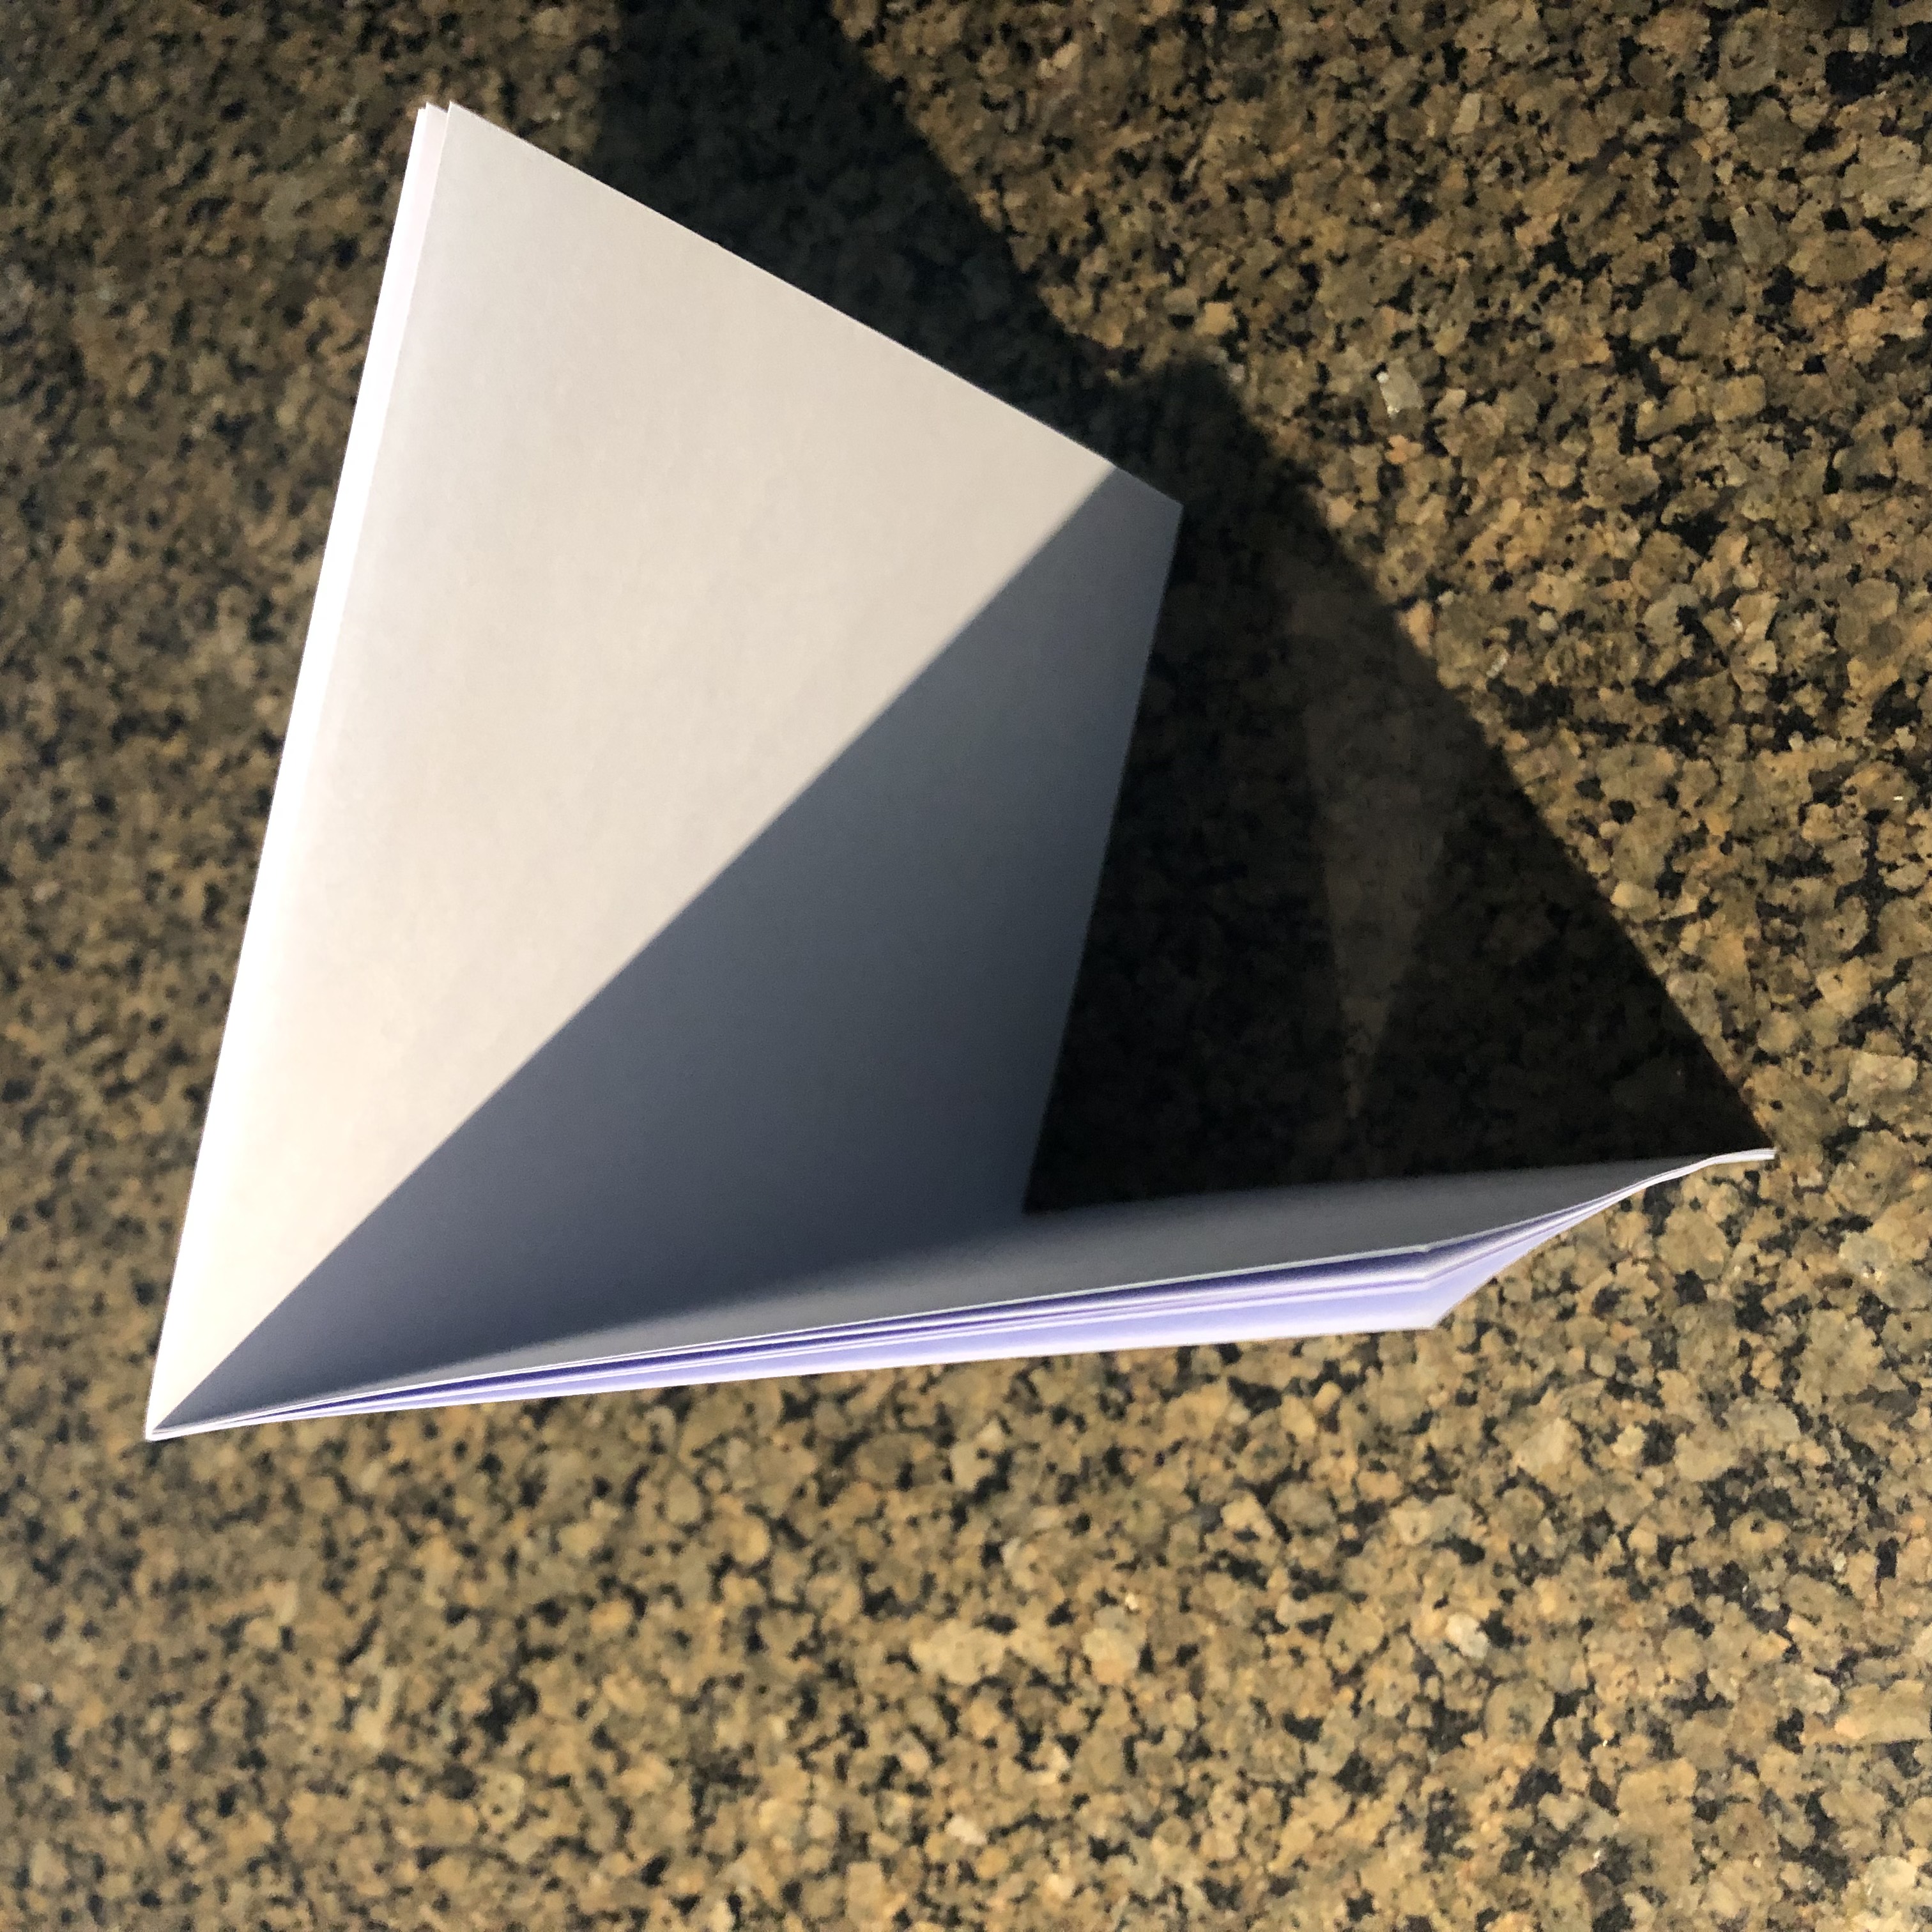
Signature
Depending on if your book is one signature with a cardstock cover or multiple signatures with a book board cover, you may want to trim your pages ahead of time. For a multi-signature book, I will always trim my signature edges first, as this is not possible after stitching.
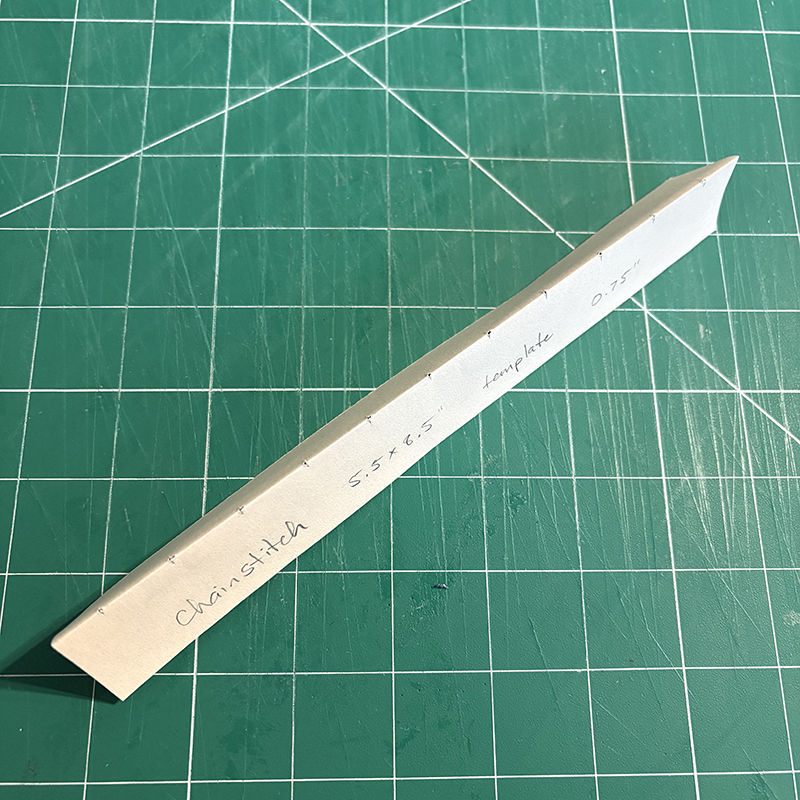
The next thing you’ll need to do is poke the holes into the spine of your signature and the cover of your book (if you are making a hardcover). You can poke any number of holes for a chain stitch, but I’ve found that they are most effective and visually appealing at about 0.75” apart.
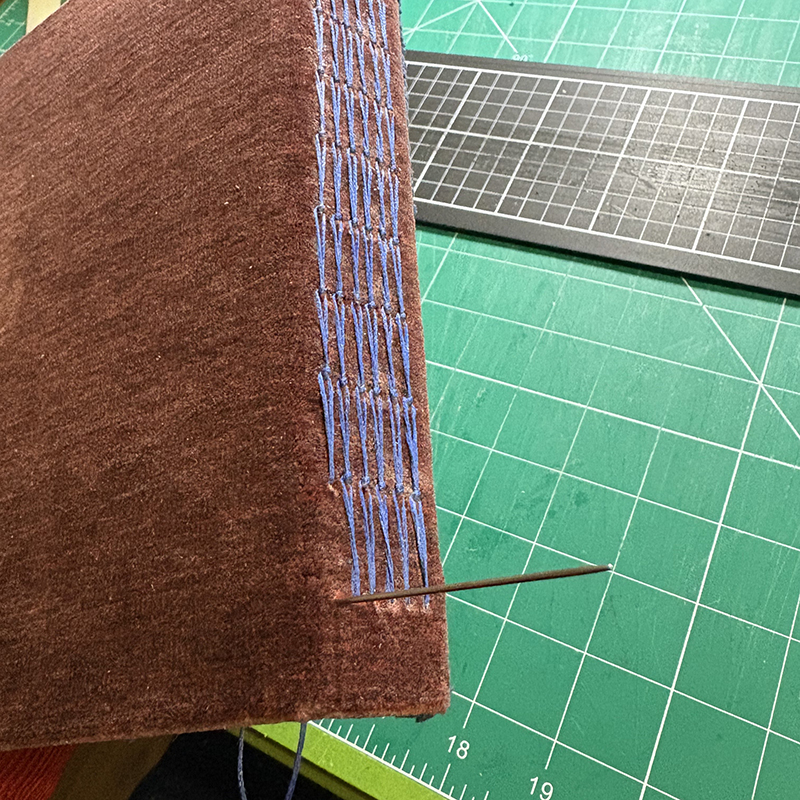
Using a ruler, poke your spine holes with your needle (or an awl if you have one). I’ve found that the best method for getting a straight punch is to balance my signature on its spine and poke straight down. You could also poke through at an angle with the book laid flat (as seen below). Make sure you have something underneath if you don’t want to damage your table, such as foam, cardboard, or a cutting mat.
*If you are making a book with multiple signatures, I highly recommend making a template. It’s fairly simple: fold a spare bit of paper in half and trim it to about an inch wide (I align my ruler overtop and cut so that it’s the width of my ruler). The height should be the same as the height of your signatures. Using the ruler, make your measurements. Make sure it is centered along the spine of the book, as this looks best. You can also use this template for along the spine of your cover, to mark where you need to punch your holes (see below instructions for further details).
Poke interior holes

Poke cover holes

The signatures
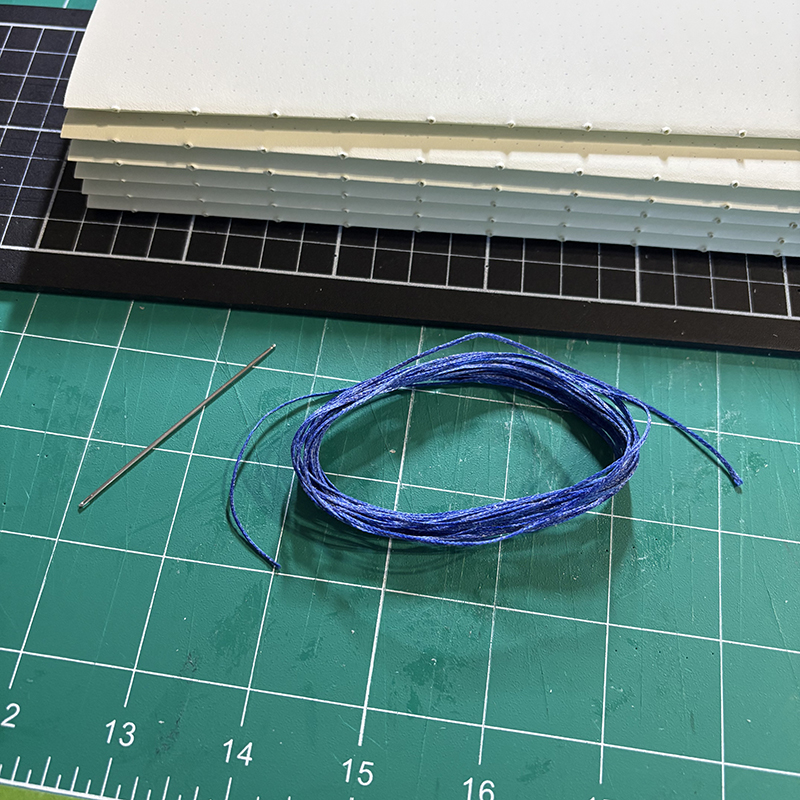
Once the holes are punched, you’re ready to stitch. Measure out about three and a half times the length of the full spine of your book. This will ensure that you have enough thread for stitching and to tie it off at the end. Cut the thread here, then repeat for the rest of your signatures. You may have a bit more thread wastage than if you were to measure out the whole book, but this ensures that you have enough, and less thread ensures fewer tangles while stitching.
Tie a knot at one end, leaving about 0.75” to an inch of length at the end. Thread your needle.
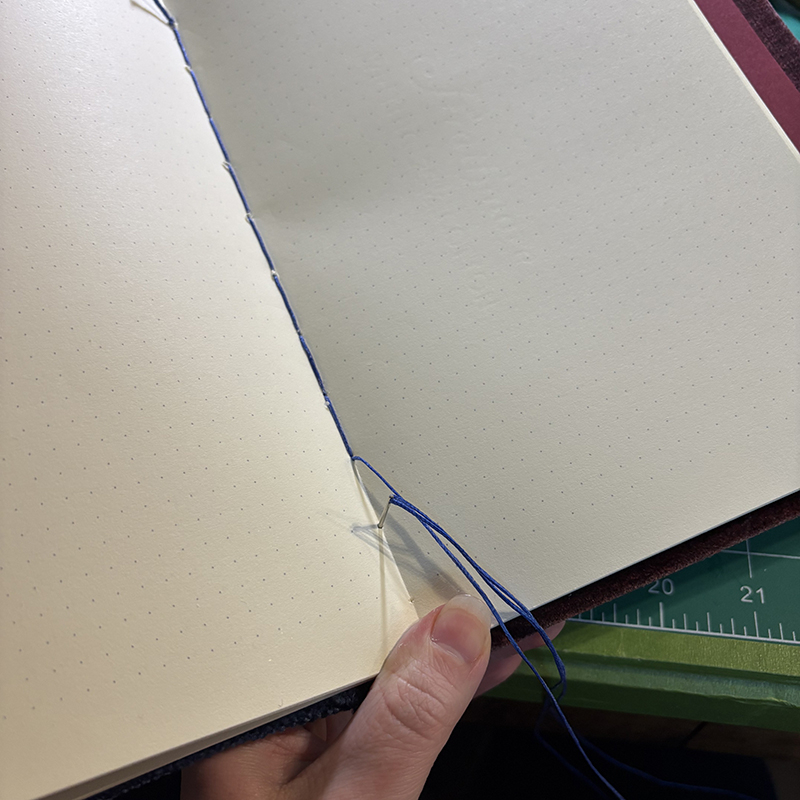
Start on the inside of the book and pull your thread through the top hole of your signature, then through the top hole in the first column of your cover. Pull all the way through.
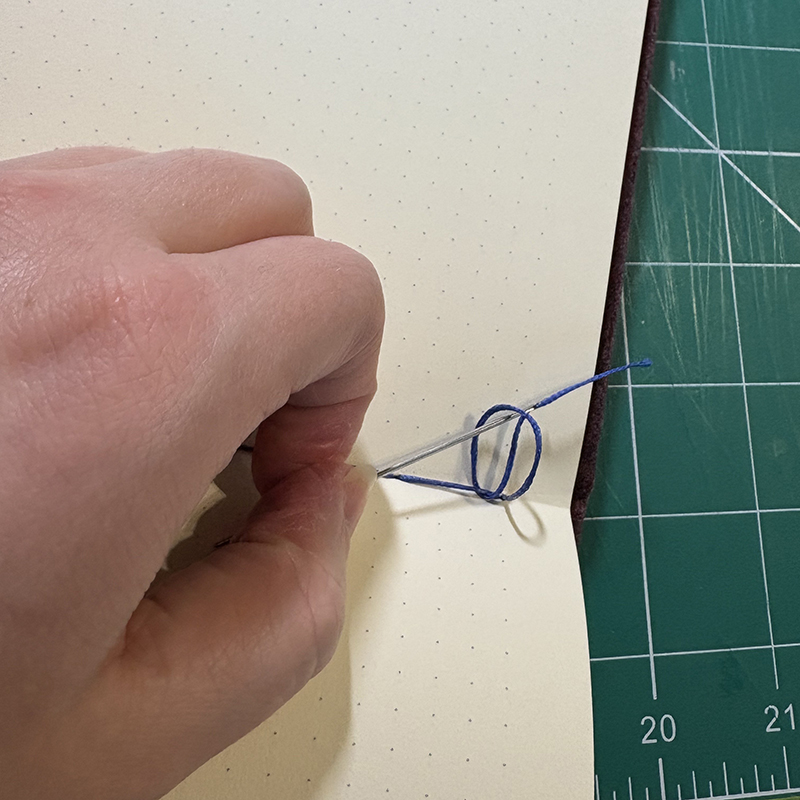
Thread the needle back to the inside of the book through the same hole, leaving a loop (I like using a toothpick to ensure it doesn’t slip back through).
From the inside, thread the needle out through the next hole down. Remove the toothpick and thread through the loop from the first hole, then again before pulling tight.
Return the needle through the second hole.
Repeat this process by threading back out through the third hole, then up and twice through the loop created above and back through the third hole. Repeat until you reach the final hole.
Once complete, thread the needle back inside the book and tie it off by sliding your needle under the thread and around, then tuck in the tails and cut off the excess.
*If your book has more than one signature, repeat this process for the rest, as they are all stitched individually (not continuous).
Measure the thread
Stitching from inside
Stitching on cover
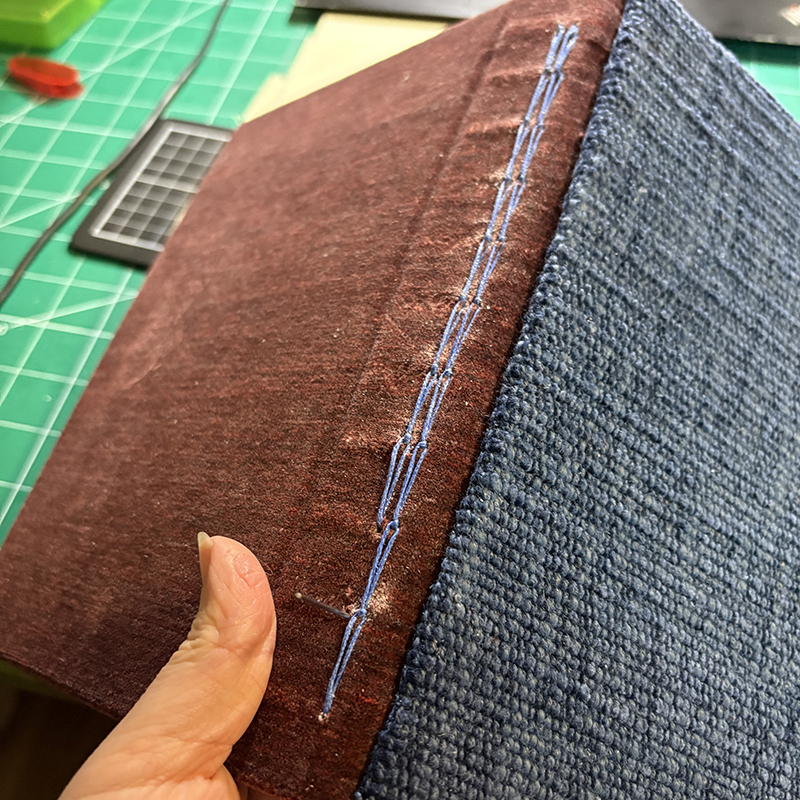
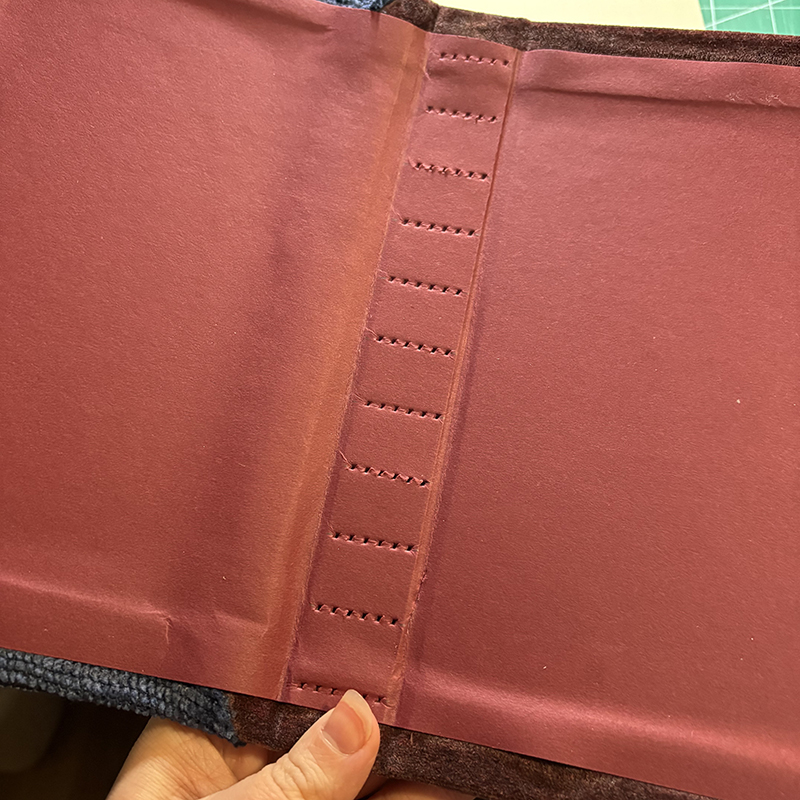
Full stitching
Tie off the thread
Once a book has been fully stitched, I like to place it under something heavy (or in a book press) for a day or two to let it be pressed flat. Trim the single signature book at this time.
And there you have it: a finished chain stitch book.
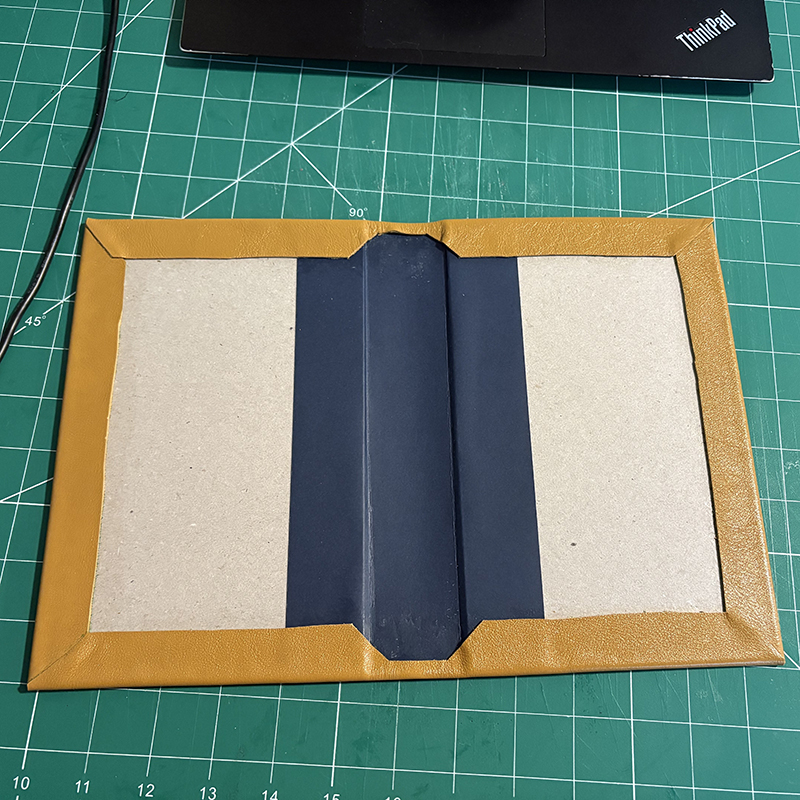
Creating a cover for your book requires a dense cardboard called book board (chipboard also works). You will need two sheets of this for the front and back cover (equal width, and 0.25” added to the height). For example, a book whose signatures are 5.5 x 8.5 will have two covers measuring 5.5 x 8.75 inches. The spine will need to also be made of book board, though you can also use a really heavy cardstock for a more flexible option.
Measure out your spine based on the height of your stack of signatures. For example, when I use 60 sheets of paper (6 signatures with 10 sheets each for a hefty book) my spines end up being 1 inch wide. Add an additional 0.25” to 0.375” to this (between each cover for your hinge). Glue your chosen fabric to the cover with these measurements in mind using a PH neutral glue like PVA (regular white glue will work in a pinch). Make sure to spread an even layer, not too light but also not too thin.
The last step is to cover the interior with a patterned cardstock or paper. Make sure to carefully push it into the creases of your cover’s hinge so that there is no pulling.
Once you’ve created your stitching template, mark where the holes will be (make sure to mark both sides of the spine to ensure straightness) in light pencil. Then poke the holes through in a straight line so you have even rows.
*Tip: if you have an odd number of signatures, start in the very centre of the spine and work outwards. If you have an even number of signatures, you can measure exactly, or make your best guess. Once you’re done poking the holes, gently erase your marks.
Now your cover is ready to be stitched! Continue from Step 3 above.
Poke cover holes
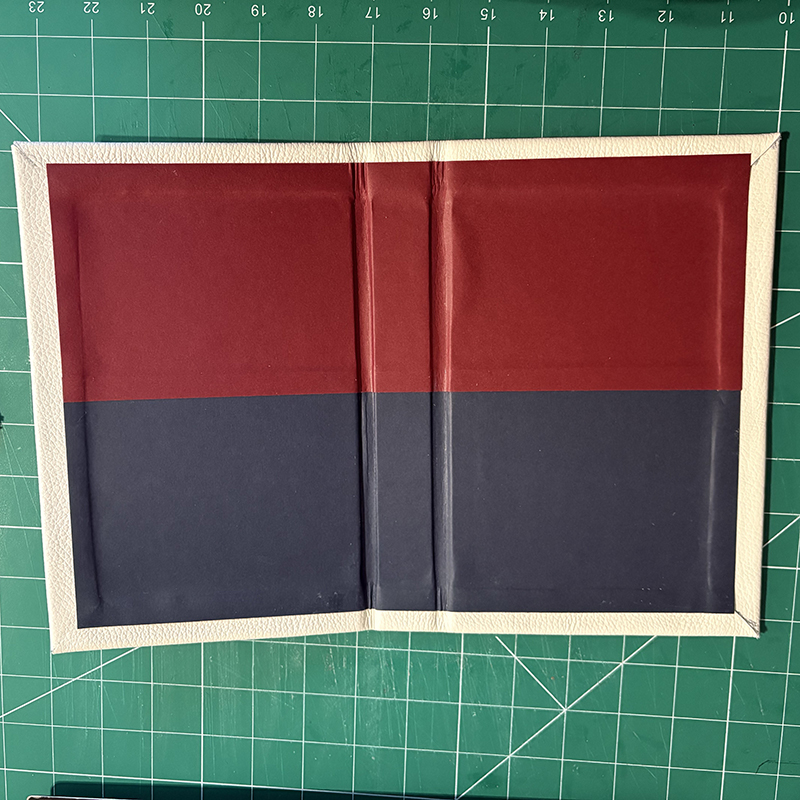
Glue on outer material
Glue on inner material
Buttonhole Stitch Tutorial
Case Binding Tutorial
Chain Stitch Tutorial
Coptic Stitch Tutorial
Cross Stitch Tutorial
Dash Stitch Tutorial
French Link Stitch Tutorial
Japanese Stab Binding Tutorial
Long Stitch Tutorial
Leather Binding Tutorial
Saddle Stitch Tutorial
Tigerpetal Press is a small book press dedicated to publishing local authors and poets.